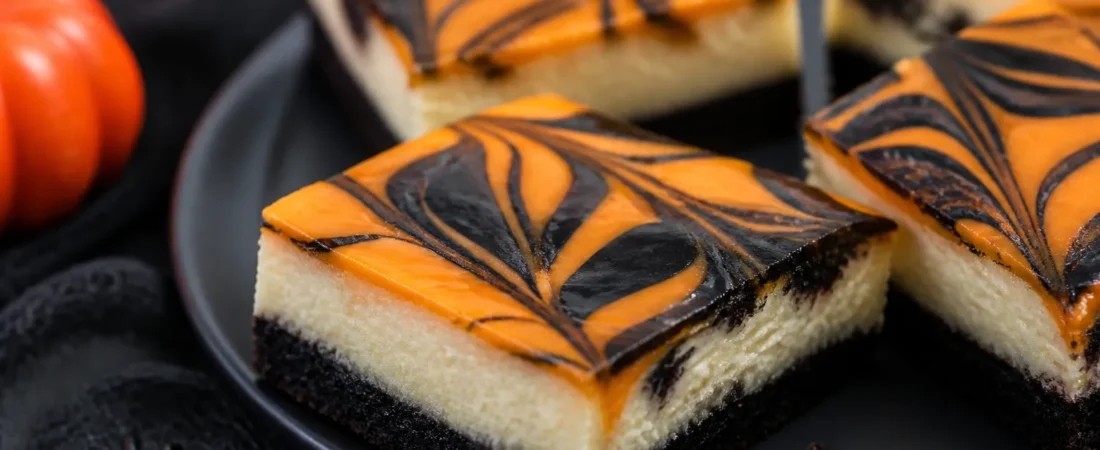
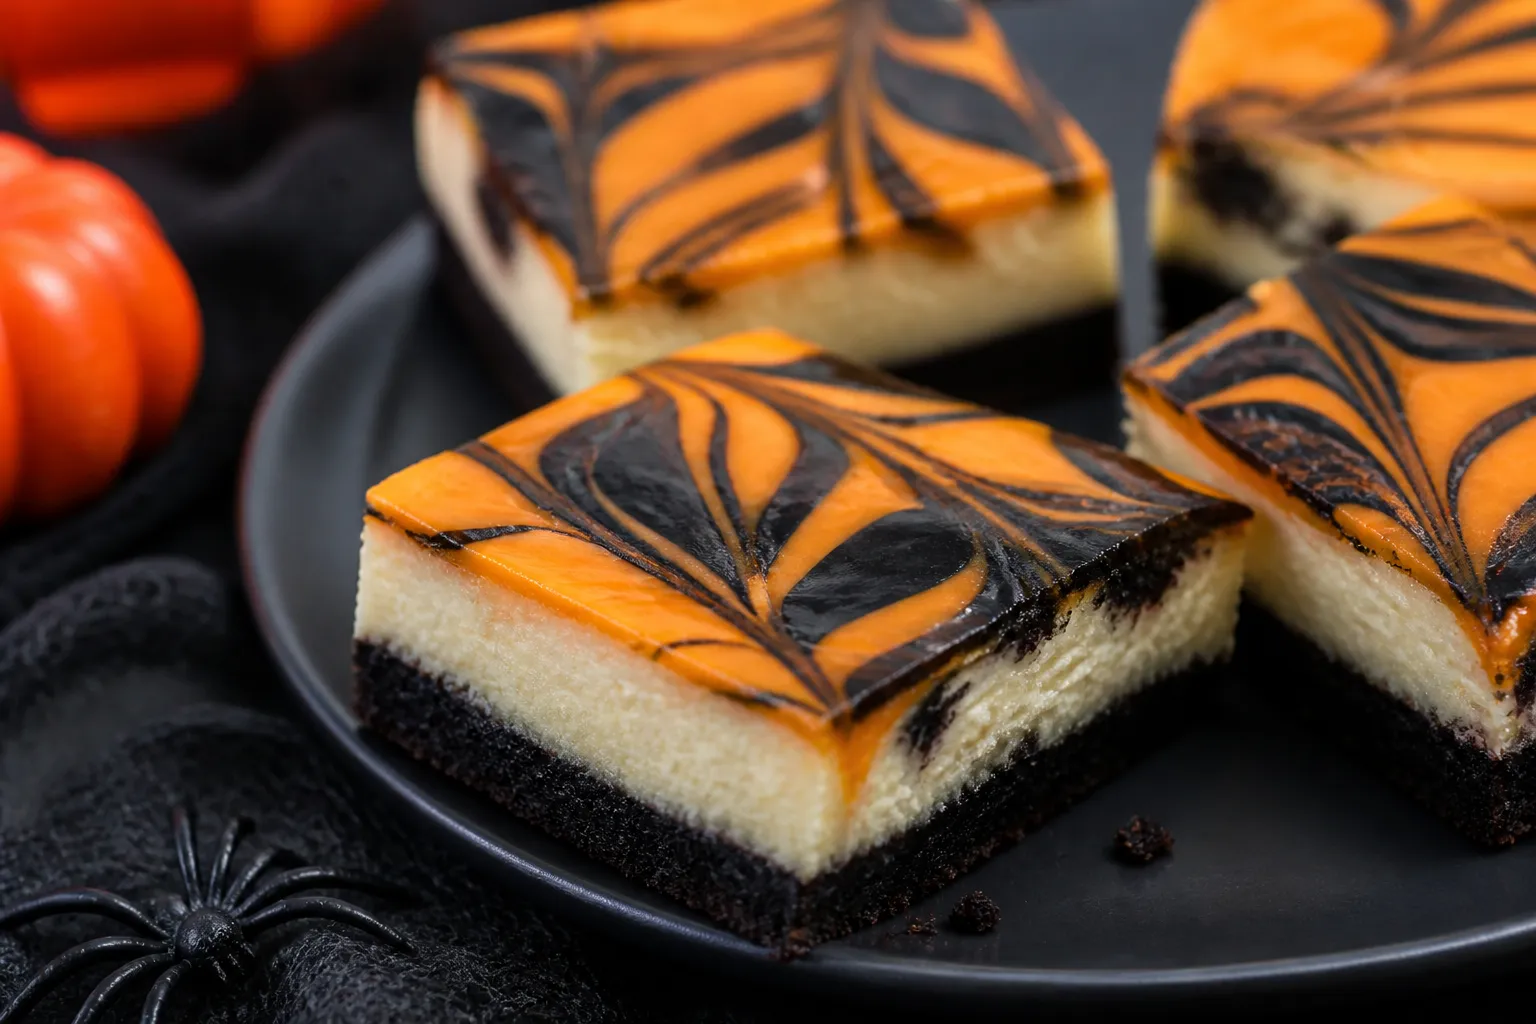
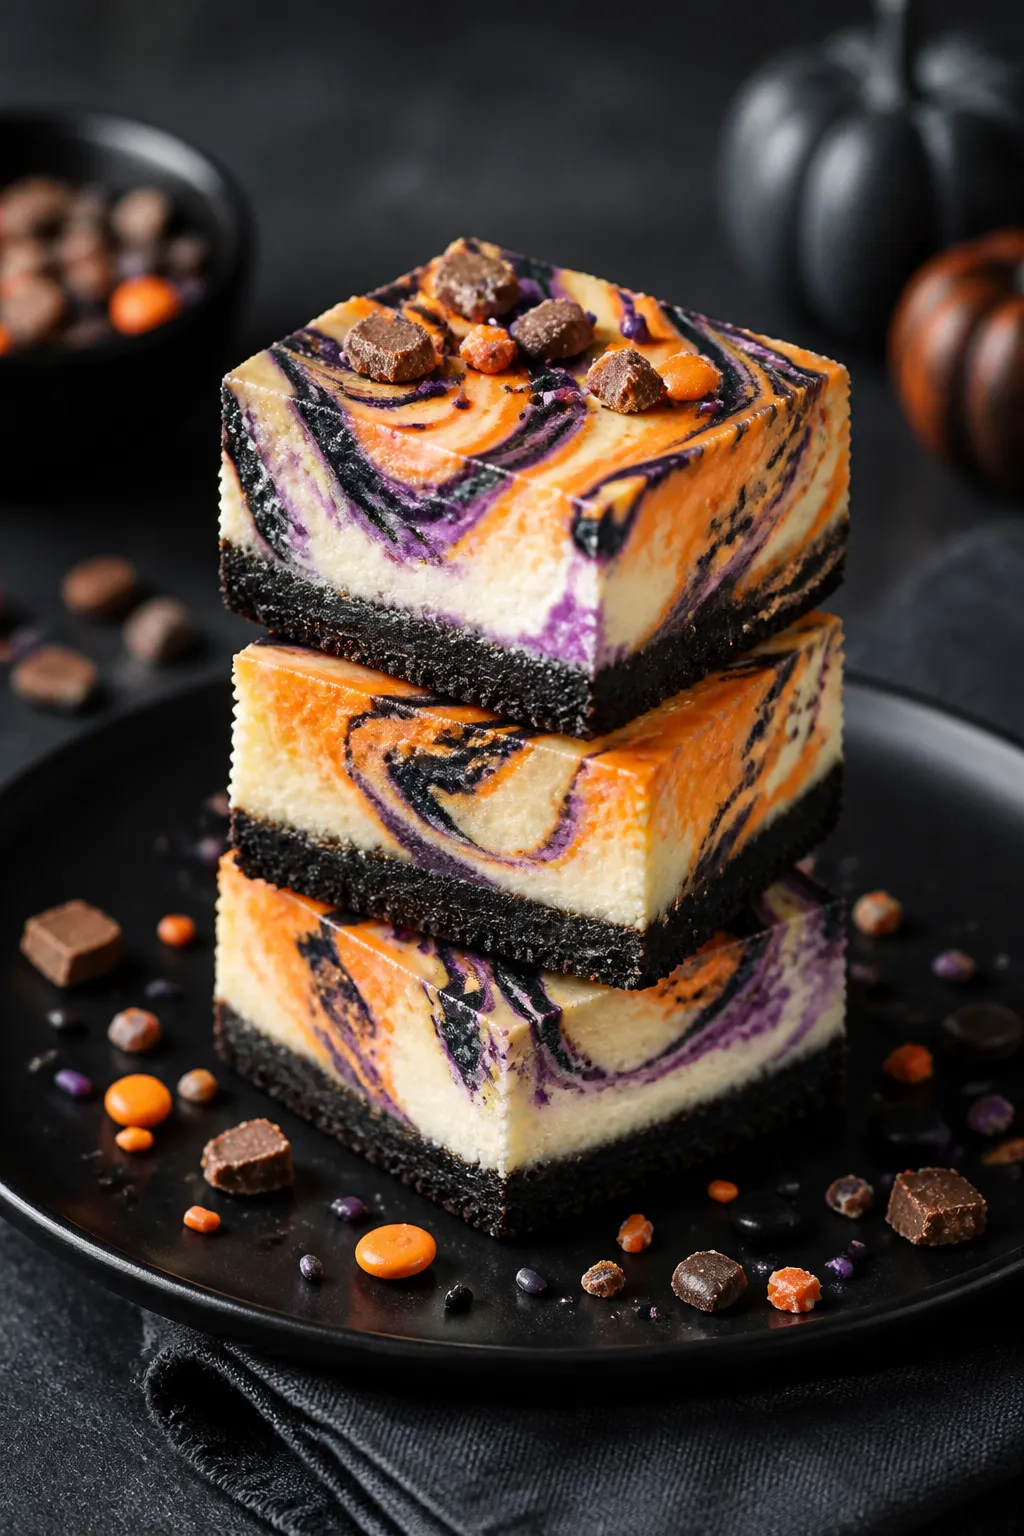
These Halloween cheesecake bars are the kind of treat that makes people smile before they even take a bite. They’re creamy, colorful, and easy to slice for parties, school events, or a cozy night in with a spooky movie. You get the tangy smoothness of cheesecake with a chocolate cookie crust and a swirl of Halloween colors on top.
They look impressive but come together with simple steps. If you’re in the mood for something festive without the fuss, this is your go-to dessert.
Ingredients
Method
- Prep the pan and oven. Heat the oven to 325°F (163°C). Line a 9×9-inch baking pan with parchment, leaving overhang on two sides for easy lifting. Lightly grease the parchment.
- Make the crust. Mix cookie crumbs, melted butter, sugar, and salt until the texture resembles wet sand. Press firmly and evenly into the pan. Use the bottom of a measuring cup to compact. Bake for 8–10 minutes, then let cool slightly.
- Beat the cream cheese base. In a large bowl, beat cream cheese and sugar on medium speed until smooth and fluffy, about 2–3 minutes. Scrape the bowl. Add eggs one at a time, mixing on low until just combined.
- Add the rest. Mix in sour cream, vanilla, cornstarch, and salt on low speed until smooth. Avoid overmixing to limit air bubbles.
- Color a few spoonfuls. Transfer 1/2 cup of the batter to a small bowl. Divide into 2–3 ramekins and tint each with a different gel color. Add a splash of cream to each to keep it fluid.
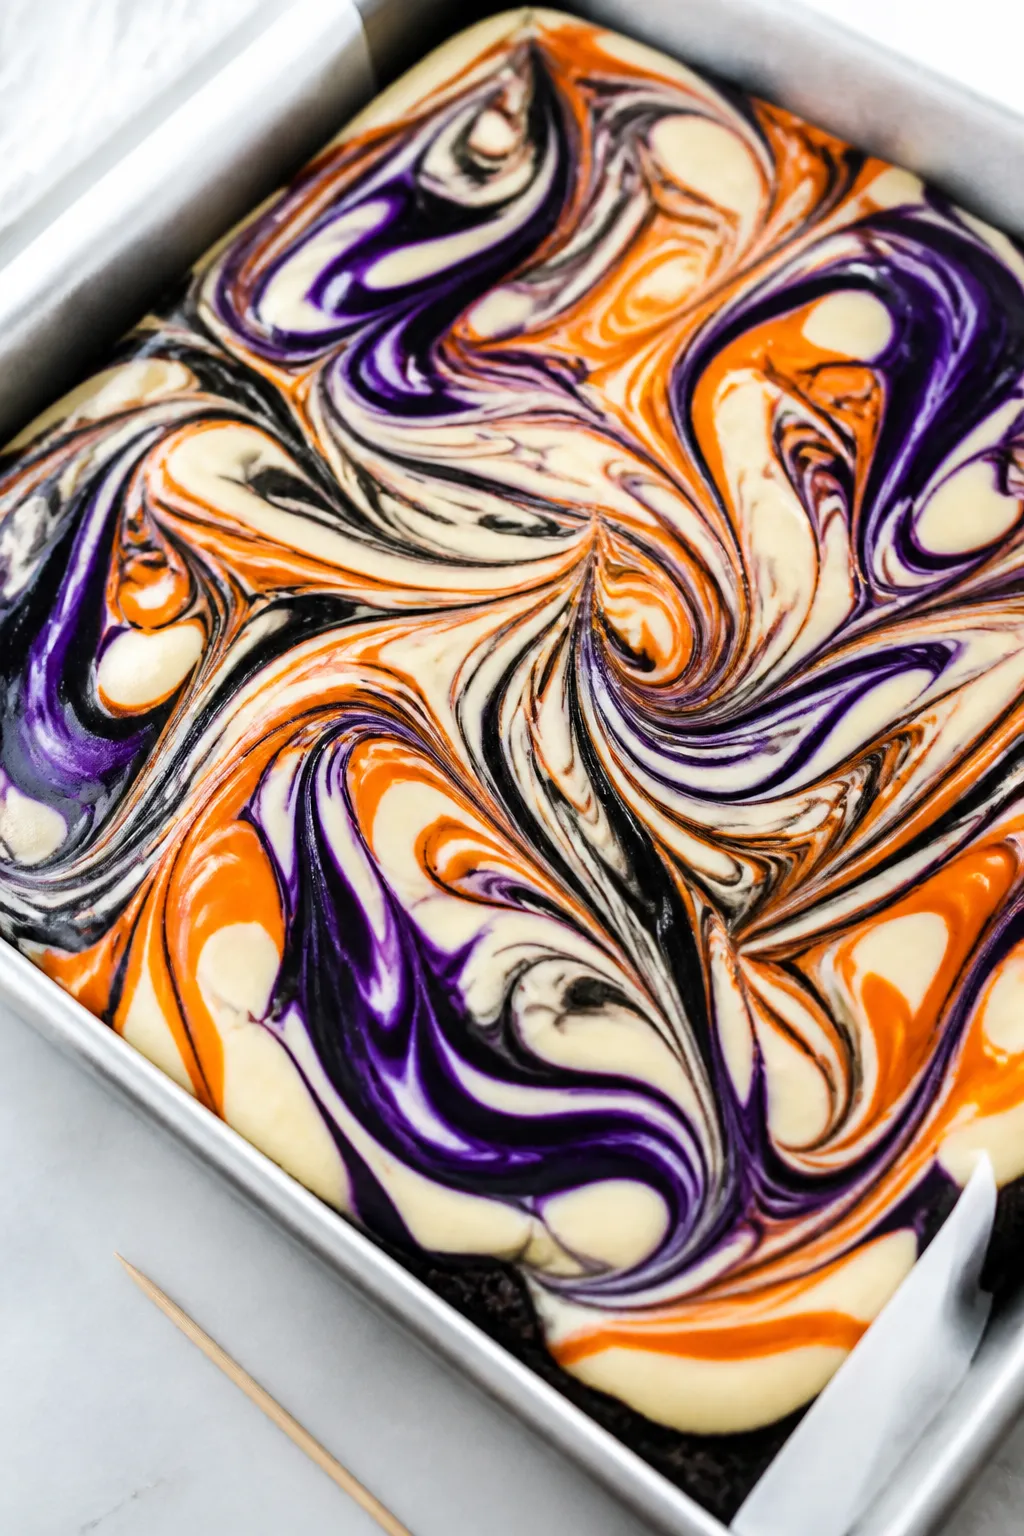
- Assemble. Pour the plain batter over the crust and smooth the top. Dollop small spoonfuls of the colored batter across the surface. Use a toothpick or skewer to gently swirl. Don’t overdo it—two or three passes is enough.
- Bake. Bake at 325°F (163°C) for 28–34 minutes. The edges should be set and the center slightly wobbly. Avoid browning on top.
- Cool gradually. Turn off the oven, crack the door, and let the bars sit for 10 minutes. Move the pan to a rack and cool to room temperature.
- Chill. Cover and refrigerate at least 4 hours, preferably overnight, to fully set.
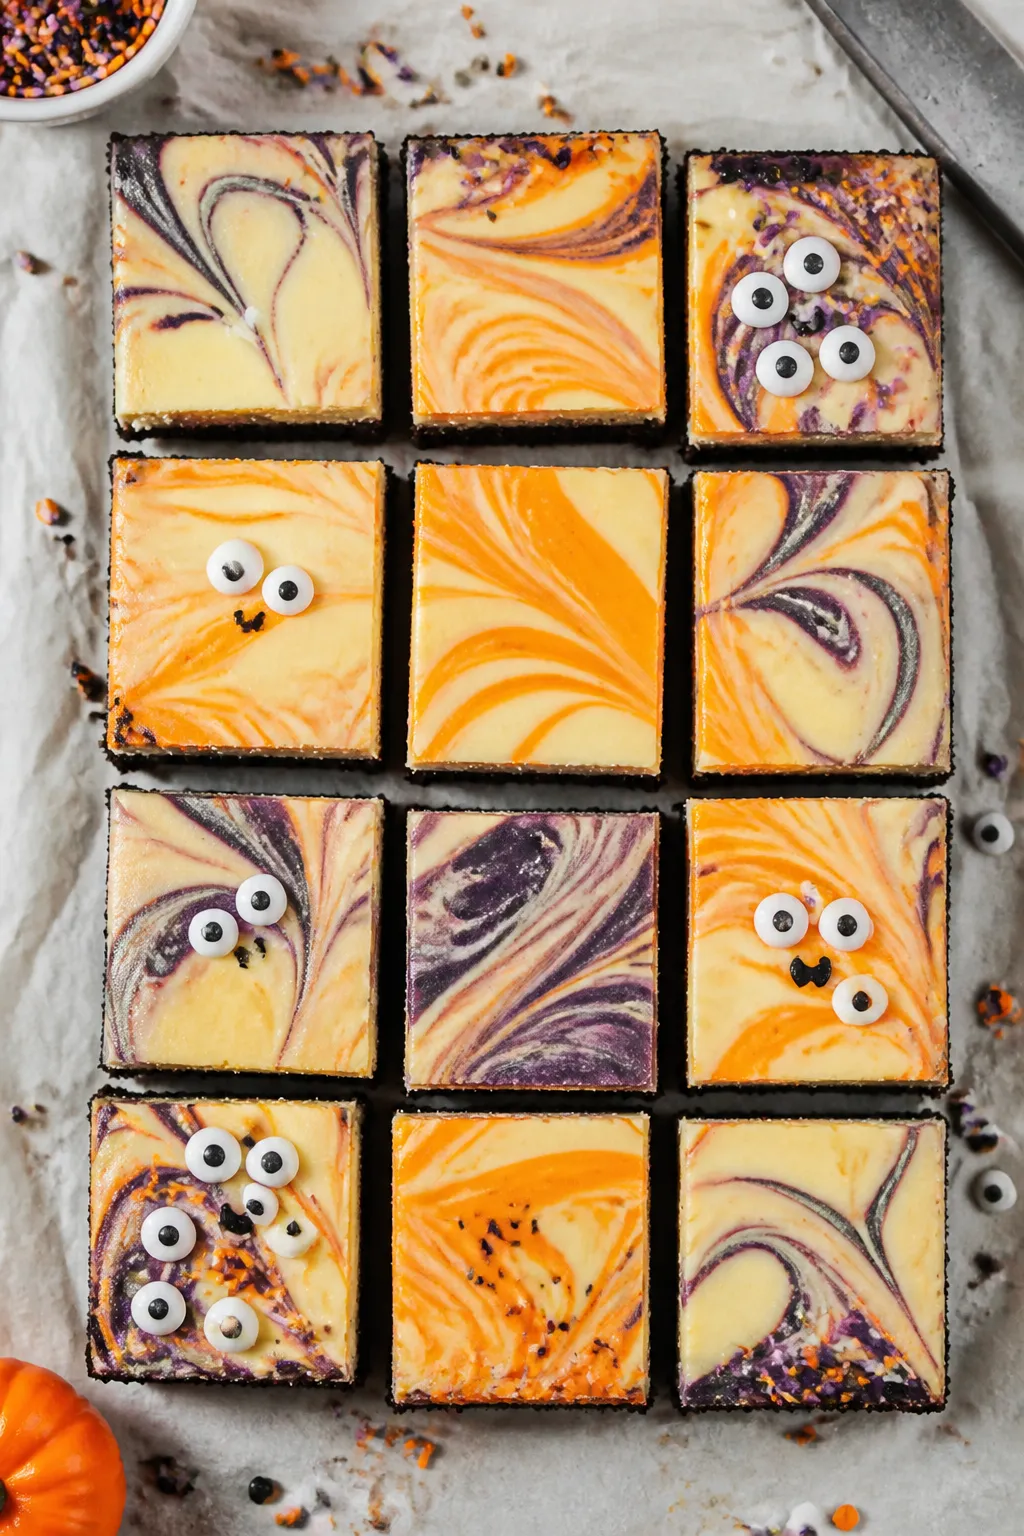
- Finish and serve. Lift out using the parchment overhang. Add sprinkles, candy eyes, or crushed candies if you like. Cut into bars with a warm, dry knife for clean slices.
What Makes This Special
These bars bring together classic cheesecake flavor with bright, playful Halloween vibes. The crust is chocolatey and crisp, adding a nice snap under the creamy center.
The colorful swirls on top make each piece feel custom—no fancy decorating skills required. Best of all, they bake in a standard pan and chill up beautifully, so they’re party-ready and easy to transport.
Ingredients
- For the crust:
- 24 chocolate sandwich cookies (like Oreos), crushed to fine crumbs
- 5 tablespoons unsalted butter, melted
- 1 tablespoon granulated sugar
- Pinch of salt
- For the cheesecake filling:
- 16 ounces cream cheese, softened to room temperature
- 2/3 cup granulated sugar
- 2 large eggs, at room temperature
- 1/3 cup sour cream, at room temperature
- 1 teaspoon vanilla extract
- 1 tablespoon cornstarch (or 2 teaspoons all-purpose flour)
- 1/8 teaspoon salt
- For the Halloween swirl and toppings:
- Gel food coloring in orange, purple, and black (or your favorite spooky colors)
- 2–3 tablespoons heavy cream or milk, as needed to thin small portions
- Halloween sprinkles, candy eyes, or crushed chocolate candies (optional)
Instructions
- Prep the pan and oven. Heat the oven to 325°F (163°C). Line a 9×9-inch baking pan with parchment, leaving overhang on two sides for easy lifting.
Lightly grease the parchment.
- Make the crust. Mix cookie crumbs, melted butter, sugar, and salt until the texture resembles wet sand. Press firmly and evenly into the pan. Use the bottom of a measuring cup to compact.
Bake for 8–10 minutes, then let cool slightly.
- Beat the cream cheese base. In a large bowl, beat cream cheese and sugar on medium speed until smooth and fluffy, about 2–3 minutes. Scrape the bowl. Add eggs one at a time, mixing on low until just combined.
- Add the rest. Mix in sour cream, vanilla, cornstarch, and salt on low speed until smooth.
Avoid overmixing to limit air bubbles.
- Color a few spoonfuls. Transfer 1/2 cup of the batter to a small bowl. Divide into 2–3 ramekins and tint each with a different gel color. Add a splash of cream to each to keep it fluid.
- Assemble. Pour the plain batter over the crust and smooth the top.
Dollop small spoonfuls of the colored batter across the surface. Use a toothpick or skewer to gently swirl. Don’t overdo it—two or three passes is enough.
- Bake. Bake at 325°F (163°C) for 28–34 minutes.
The edges should be set and the center slightly wobbly. Avoid browning on top.
- Cool gradually. Turn off the oven, crack the door, and let the bars sit for 10 minutes. Move the pan to a rack and cool to room temperature.
- Chill. Cover and refrigerate at least 4 hours, preferably overnight, to fully set.
- Finish and serve. Lift out using the parchment overhang.
Add sprinkles, candy eyes, or crushed candies if you like. Cut into bars with a warm, dry knife for clean slices.
Keeping It Fresh
Store the bars in an airtight container in the fridge for up to 5 days. Place a sheet of parchment between layers to protect the swirl and keep the tops from sticking.
For longer storage, freeze the sliced bars on a baking sheet until firm, then wrap individually and store in a freezer bag for up to 2 months. Thaw in the fridge overnight for the best texture.
Why This is Good for You
It’s dessert, but there are still a few bright spots. Portion control is built in—bars make it easier to enjoy a treat without going overboard. The recipe uses a moderate amount of sugar for the yield, and the richness means a small piece satisfies.
Cream cheese brings a bit of protein and calcium, and making it at home lets you skip artificial flavors or extra additives you’ll find in packaged snacks.
Pitfalls to Watch Out For
- Cold ingredients. If the cream cheese or eggs are cold, you’ll get lumps. Bring everything to room temp first.
- Overmixing. Too much air in the batter can cause cracks. Mix on low and stop when smooth.
- Overbaking. Cheesecake should be slightly jiggly in the center.
If it’s fully set in the oven, it’s overdone.
- Rough swirling. Dragging too deeply can mix colors into a muddy shade. Keep the skewer near the surface.
- Rushing the chill. Warm bars won’t slice cleanly. Chill until completely set.
Alternatives
- Crust swaps: Try chocolate graham crackers, gingersnaps for a warm spice note, or gluten-free sandwich cookies.
- Flavor twists: Add 1 teaspoon orange zest to the batter for a citrus lift, or 1/4 teaspoon almond extract for a bakery-style aroma.
- Marble chocolate: Melt 1/3 cup semisweet chips and swirl a few ribbons on top instead of colored batter.
- Lighter version: Use Neufchâtel (1/3 less fat cream cheese) and light sour cream.
Bake times remain similar.
- No food coloring: Use natural colors like freeze-dried raspberry powder (pink), turmeric plus a hint of carrot juice (orange), or blueberry powder (purple).
- Pan size: For a 9×13-inch pan, increase the filling by 50% and watch the bake time—likely 35–42 minutes.
FAQ
Can I make these a day ahead?
Yes. Cheesecake bars actually taste better after resting. Make them the day before, chill overnight, and slice right before serving.
How do I prevent cracks?
Use room-temperature ingredients, don’t overmix, bake at a steady low temperature, and cool gradually.
A slight jiggle in the center is a good sign.
Do I need a water bath?
No water bath is needed for bars. The shallow layer bakes evenly, and careful cooling keeps the top smooth.
What if I don’t have gel food coloring?
Liquid coloring works, but use a light hand so you don’t thin the batter too much. If needed, add a pinch more cornstarch to the colored portions.
Can I use a springform pan instead?
You can, but bars are easier for parties.
If using a springform (8- or 9-inch), keep the same filling amounts, check for doneness around 35–42 minutes, and cool fully before slicing.
How do I get clean slices?
Use a long, sharp knife dipped in hot water and wiped dry between cuts. Don’t press down too fast—let the knife glide.
Can I add mix-ins?
Sure. Fold in up to 1/2 cup mini chocolate chips or crushed chocolate candies.
Keep pieces small so the bars slice neatly.
What if my crust crumbles?
It likely needed more butter or firmer packing. Next time, add 1 extra tablespoon melted butter and press the crumbs very firmly before pre-baking.
Final Thoughts
Halloween cheesecake bars deliver the best of both worlds: a fun, festive look and classic, creamy flavor. They’re simple to make, easy to serve, and endlessly customizable.
Whether you add candy eyes for a playful finish or keep the swirl sleek and simple, this dessert will disappear fast. Make a batch, chill well, and get ready for happy hands grabbing seconds.
Printable Recipe Card
Want just the essential recipe details without scrolling through the article? Get our printable recipe card with just the ingredients and instructions.