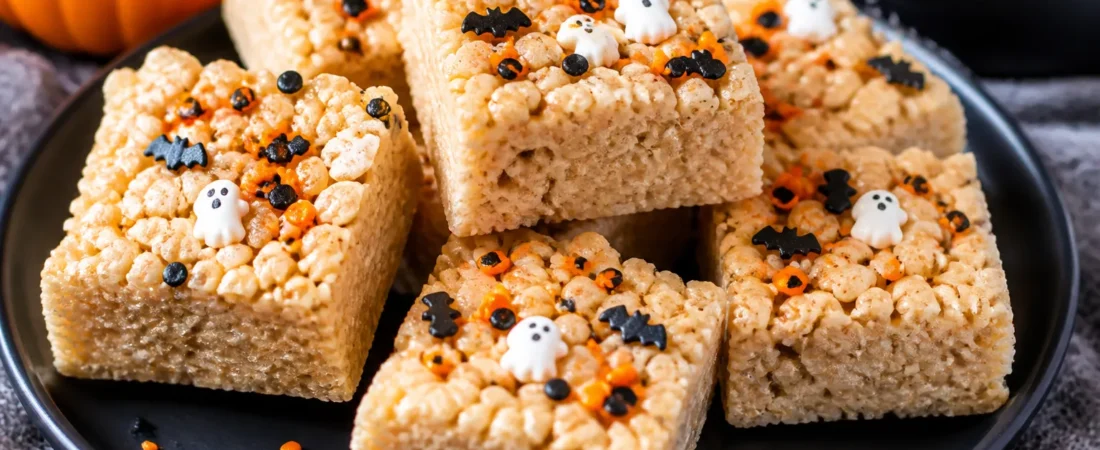
These Halloween Rice Krispie Treats hit that perfect sweet spot between cute and creepy. They’re quick to make, easy to customize, and a guaranteed hit with kids and adults. You don’t need any fancy equipment or advanced baking skills—just a pot, a pan, and some festive add-ins.
Whether you’re hosting a party, handing out treats, or just want a seasonal snack, these bars bring the Halloween spirit without the fuss.
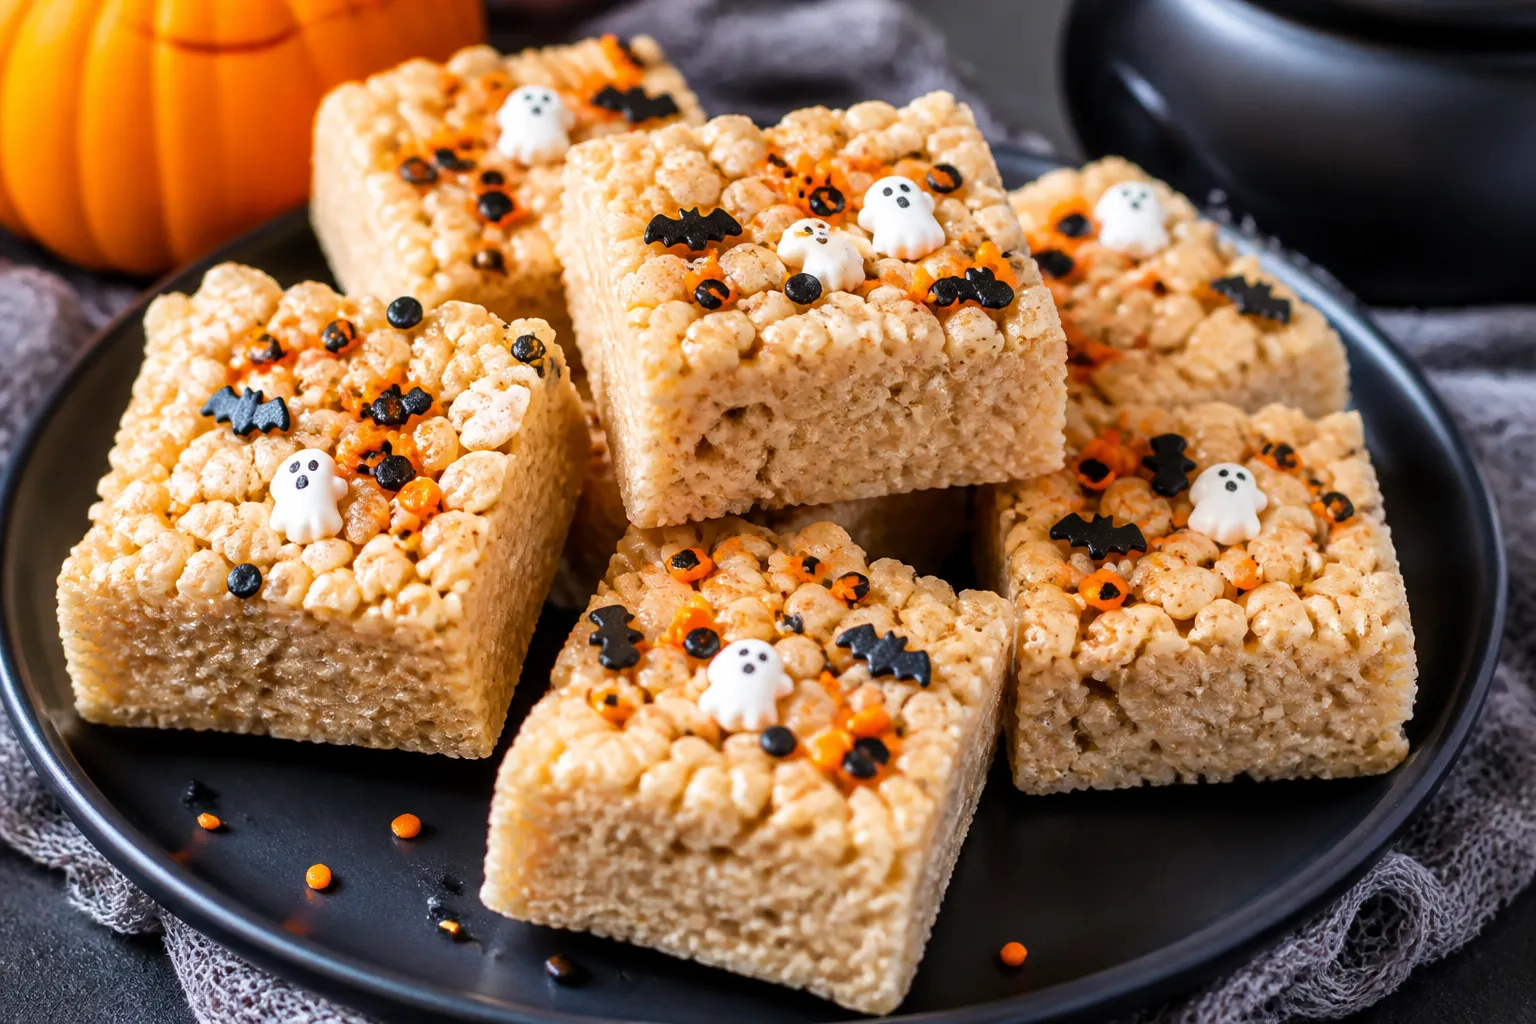
Ingredients
Method
- Prep your pan: Lightly grease a 9×13-inch baking pan with cooking spray or butter. For easy lifting later, line it with parchment paper, leaving a little overhang.
- Melt the butter: In a large pot over low heat, melt the butter gently. Low and slow helps keep the marshmallows soft and prevents a stiff, dry bar.
- Add marshmallows: Pour in the mini marshmallows and stir constantly until they’re fully melted and smooth. Avoid boiling. Once melted, stir in the vanilla extract and a small pinch of salt.
- Fold in cereal: Remove the pot from the heat. Add the Rice Krispies and stir until everything is evenly coated. If using extra mini marshmallows for gooey pockets, fold them in now.
- Mix in the Halloween flair: Gently fold in sprinkles, candy eyes, and seasonal candies. Reserve a few for the top so they show off nicely.
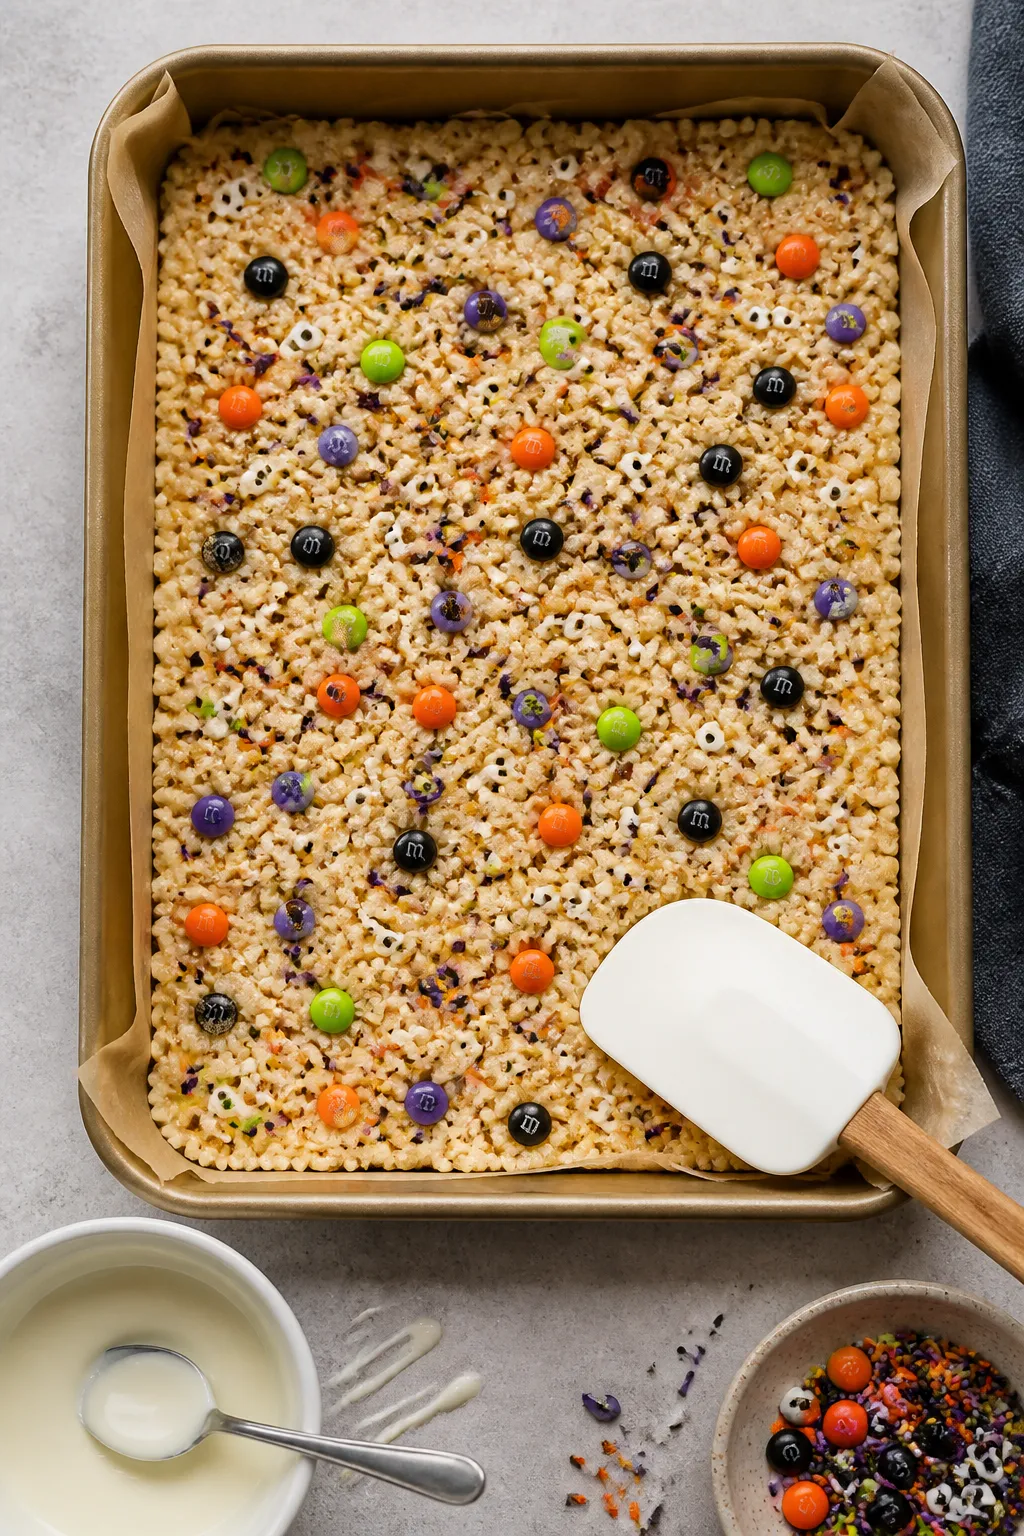
- Press into the pan: Transfer the mixture to your prepared pan. Lightly grease a spatula—or your clean hands—to press the mixture down evenly. Don’t press too hard or the bars will turn dense.
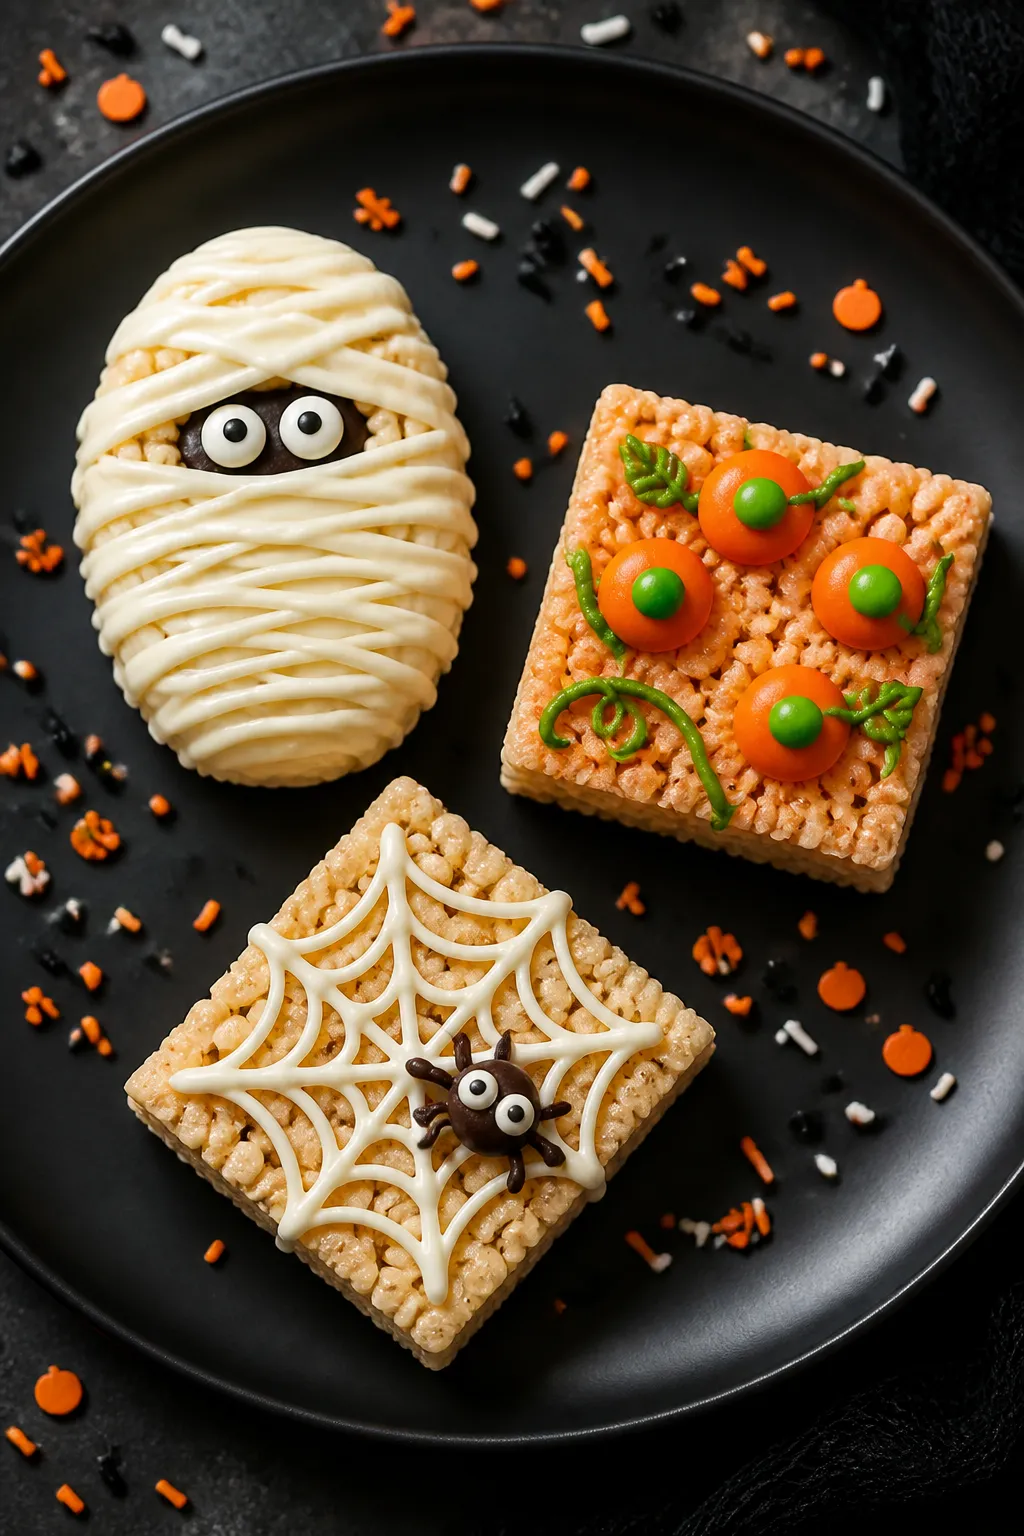
- Decorate: Sprinkle the reserved candies and sprinkles over the top. If using melted white chocolate or candy melts, drizzle it in zigzags for a mummy or spiderweb look. Add a few extra candy eyes for fun.
- Set and slice: Let the pan sit at room temperature for 30–45 minutes to firm up. Lift out by the parchment and cut into squares or rectangles. For clean cuts, use a sharp knife greased lightly with butter.
Why This Recipe Works
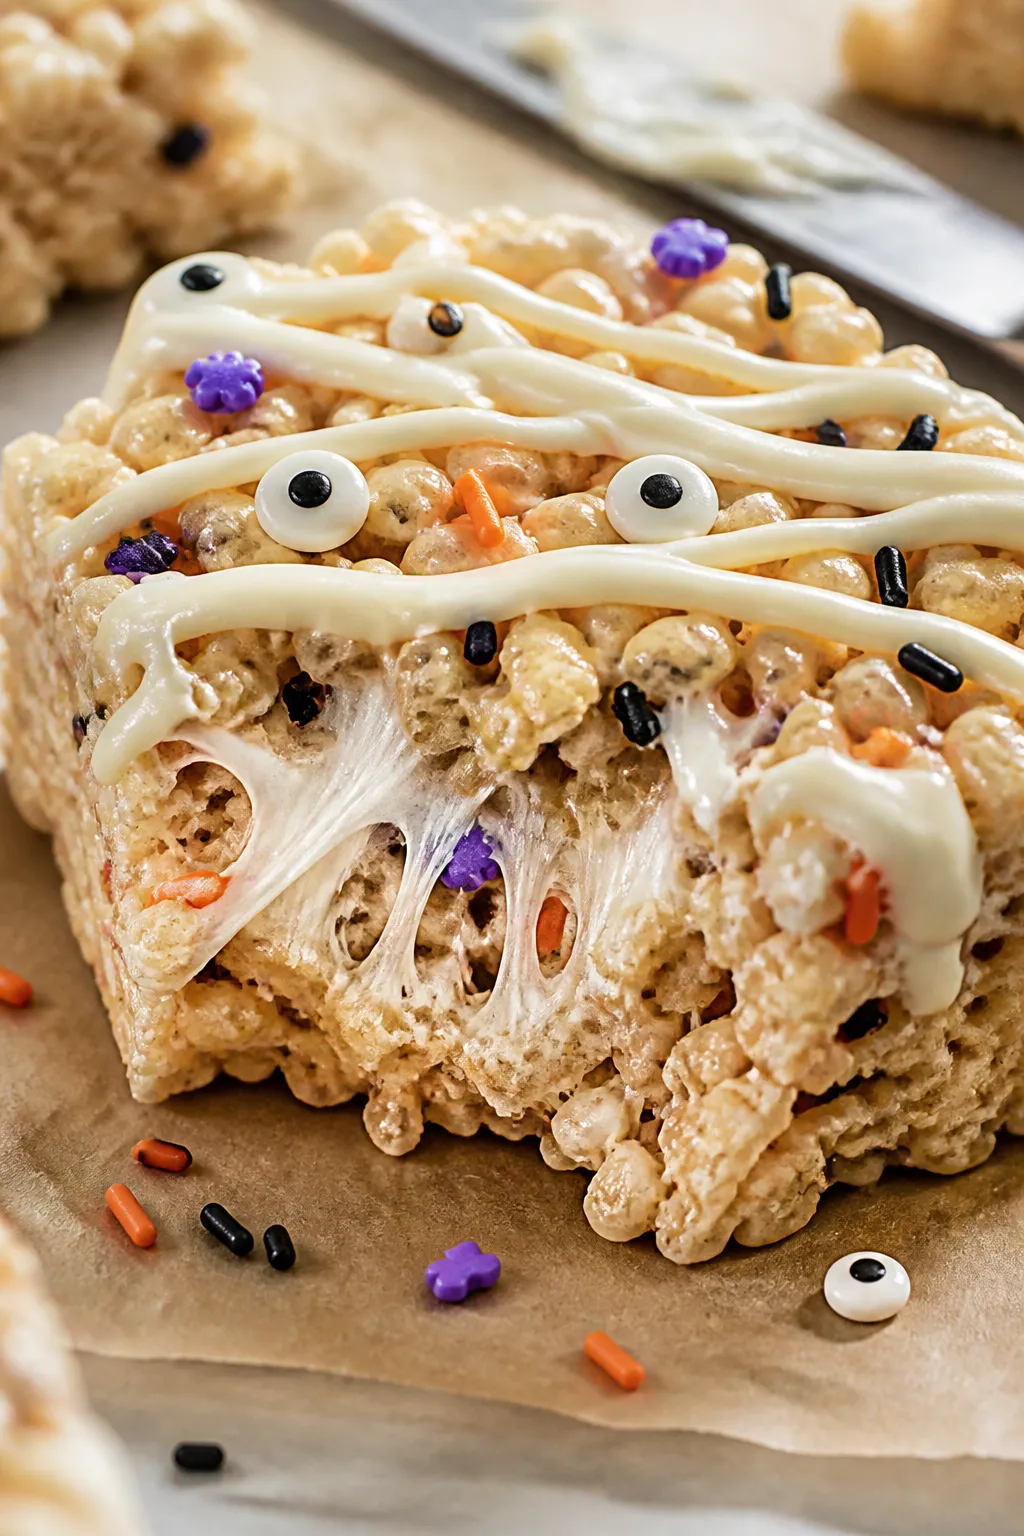
Rice Krispie treats shine because they’re simple, reliable, and endlessly adaptable. Using fresh mini marshmallows melts faster and more smoothly, so the texture stays soft and chewy. A touch of butter adds flavor and prevents sticking.
Fold in Halloween sprinkles, candy eyes, or orange and black candies for an instant holiday vibe. With a few small tricks—like low heat and a vanilla boost—you get glossy, plush bars every time.
Shopping List
- Rice Krispies cereal (about 6 cups)
- Mini marshmallows (10 ounces, plus 1 cup extra for mix-ins if desired)
- Unsalted butter (4 tablespoons)
- Vanilla extract (1 teaspoon)
- Salt (a small pinch; optional but recommended)
- Halloween sprinkles (orange, black, purple)
- Candy eyes (optional but fun)
- Mini chocolate chips or M&M’s (seasonal colors if possible)
- White chocolate or candy melts (for mummy drizzle or spiderwebs; optional)
- Cooking spray or extra butter (for greasing the pan)
How to Make It
- Prep your pan: Lightly grease a 9×13-inch baking pan with cooking spray or butter. For easy lifting later, line it with parchment paper, leaving a little overhang.
- Melt the butter: In a large pot over low heat, melt the butter gently.
Low and slow helps keep the marshmallows soft and prevents a stiff, dry bar.
- Add marshmallows: Pour in the mini marshmallows and stir constantly until they’re fully melted and smooth. Avoid boiling. Once melted, stir in the vanilla extract and a small pinch of salt.
- Fold in cereal: Remove the pot from the heat.
Add the Rice Krispies and stir until everything is evenly coated. If using extra mini marshmallows for gooey pockets, fold them in now.
- Mix in the Halloween flair: Gently fold in sprinkles, candy eyes, and seasonal candies. Reserve a few for the top so they show off nicely.
- Press into the pan: Transfer the mixture to your prepared pan.
Lightly grease a spatula—or your clean hands—to press the mixture down evenly. Don’t press too hard or the bars will turn dense.
- Decorate: Sprinkle the reserved candies and sprinkles over the top. If using melted white chocolate or candy melts, drizzle it in zigzags for a mummy or spiderweb look.
Add a few extra candy eyes for fun.
- Set and slice: Let the pan sit at room temperature for 30–45 minutes to firm up. Lift out by the parchment and cut into squares or rectangles. For clean cuts, use a sharp knife greased lightly with butter.
How to Store
Keep treats in an airtight container at room temperature for up to 3 days.
If stacking, place parchment between layers to avoid sticking. Avoid the fridge—it can make them hard. For longer storage, wrap bars tightly in plastic, then freeze in a zip-top bag for up to 1 month.
Thaw at room temperature before serving.
Benefits of This Recipe
- Quick and crowd-pleasing: Ready in under an hour with minimal effort.
- Budget-friendly: Simple pantry staples, no specialty tools needed.
- Customizable: Works with any sprinkles, candies, or drizzle you like.
- Kid-friendly project: Safe, simple steps perfect for little helpers.
- Make-ahead friendly: Stays fresh for a few days, ideal for parties and school events.
Common Mistakes to Avoid
- Overheating the marshmallows: High heat turns them rubbery. Stick with low heat and gentle stirring.
- Packing the mixture too tightly: Pressing hard leads to tough bars. Use a light hand and a greased spatula.
- Skipping the salt and vanilla: A pinch of salt and a splash of vanilla deepen the flavor and balance the sweetness.
- Adding hot mix-ins: If you add chocolate chips or candy eyes while the mixture is too hot, they’ll melt and smear.
Let it cool 1–2 minutes first.
- Using stale marshmallows: Old, dry marshmallows won’t melt smoothly. Fresh is best for that glossy, stretchy texture.
Variations You Can Try
- Monster Mummies: Shape warm mixture into ovals, let set, then drizzle with white chocolate “bandages” and add candy eyes.
- Pumpkin Patch Squares: Tint the melted marshmallows with a few drops of orange gel food coloring. Top with green M&M “stems.”
- Cookies and Scream: Fold in crushed chocolate sandwich cookies and mini chocolate chips.
Add candy eyes on top.
- Spooky Spiderwebs: Press into the pan, then pipe thin white chocolate circles and drag a toothpick outward to create webs. Finish with a mini chocolate chip “spider.”
- Salty-Sweet Crunch: Add pretzel bits or a sprinkle of flaky sea salt on top to balance the sweetness.
- Gluten-free tweak: Use a certified gluten-free crispy rice cereal and gluten-free candies.
- Dairy-free option: Swap in vegan butter and vegan marshmallows; check that your candies are dairy-free.
FAQ
How do I keep Rice Krispie treats soft and chewy?
Use low heat, fresh mini marshmallows, and don’t overpack the mixture in the pan. Store in an airtight container at room temperature, not the fridge.
Can I make these a day or two ahead?
Yes.
They hold well for 2–3 days when wrapped or sealed tightly. For best texture on party day, make them the night before.
What size pan should I use?
A 9×13-inch pan gives standard, nicely thick bars. For extra-thick treats, use a smaller pan like 9×9; for thinner bars, spread into a rimmed baking sheet.
How do I prevent my spatula from sticking?
Lightly grease your spatula or hands with butter or spray oil.
You can also use a piece of parchment to press the mixture down gently.
Can I use large marshmallows instead of mini?
Yes, but mini marshmallows melt faster and more evenly. If using large, chop them or give them a little extra time over low heat, stirring constantly.
Do I need to refrigerate them?
No. Refrigeration makes them hard.
Keep them at room temperature in a sealed container for the best texture.
What if my candies bleed color into the mixture?
Let the marshmallow-cereal mixture cool for 1–2 minutes before folding in candies and sprinkles. Reserve some for pressing on top so colors stay bold.
How can I cut super clean squares?
Grease a sharp knife and wipe it clean between cuts. For extra neat edges, chill the pan for 10 minutes, then cut and return to room temp before serving.
Can I double the recipe?
Absolutely.
Use a larger pot, double all ingredients, and spread between two pans or one extra-large sheet pan. Work quickly so the mixture doesn’t set too soon.
How do I add food coloring without messing up the texture?
Stir gel food coloring into the fully melted marshmallows off the heat before adding the cereal. Gel colors are concentrated and won’t water down the mixture.
Final Thoughts
These Halloween Rice Krispie Treats are the kind of recipe you keep in your back pocket for busy nights and last-minute parties.
They’re festive, affordable, and incredibly forgiving. With a few clever add-ins and a playful drizzle, they turn into a spooky showstopper. Keep it simple or go all out—either way, they’ll disappear fast.
Printable Recipe Card
Want just the essential recipe details without scrolling through the article? Get our printable recipe card with just the ingredients and instructions.