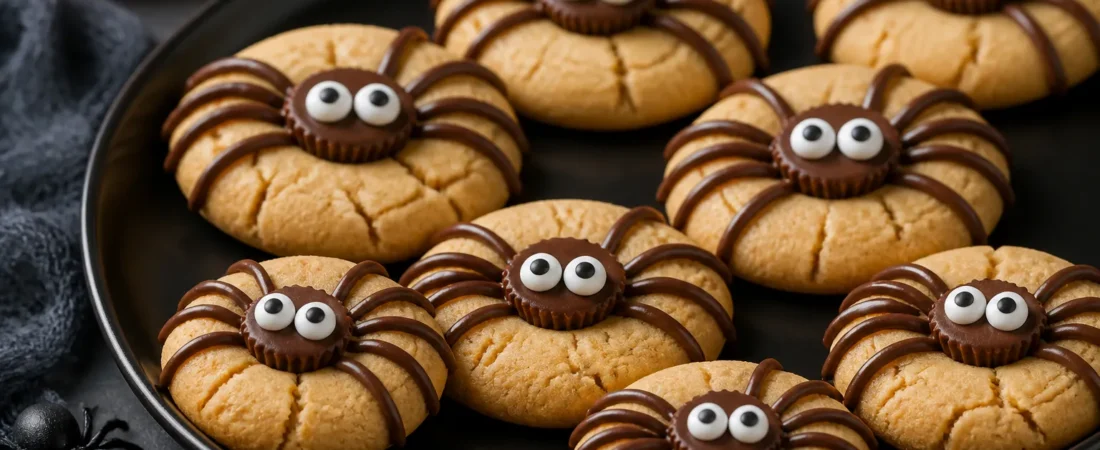
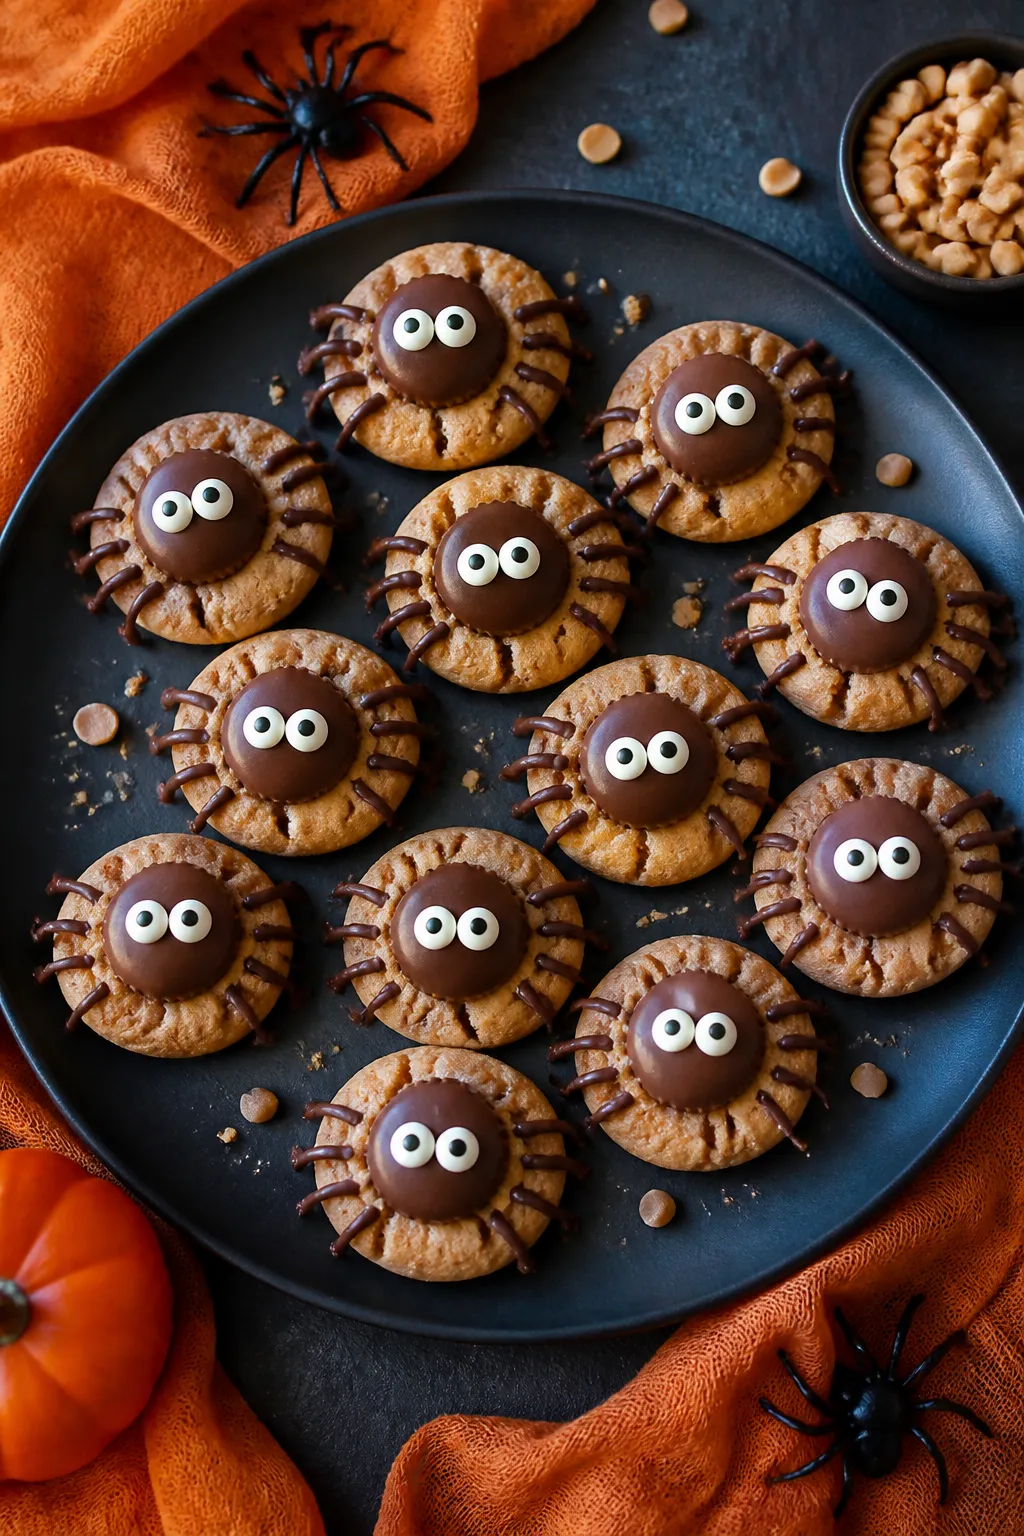
If you’re looking for a fun Halloween treat that’s easy to make and perfect for parties, these Peanut Butter Spider Cookies are it. They’re soft, chewy peanut butter cookies topped with a chocolate “spider body” and sweet candy eyes. Kids love decorating them, and adults won’t stop snacking on them.
You don’t need any fancy tools or baking skills—just basic pantry ingredients and a steady hand for the legs. Make a batch, and watch them disappear faster than you can say “boo.”
Ingredients
Method
- Preheat and prep: Heat your oven to 350°F (175°C). Line two baking sheets with parchment paper.
- Cream the fats and sugars: In a large bowl, beat the softened butter, peanut butter, granulated sugar, and brown sugar until fluffy, about 2 minutes. This step creates that classic chewy texture.
- Add egg and vanilla: Beat in the egg and vanilla until smooth and fully combined.
- Mix dry ingredients: In a separate bowl, whisk together flour, baking soda, baking powder, and salt.
- Combine: Add the dry ingredients to the wet mixture and mix on low until just combined. Don’t overmix.
- Shape the cookies: Scoop dough into 1-tablespoon balls. Roll each ball in a little granulated sugar and place on the prepared sheets, spacing about 2 inches apart.
- Bake: Bake for 9–11 minutes, until the edges are set and the tops crack slightly. The centers should still look soft.
- Create space for the spiders: Right after removing from the oven, gently press the center of each cookie with the back of a teaspoon or a small round spoon to make a shallow indentation.
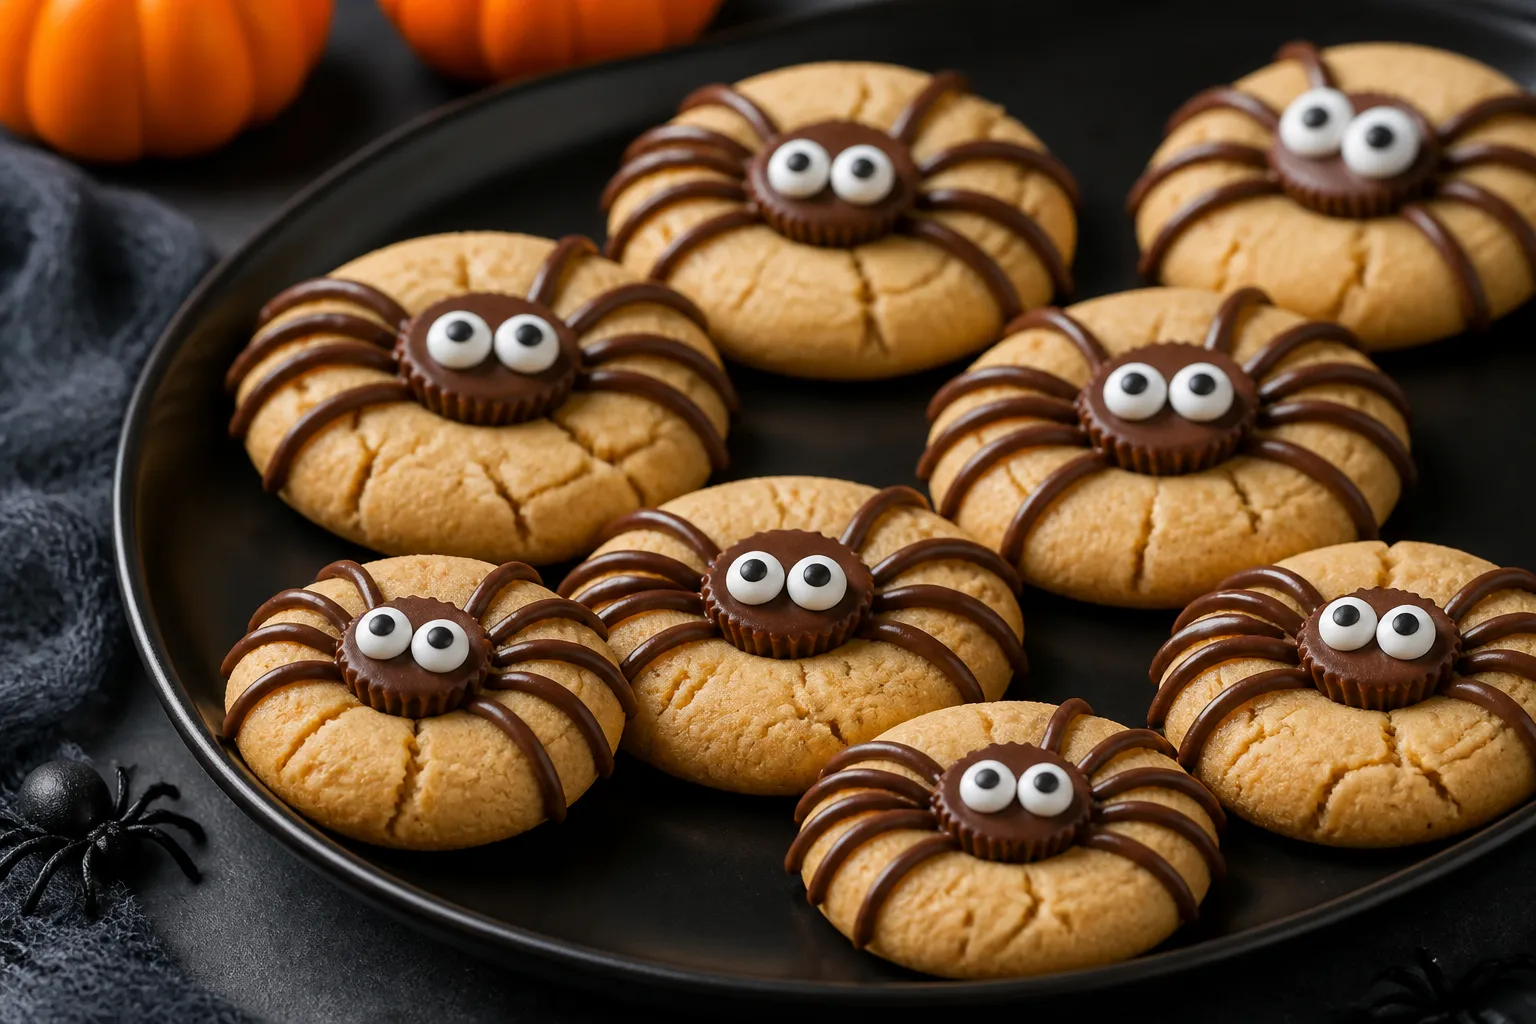
- Add the spider bodies: While the cookies are still warm but not melting-hot, press a chocolate truffle or mini peanut butter cup into the center of each cookie. Let them sit on the baking sheet for 5 minutes to set.
- Melt the chocolate: In a microwave-safe bowl, melt chocolate chips in 20–30 second bursts, stirring between each, until smooth. If it’s too thick to pipe, stir in up to 1 tablespoon of milk or cream.
- Pipe the legs: Transfer melted chocolate to a small piping bag or a zip-top bag with a tiny corner snipped. Pipe four legs on each side of the chocolate body, curving them slightly for a realistic look.
- Add eyes: Dot a tiny bit of melted chocolate on the back of two candy eyes and stick them onto each spider body. Press gently so they adhere.
- Set and serve: Let cookies cool until the chocolate legs set, about 20–30 minutes at room temperature, or pop the trays in the fridge for 10 minutes to speed it up.
What Makes This Recipe So Good
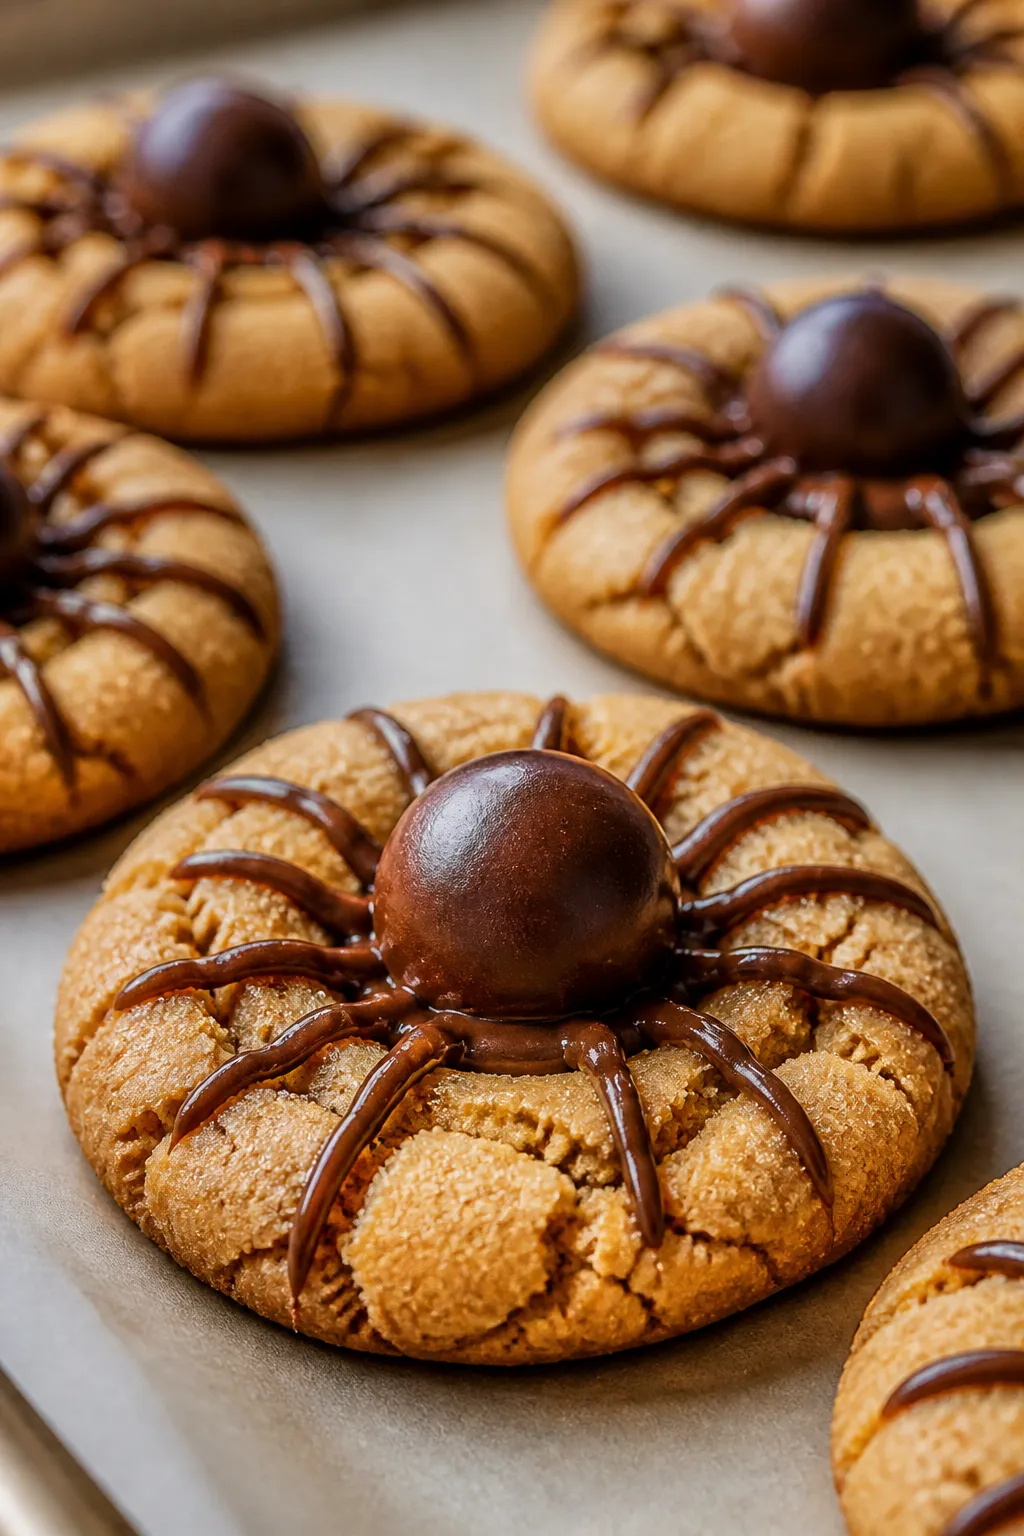
- Soft, chewy texture: These cookies bake up tender with a slightly crisp edge—ideal for holding the chocolate topping.
- Simple ingredients: Everything is easy to find, and you can use store-bought truffles or peanut butter cups for the spiders.
- Kid-friendly decorating: Piping chocolate legs and adding candy eyes is a great activity for little helpers.
- Big flavor: Peanut butter and chocolate are a classic combo that never fails.
- Perfect for parties: They look impressive on a dessert table and stay cute even after transport.
Ingredients
- 1/2 cup (1 stick) unsalted butter, softened
- 1/2 cup creamy peanut butter
- 1/2 cup granulated sugar (plus extra for rolling)
- 1/2 cup packed light brown sugar
- 1 large egg, room temperature
- 1 teaspoon vanilla extract
- 1 1/3 cups all-purpose flour
- 3/4 teaspoon baking soda
- 1/4 teaspoon baking powder
- 1/4 teaspoon fine salt
- 24 chocolate truffles, round chocolates, or mini peanut butter cups (for the spider bodies)
- 1/2 cup chocolate chips or melting chocolate (for spider legs)
- 48 candy eyes
- Optional: 1 tablespoon milk or cream to thin the melted chocolate for piping
Step-by-Step Instructions
- Preheat and prep: Heat your oven to 350°F (175°C). Line two baking sheets with parchment paper.
- Cream the fats and sugars: In a large bowl, beat the softened butter, peanut butter, granulated sugar, and brown sugar until fluffy, about 2 minutes.
This step creates that classic chewy texture.
- Add egg and vanilla: Beat in the egg and vanilla until smooth and fully combined.
- Mix dry ingredients: In a separate bowl, whisk together flour, baking soda, baking powder, and salt.
- Combine: Add the dry ingredients to the wet mixture and mix on low until just combined. Don’t overmix.
- Shape the cookies: Scoop dough into 1-tablespoon balls. Roll each ball in a little granulated sugar and place on the prepared sheets, spacing about 2 inches apart.
- Bake: Bake for 9–11 minutes, until the edges are set and the tops crack slightly.
The centers should still look soft.
- Create space for the spiders: Right after removing from the oven, gently press the center of each cookie with the back of a teaspoon or a small round spoon to make a shallow indentation.
- Add the spider bodies: While the cookies are still warm but not melting-hot, press a chocolate truffle or mini peanut butter cup into the center of each cookie. Let them sit on the baking sheet for 5 minutes to set.
- Melt the chocolate: In a microwave-safe bowl, melt chocolate chips in 20–30 second bursts, stirring between each, until smooth. If it’s too thick to pipe, stir in up to 1 tablespoon of milk or cream.
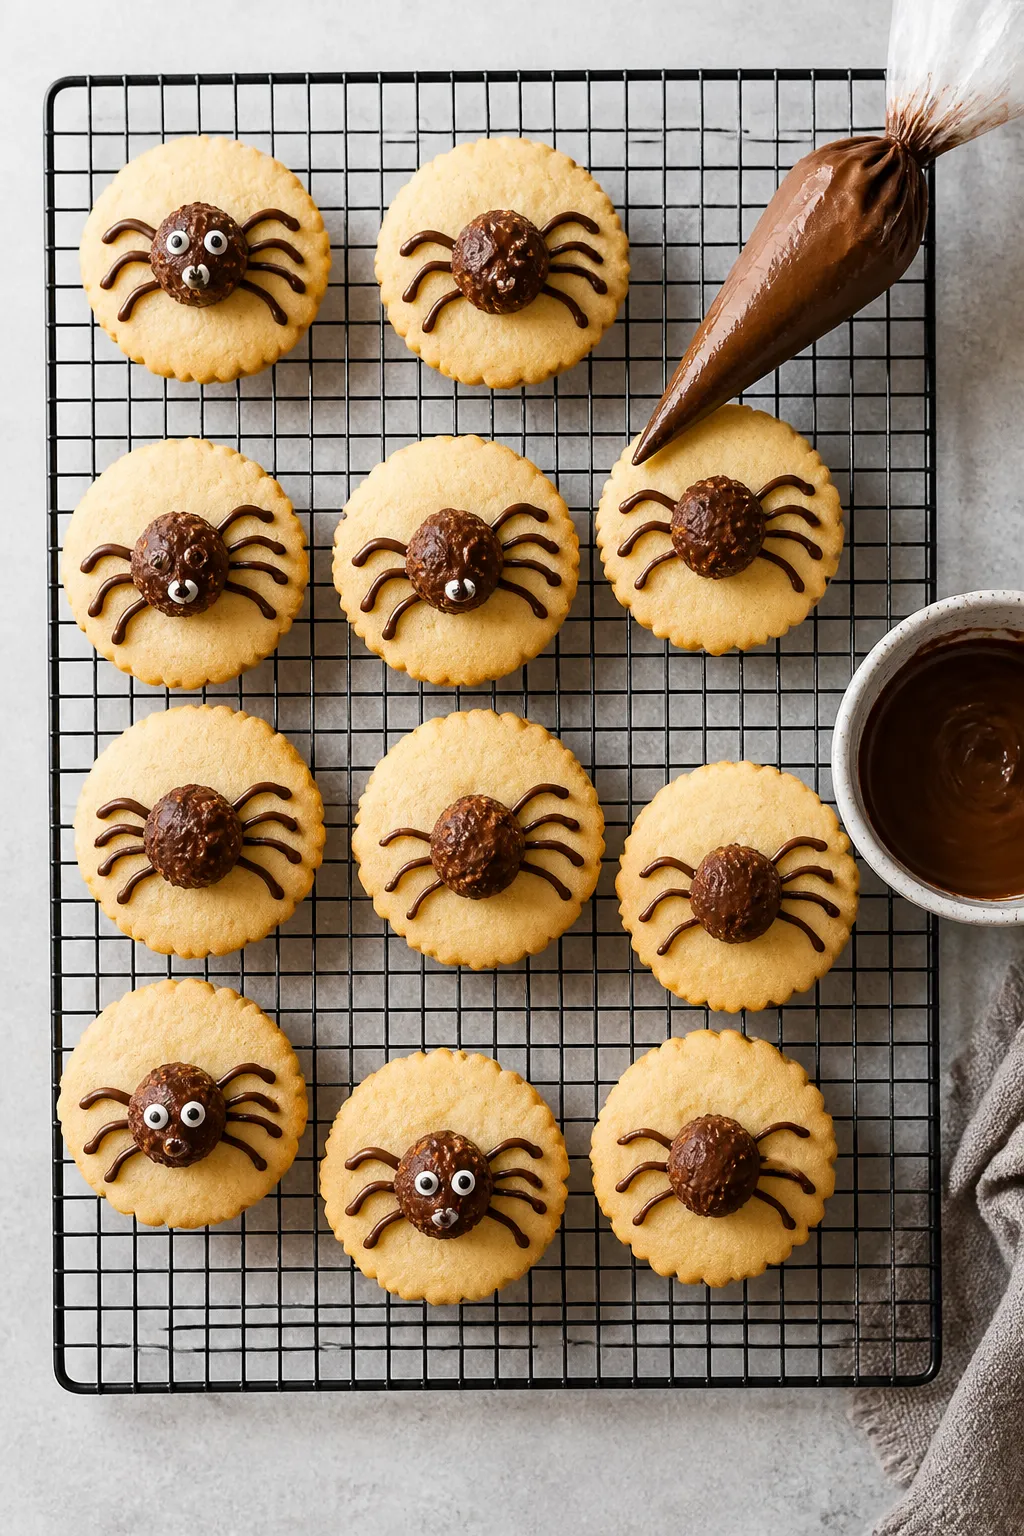
- Pipe the legs: Transfer melted chocolate to a small piping bag or a zip-top bag with a tiny corner snipped.
Pipe four legs on each side of the chocolate body, curving them slightly for a realistic look.
- Add eyes: Dot a tiny bit of melted chocolate on the back of two candy eyes and stick them onto each spider body. Press gently so they adhere.
- Set and serve: Let cookies cool until the chocolate legs set, about 20–30 minutes at room temperature, or pop the trays in the fridge for 10 minutes to speed it up.
How to Store
- Room temperature: Keep cookies in an airtight container for 3–4 days. Layer with parchment if stacking to protect the legs and eyes.
- Refrigerator: Store up to 1 week if your kitchen is warm.
Allow to come to room temp before serving for best texture.
- Freezer: Freeze undecorated baked cookies for up to 2 months. Thaw, then add the chocolate bodies, legs, and eyes before serving for the freshest look.
- Dough freeze tip: Freeze portioned dough balls up to 2 months. Bake from frozen, adding 1–2 extra minutes.
Why This is Good for You
- Balanced indulgence: These are treats, but a smaller serving satisfies thanks to peanut butter’s richness.
- Protein and satiety: Peanut butter adds some protein and healthy fats, helping you feel fuller with fewer cookies.
- Mindful ingredients: You control the sweetness, chocolate type, and peanut butter brand—great for tailoring to your needs.
- Joy factor: Decorating together builds connection and creativity, which is good for the soul—especially around the holidays.
What Not to Do
- Don’t skip softening the butter: Cold butter won’t cream properly and leads to dense cookies.
- Don’t overbake: Pull them when the edges set and centers look soft.
They’ll firm up as they cool.
- Don’t add eyes to hot chocolate: If the chocolate body is too warm, the eyes can slide off. Let it cool a minute first.
- Don’t make legs too thick: Thicker lines take longer to set and can break off easily. Thin, smooth lines work best.
- Don’t overcrowd the baking sheet: Give the cookies space to spread evenly for a neat shape.
Alternatives
- Gluten-free: Use a 1:1 gluten-free flour blend with xanthan gum.
Watch bake time, as GF cookies brown faster.
- No peanut butter: Swap with almond butter or sunflower seed butter. Choose a thicker, no-stir style for structure.
- Different bodies: Try malted milk balls, chocolate-covered caramels, or mini chocolate sandwich cookies split in half.
- Leg options: Use black decorating gel or royal icing if you don’t want melted chocolate.
- Lower sugar: Reduce total sugar by up to 1/4 cup. Texture will be slightly less chewy but still tasty.
- Dairy-free: Use dairy-free butter sticks and chocolate.
Check labels on candy eyes or use mini dairy-free chips for eyes.
FAQ
Can I use natural peanut butter?
Yes, but choose a no-stir natural peanut butter with a thicker texture. If yours is runny, chill the dough 30 minutes before baking to help the cookies hold their shape.
How do I keep the chocolate legs from smearing?
Let the cookies cool slightly before piping, and use chocolate that melts smoothly but sets firm—melting wafers or tempered chocolate work best. Chill the cookies briefly after decorating to lock in the shape.
What can I use if I can’t find candy eyes?
Use mini chocolate chips, white chocolate chips with a dot of dark chocolate, or tiny dots of royal icing.
Anything small and round will do the trick.
My cookies spread too much. What happened?
Your butter may have been too soft or the dough too warm. Next time, chill the dough 20–30 minutes before baking, and make sure your baking sheets are cool between batches.
Can I make them ahead for a party?
Absolutely.
Bake the cookies a day ahead and store airtight. Add the spider bodies, legs, and eyes the day of the event so they look fresh and polished.
How big should each cookie be?
About 1 tablespoon of dough per cookie keeps them manageable and the proportions right for the chocolate body. Larger cookies work too—just add 1–2 minutes of bake time.
Do I need a piping bag?
No.
A zip-top bag with a tiny corner snipped works fine. For cleaner lines, use a small round piping tip, but it’s optional.
Final Thoughts
Halloween Peanut Butter Spider Cookies bring together everything you want in a holiday bake: simple steps, big flavor, and a playful finish. They’re easy enough for a weeknight but cute enough for any party.
Set out the decorations, invite a helper or two, and make a batch that’s as fun to create as it is to eat. Once you try them, they’ll become a yearly tradition.
Printable Recipe Card
Want just the essential recipe details without scrolling through the article? Get our printable recipe card with just the ingredients and instructions.