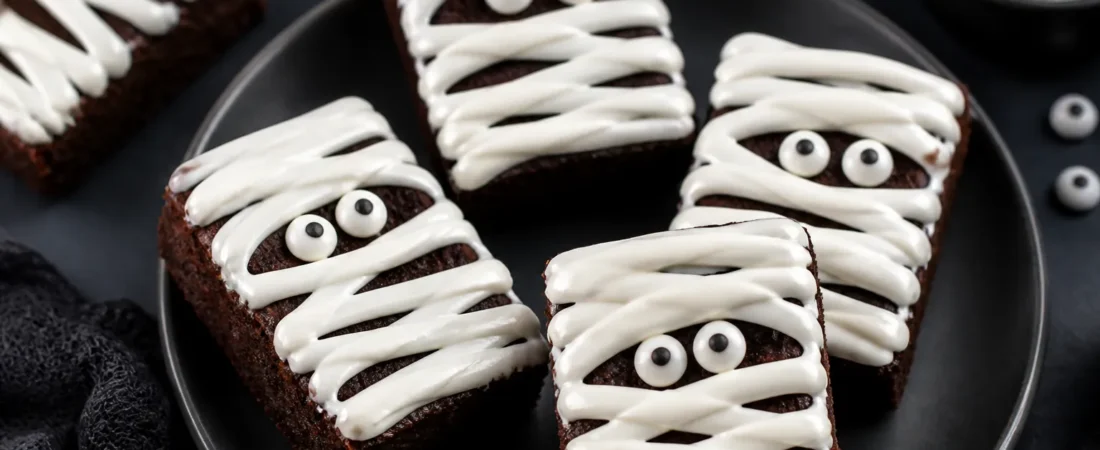
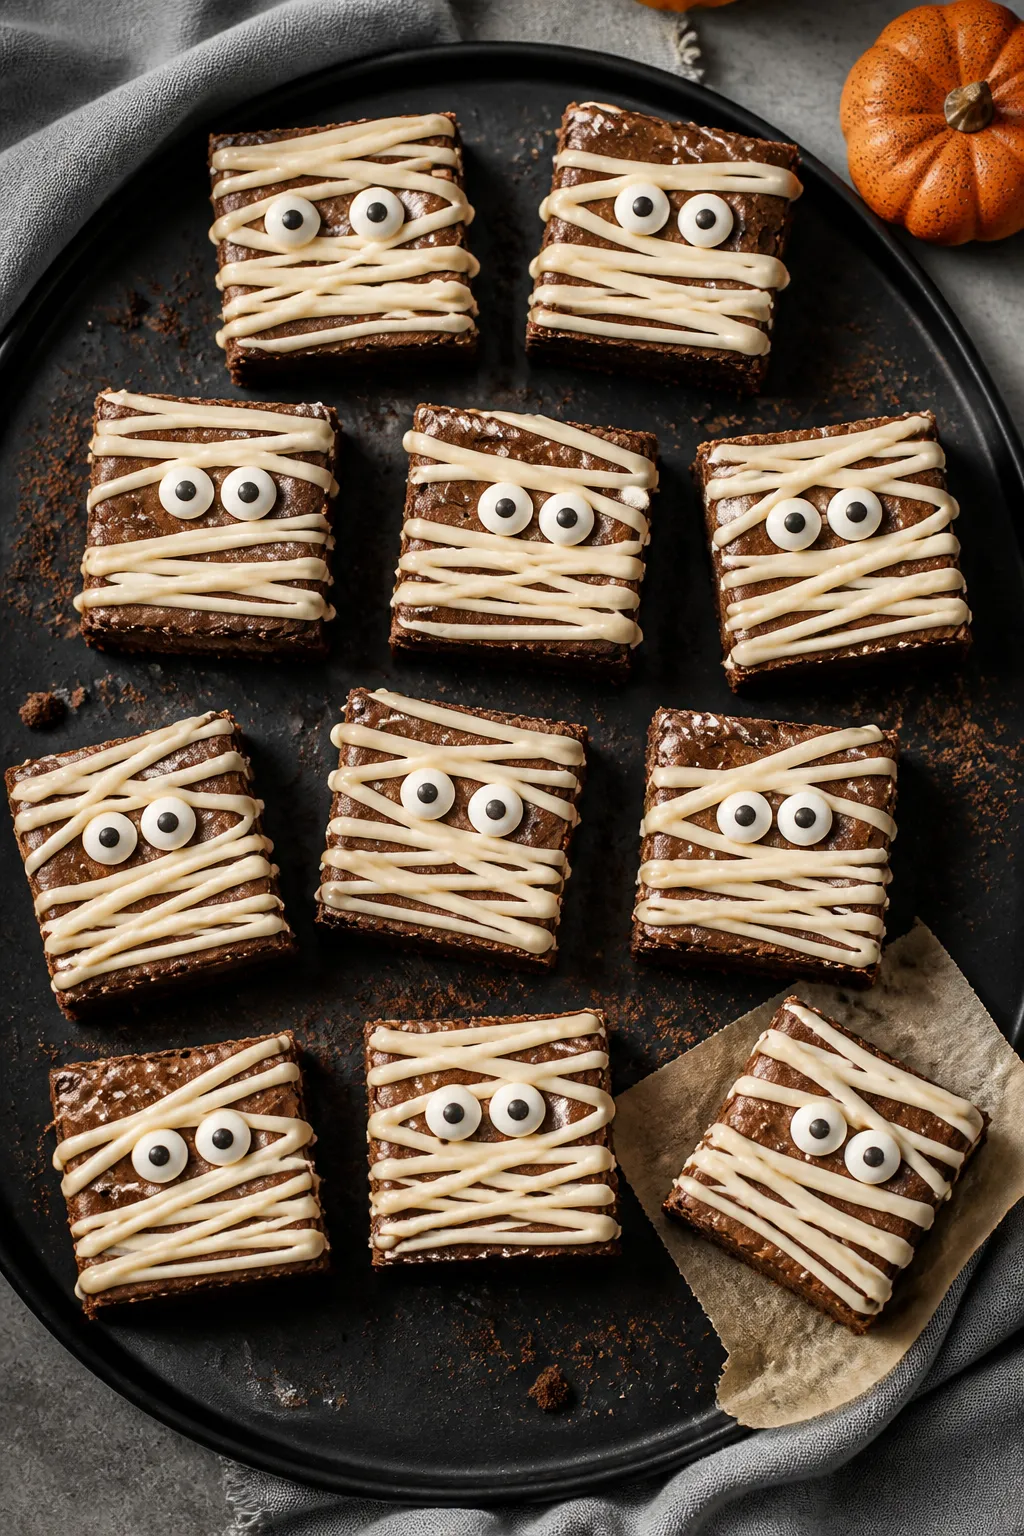
These Mummy Brownies are the kind of treat that makes people smile before they even take a bite. Picture rich, fudgy brownies topped with silky chocolate and drizzled with white “bandages,” then dotted with candy eyes. They look impressive but are surprisingly easy to make, even if you don’t bake often.
Perfect for Halloween parties, school events, or a cozy movie night, they’re a playful twist on a classic dessert. And the best part? The base is a brownie you already know and love—just dressed up for spooky season.
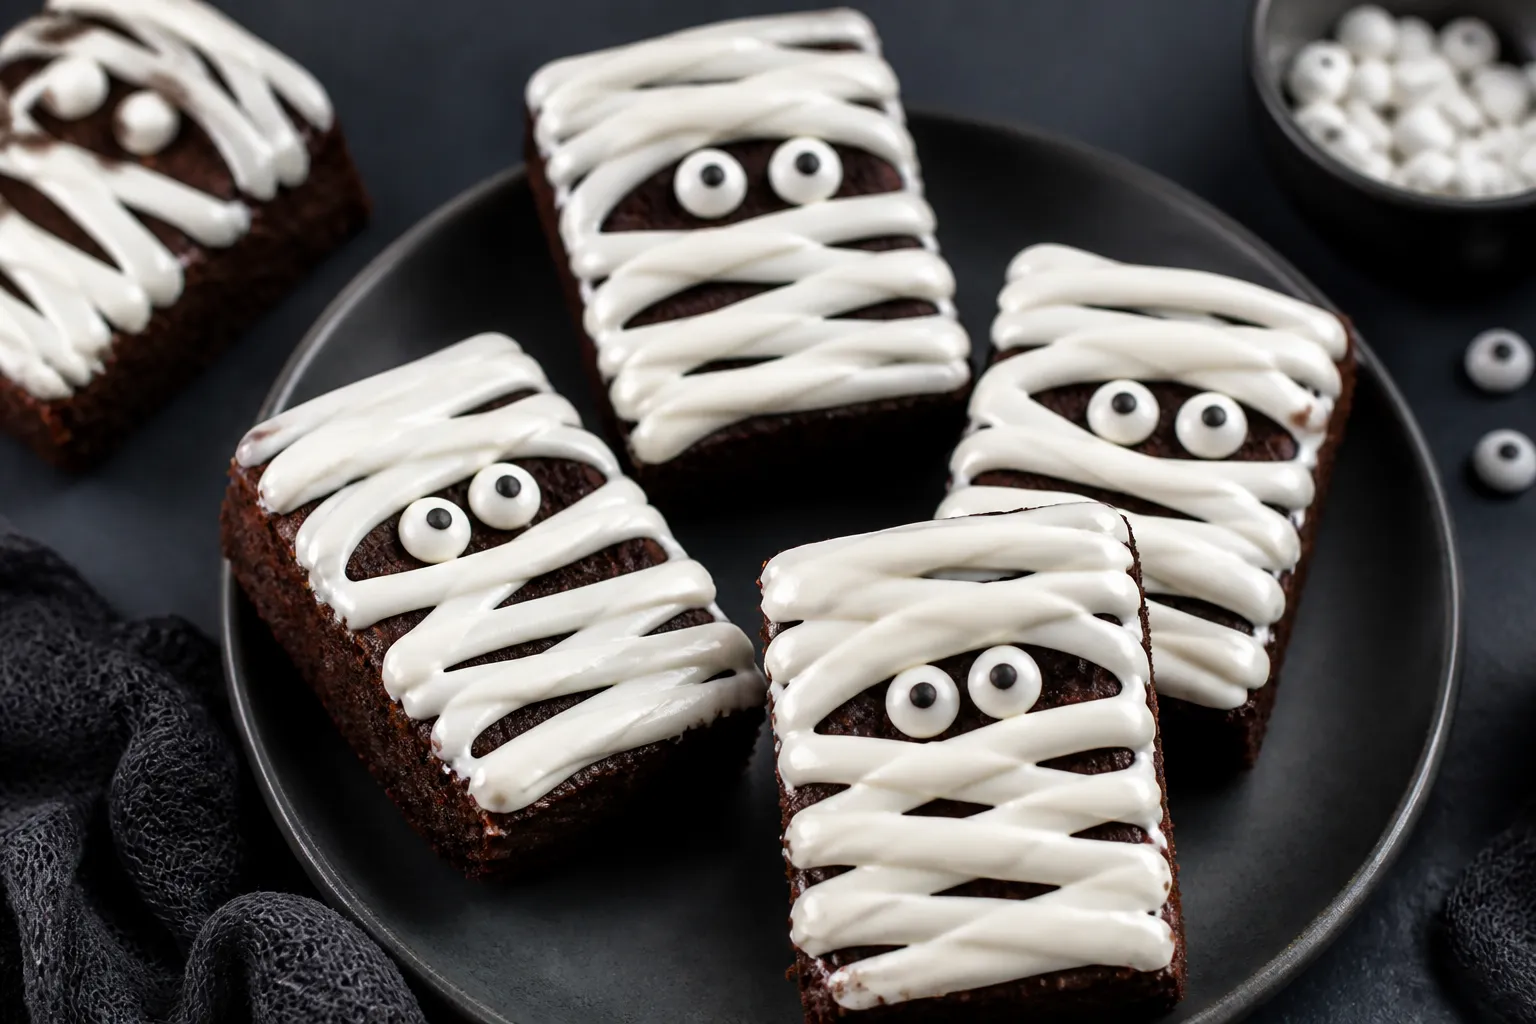
Ingredients
Method
- Preheat and prep: Set your oven to 350°F (175°C). Line a 9×13-inch pan with parchment, leaving overhang on two sides for easy lifting. Lightly grease the parchment.
- Melt the butter: In a microwave-safe bowl, melt butter until smooth. While warm, whisk in granulated and brown sugars until glossy.
- Whisk in eggs and vanilla: Add eggs one at a time, whisking well after each. Stir in vanilla. The mixture should look thick and shiny.
- Combine dry ingredients: In a separate bowl, whisk flour, cocoa, baking powder, and salt. Fold dry ingredients into the wet mix just until combined. If using chocolate chips, fold them in now. Don’t overmix.
- Bake: Spread batter evenly in the pan. Bake 22–28 minutes, until a toothpick comes out with moist crumbs, not wet batter. Err on the side of slightly underbaked for fudgy brownies.
- Cool completely: Let the brownies cool in the pan on a rack. This helps them set for clean cuts and neat decorating.
- Add chocolate top layer: Melt semisweet/dark chocolate chips with 1 tablespoon oil in 20–30 second bursts, stirring between each, until smooth. Spread over cooled brownies with an offset spatula. Let set 10–15 minutes until no longer runny.
- Create the “bandages”: Melt white chocolate or candy melts the same way. Transfer to a piping bag or a zip-top bag with a tiny corner snipped off. Drizzle back and forth in thin, crisscross lines to mimic mummy wrappings. Keep lines irregular—that’s what makes them look realistic.
- Place the eyes: While the white drizzle is still soft, press two candy eyes near the top area of each future square. If it sets too fast, add a tiny dot of melted white chocolate as glue.
- Set and slice: Chill for 10–15 minutes to firm up. Lift the slab out using parchment. Warm a sharp knife under hot water, dry it, and cut into neat squares or rectangles. Wipe the knife between cuts.
What Makes This Special
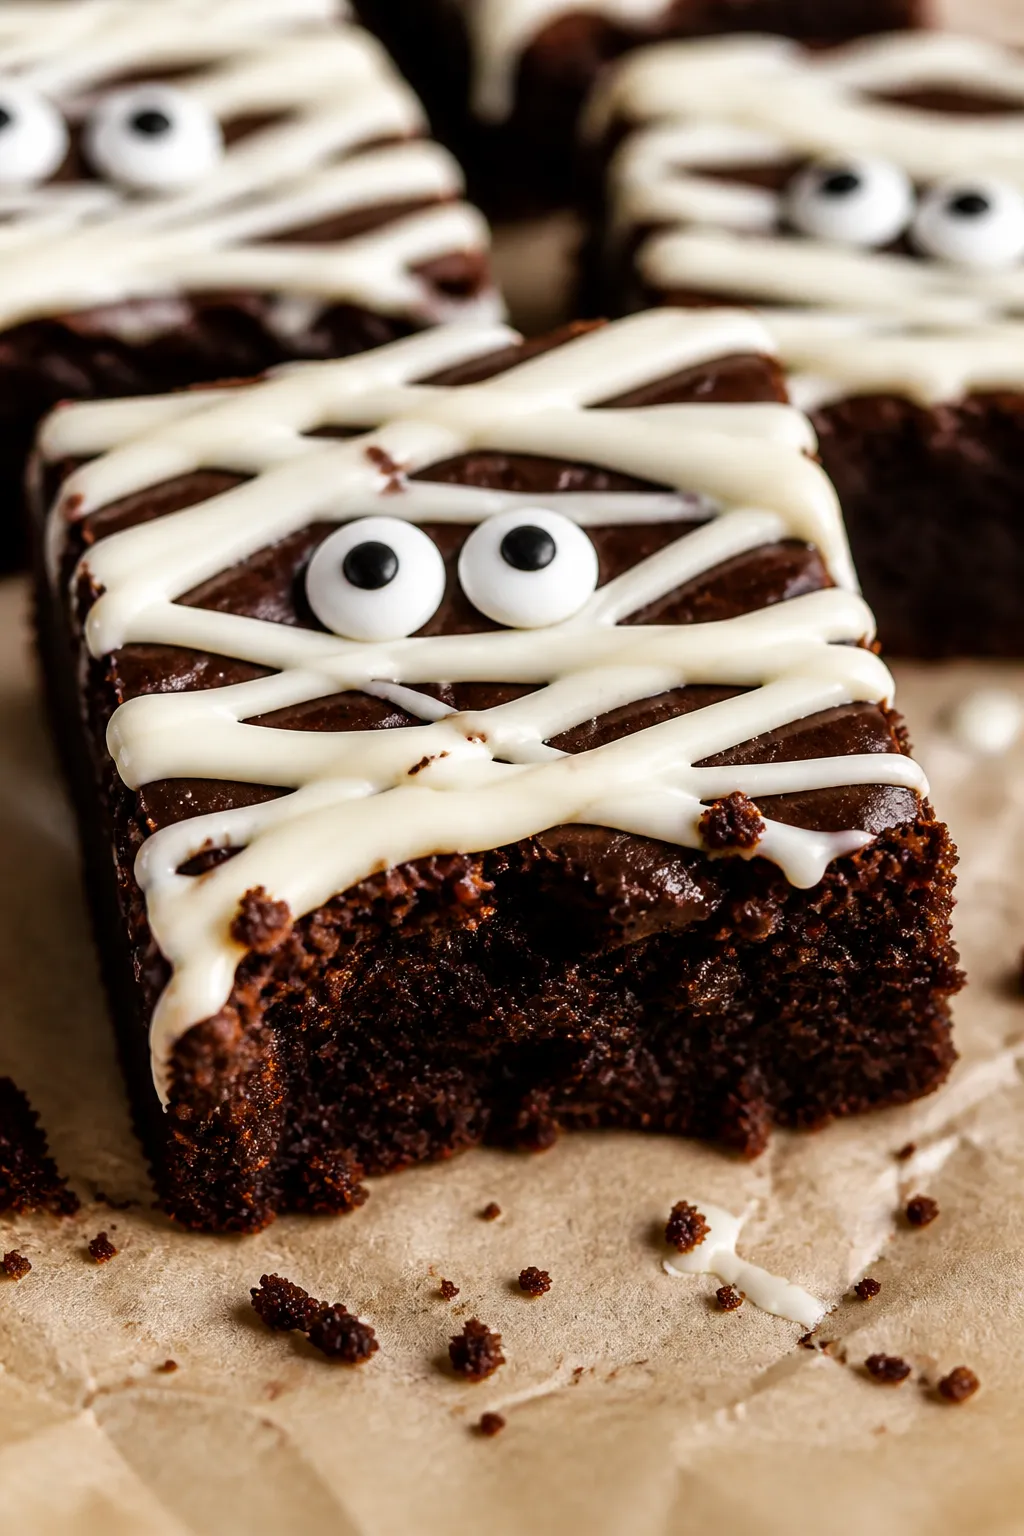
There’s no need for fancy tools or pastry skills here—just a simple brownie, a bit of melted chocolate, and a quick drizzle of white icing.
The decorations come together in minutes and turn a familiar dessert into something memorable. These brownies also travel well, so they’re ideal for potlucks and bake sales. You can customize them with gluten-free mixes, different chocolates, or even reduced sugar options without losing the fun factor.
Shopping List
- For the brownies:
- 1 cup (2 sticks) unsalted butter
- 1 3/4 cups granulated sugar
- 1/2 cup brown sugar
- 4 large eggs, room temperature
- 2 teaspoons vanilla extract
- 1 cup all-purpose flour
- 3/4 cup unsweetened cocoa powder
- 1/2 teaspoon baking powder
- 1/2 teaspoon fine salt
- 1 cup chocolate chips or chopped chocolate (optional, for extra fudginess)
- For topping and decoration:
- 1 cup semisweet or dark chocolate chips (for the top layer)
- 1 tablespoon neutral oil or butter (to help the chocolate melt smoothly)
- 1 1/2 cups white chocolate chips or white candy melts (for the “bandages”)
- Candy eyes
- Equipment:
- 9×13-inch baking pan
- Parchment paper
- Microwave-safe bowls or a double boiler
- Piping bag or zip-top bag (for drizzling)
- Offset spatula or knife
How to Make It
- Preheat and prep: Set your oven to 350°F (175°C).
Line a 9×13-inch pan with parchment, leaving overhang on two sides for easy lifting. Lightly grease the parchment.
- Melt the butter: In a microwave-safe bowl, melt butter until smooth. While warm, whisk in granulated and brown sugars until glossy.
- Whisk in eggs and vanilla: Add eggs one at a time, whisking well after each.
Stir in vanilla. The mixture should look thick and shiny.
- Combine dry ingredients: In a separate bowl, whisk flour, cocoa, baking powder, and salt. Fold dry ingredients into the wet mix just until combined.
If using chocolate chips, fold them in now. Don’t overmix.
- Bake: Spread batter evenly in the pan. Bake 22–28 minutes, until a toothpick comes out with moist crumbs, not wet batter. Err on the side of slightly underbaked for fudgy brownies.
- Cool completely: Let the brownies cool in the pan on a rack. This helps them set for clean cuts and neat decorating.
- Add chocolate top layer: Melt semisweet/dark chocolate chips with 1 tablespoon oil in 20–30 second bursts, stirring between each, until smooth.
Spread over cooled brownies with an offset spatula. Let set 10–15 minutes until no longer runny.
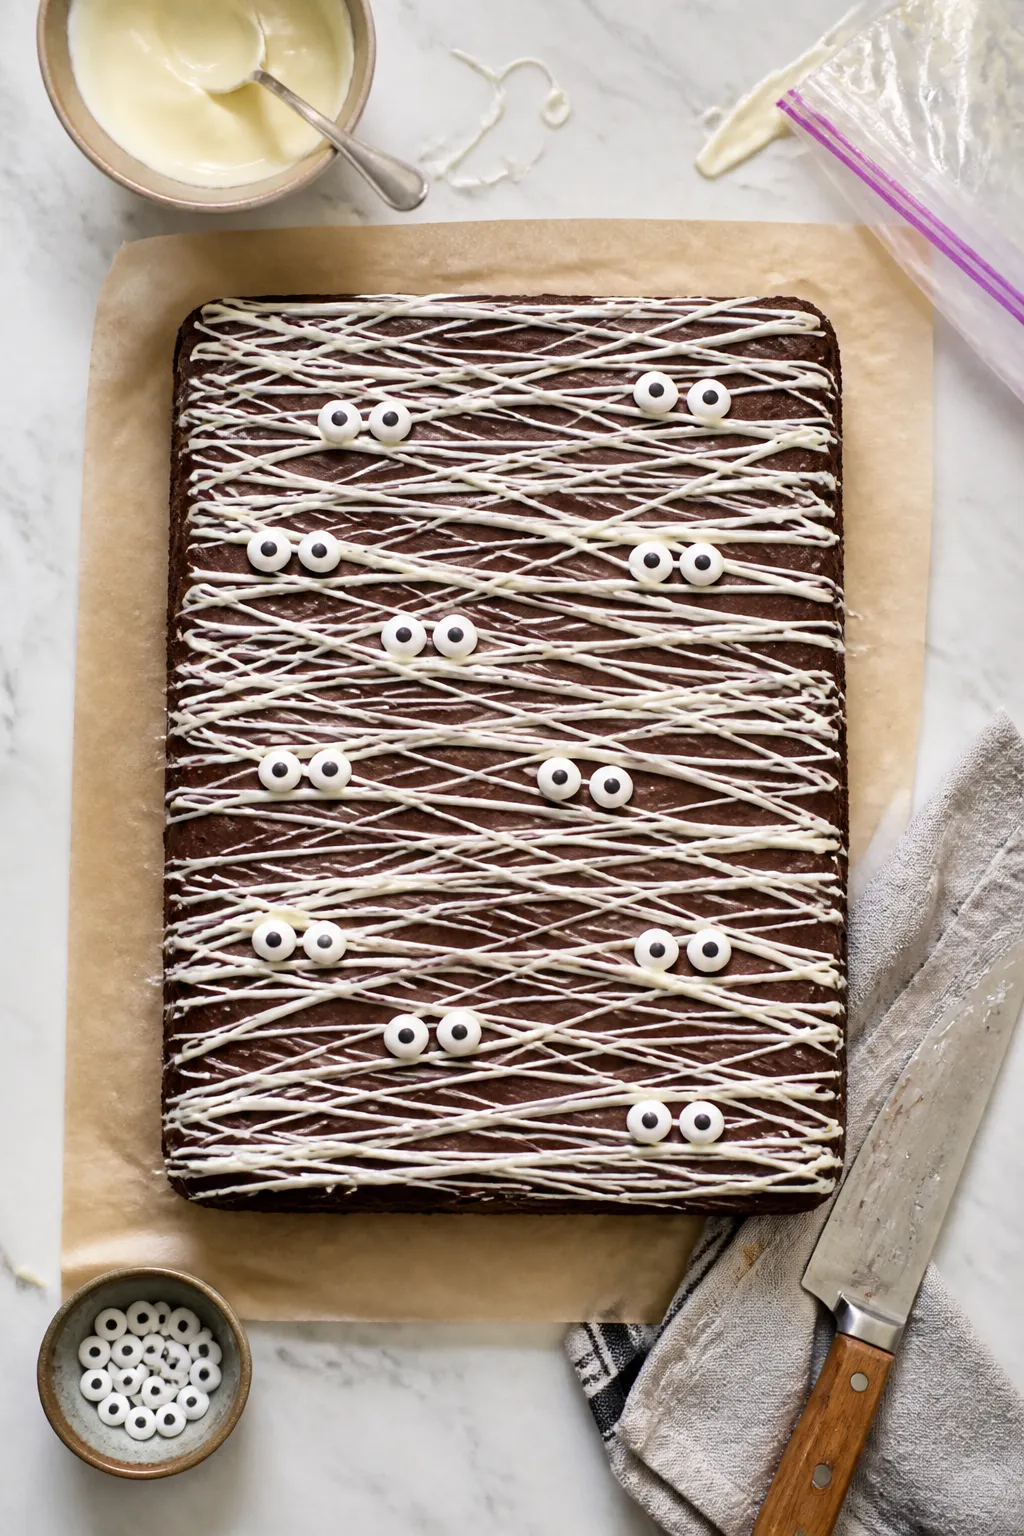
- Create the “bandages”: Melt white chocolate or candy melts the same way. Transfer to a piping bag or a zip-top bag with a tiny corner snipped off.
Drizzle back and forth in thin, crisscross lines to mimic mummy wrappings. Keep lines irregular—that’s what makes them look realistic.
- Place the eyes: While the white drizzle is still soft, press two candy eyes near the top area of each future square. If it sets too fast, add a tiny dot of melted white chocolate as glue.
- Set and slice: Chill for 10–15 minutes to firm up. Lift the slab out using parchment.
Warm a sharp knife under hot water, dry it, and cut into neat squares or rectangles. Wipe the knife between cuts.
Keeping It Fresh
Store brownies in an airtight container at room temperature for 3–4 days. If your kitchen is warm, refrigerate them to keep the chocolate layer firm.
For longer storage, wrap pieces individually and freeze for up to 2 months. Thaw at room temperature for the best texture, and avoid condensation by keeping them wrapped until fully thawed.
Health Benefits
These are a treat, but you can still make a few choices to feel good about serving them. Cocoa provides antioxidants, and using dark chocolate for the top layer adds a bit more. You can reduce sugar slightly without compromising texture—try cutting it by 10–15%.
Swapping half the all-purpose flour for whole wheat pastry flour also adds fiber while keeping things tender.
Pitfalls to Watch Out For
- Overbaking: Dry brownies are the number-one mood killer. Pull them when the center is set but still fudgy.
- Rushed cooling: Decorating warm brownies melts the toppings and slides the “bandages.” Cool completely first.
- Thick drizzle: If white chocolate is too thick, stir in 1/2 teaspoon neutral oil to thin it. Test a few lines before committing.
- Crumbly cuts: Use a warm, clean knife and gentle pressure.
Chill briefly if the topping is too soft.
- Loose eyes: Press candy eyes into soft drizzle or glue them with a dot of melted chocolate.
Recipe Variations
- Boxed mix shortcut: Use your favorite 9×13 brownie mix and follow package directions. Focus your time on the toppings.
- Gluten-free: Substitute a 1:1 gluten-free flour blend. Check that candy melts and candy eyes are gluten-free too.
- Peanut butter mummies: Swirl 1/2 cup warmed peanut butter into the brownie batter before baking.
Use peanut butter chips for some of the drizzle for a caramel-tan “bandage.”
- Mint chocolate: Add 1 teaspoon peppermint extract to the batter or top layer. Finish with dark chocolate drizzle for a cool contrast.
- Salted caramel: Drizzle 1/3 cup caramel sauce over the cooled brownies before the chocolate layer. Sprinkle a pinch of flaky salt on top.
- Dairy-free: Use dairy-free butter and dairy-free chocolate.
Coconut oil works in the melted chocolate layers.
- Less sugar: Reduce total sugar by 1/4 cup and use 70% dark chocolate on top. Expect a deeper, less sweet profile that’s still rich.
FAQ
Can I make these a day ahead?
Yes. In fact, brownies often taste better the next day.
Bake, cool, decorate, and store covered at room temperature. If it’s warm, refrigerate to keep the chocolate firm, then let them sit out 20 minutes before serving.
What if I don’t have candy eyes?
Use mini chocolate chips, M&M’s, or dots of white and dark chocolate to create DIY eyes. Pipe a small white dot and add a tiny dark dot in the center.
How do I keep the white chocolate from seizing?
Heat in short bursts and avoid any contact with water.
If it thickens, stir in a few drops of neutral oil to smooth it out. Candy melts are more forgiving than pure white chocolate if you’re nervous.
My brownies sank in the middle—what happened?
Overmixing or underbaking can cause sinking. Next time, mix just until combined and bake until a toothpick comes out with moist crumbs.
A slightly domed top is fine; it settles as it cools.
Can I use frosting instead of melted chocolate for the bandages?
Absolutely. A simple white buttercream or store-bought vanilla frosting works. Pipe thin lines and chill briefly to set before slicing.
How many servings does this make?
A 9×13 pan yields 16 generous squares or up to 24 smaller pieces.
For parties, smaller cuts go further and still look great.
Do I need a piping bag?
No. A small zip-top bag with a tiny corner snipped off works perfectly. You can also use a spoon for a rustic drizzle, but thinner lines look more like bandages.
Can I make them cocoa-free or less chocolatey?
You can swap in a blondie base and decorate the same way.
The mummy effect still shines, and you get a buttery, vanilla-forward bar.
In Conclusion
Mummy Brownies take a simple pan of brownies and turn them into a playful, crowd-pleasing dessert. With easy steps, a short ingredient list, and plenty of room for creativity, they’re a low-stress way to make something special. Keep a batch on hand for parties, classroom treats, or a festive family night.
They’re proof that a little drizzle and a pair of candy eyes can turn comfort food into pure fun.
Printable Recipe Card
Want just the essential recipe details without scrolling through the article? Get our printable recipe card with just the ingredients and instructions.