Preheat and prep: Heat your oven to 350°F (175°C). Line two baking sheets with parchment paper.
Cream the fats and sugars: In a large bowl, beat the softened butter, peanut butter, granulated sugar, and brown sugar until fluffy, about 2 minutes.
This step creates that classic chewy texture.
Add egg and vanilla: Beat in the egg and vanilla until smooth and fully combined.
Mix dry ingredients: In a separate bowl, whisk together flour, baking soda, baking powder, and salt.
Combine: Add the dry ingredients to the wet mixture and mix on low until just combined. Don’t overmix.
Shape the cookies: Scoop dough into 1-tablespoon balls. Roll each ball in a little granulated sugar and place on the prepared sheets, spacing about 2 inches apart.
Bake: Bake for 9–11 minutes, until the edges are set and the tops crack slightly.
The centers should still look soft.
Create space for the spiders: Right after removing from the oven, gently press the center of each cookie with the back of a teaspoon or a small round spoon to make a shallow indentation.
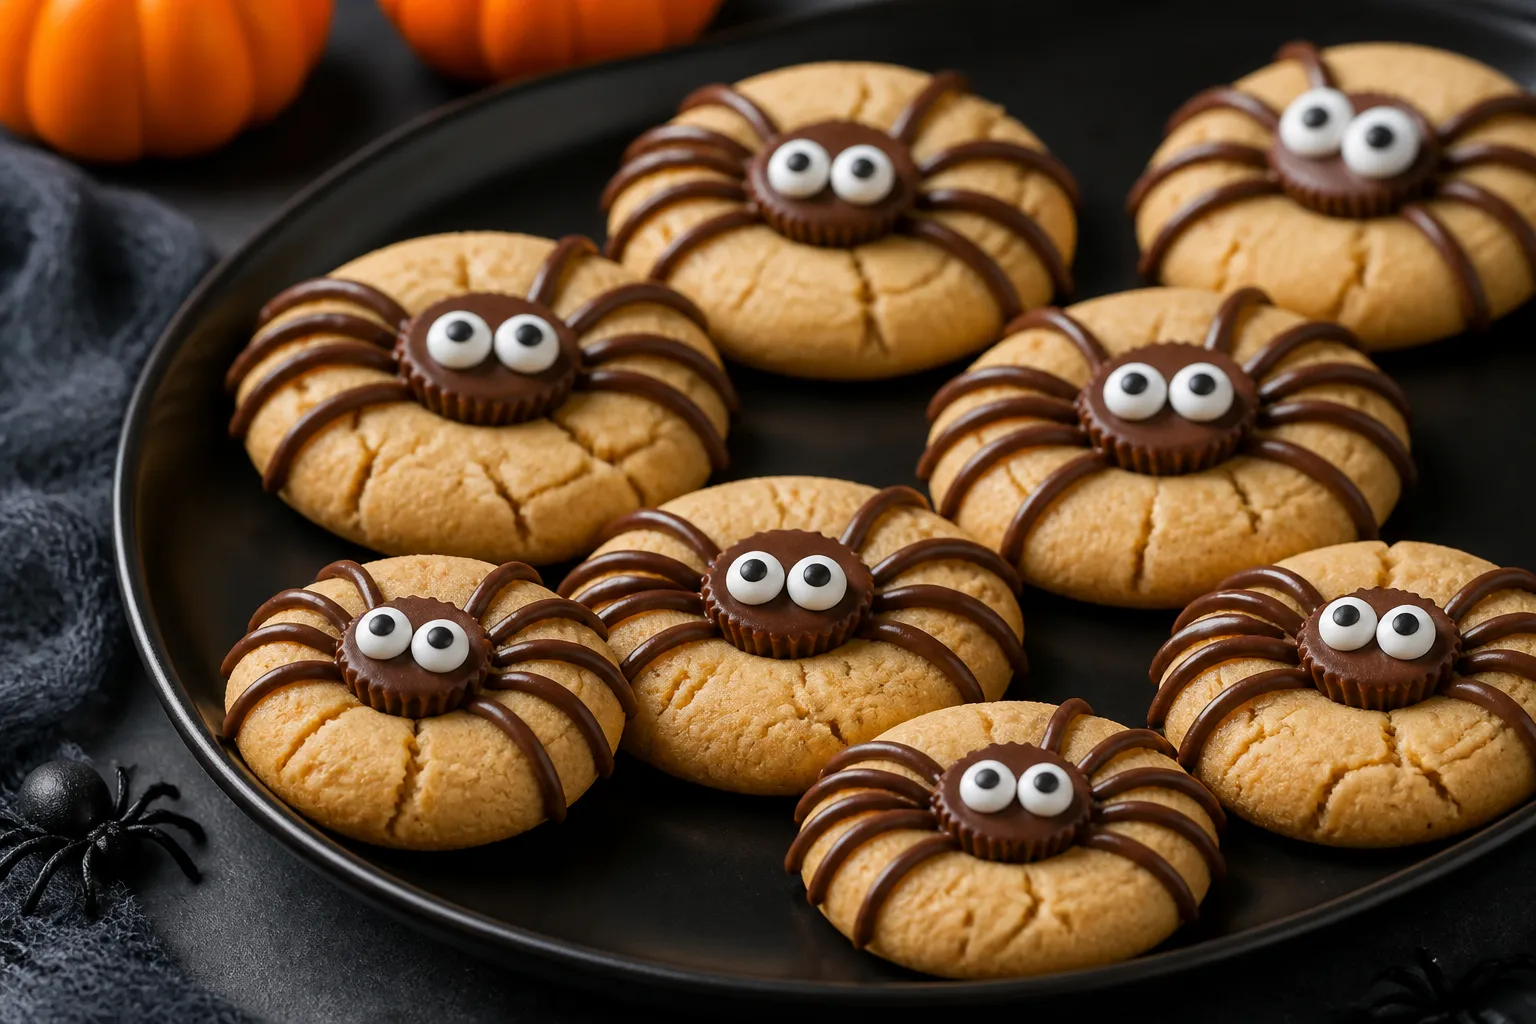
Add the spider bodies: While the cookies are still warm but not melting-hot, press a chocolate truffle or mini peanut butter cup into the center of each cookie. Let them sit on the baking sheet for 5 minutes to set.
Melt the chocolate: In a microwave-safe bowl, melt chocolate chips in 20–30 second bursts, stirring between each, until smooth. If it’s too thick to pipe, stir in up to 1 tablespoon of milk or cream.
Pipe the legs: Transfer melted chocolate to a small piping bag or a zip-top bag with a tiny corner snipped.
Pipe four legs on each side of the chocolate body, curving them slightly for a realistic look.
Add eyes: Dot a tiny bit of melted chocolate on the back of two candy eyes and stick them onto each spider body. Press gently so they adhere.
Set and serve: Let cookies cool until the chocolate legs set, about 20–30 minutes at room temperature, or pop the trays in the fridge for 10 minutes to speed it up.