Red Velvet White Chocolate Chip Cookies – Soft, Chewy, and Festive
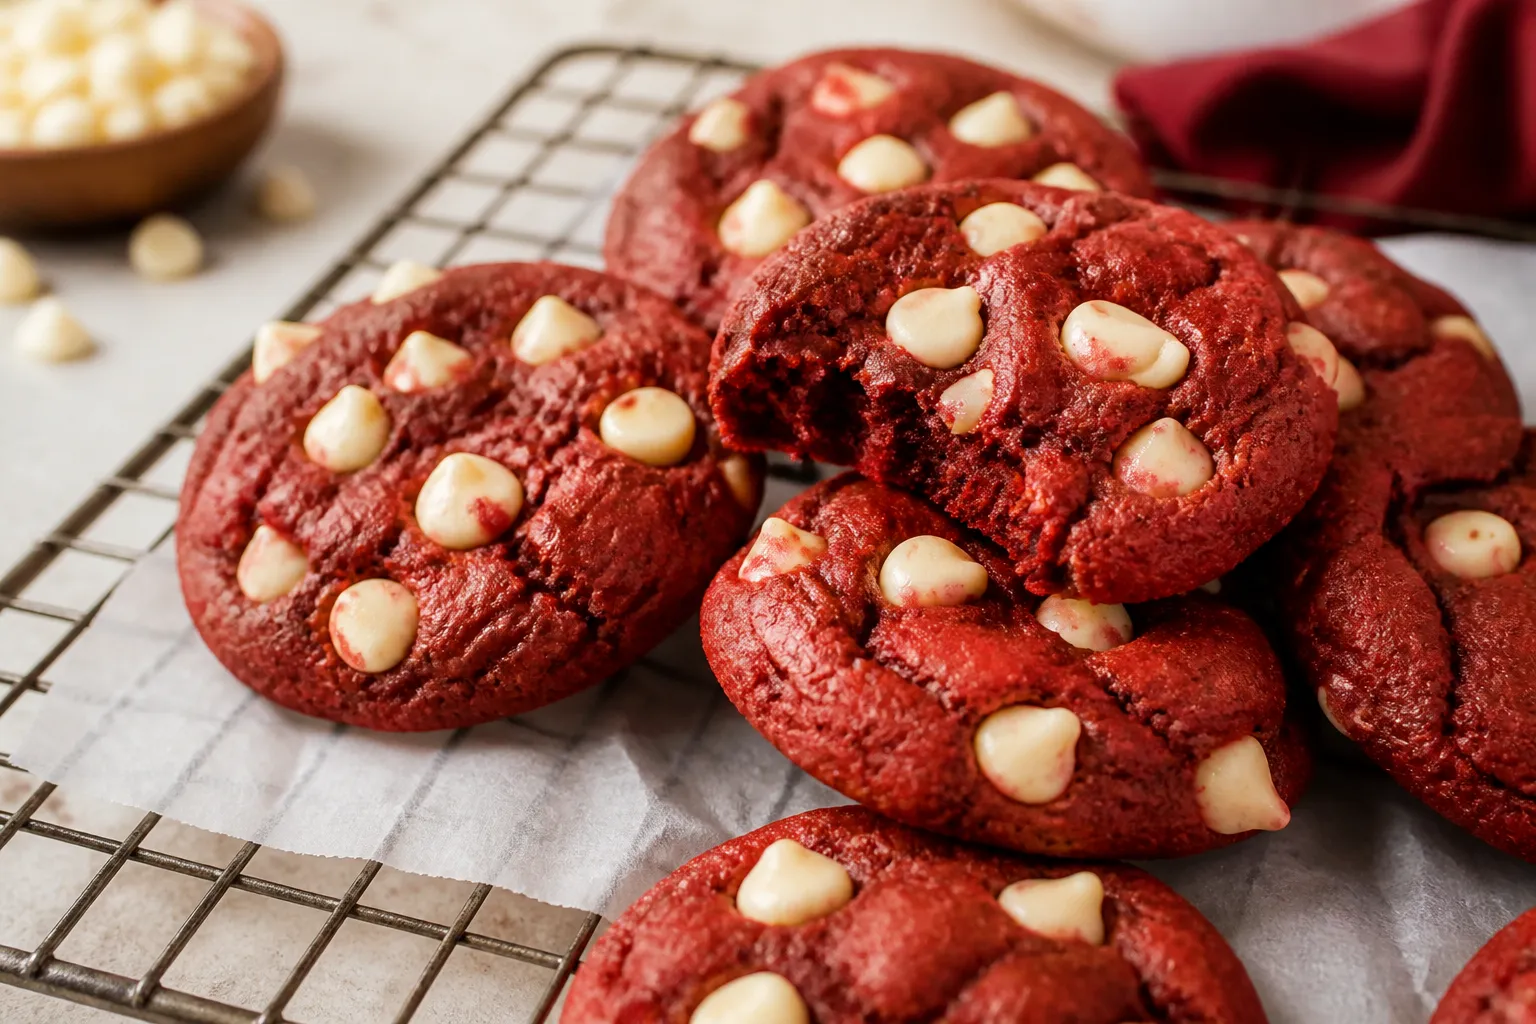
Red velvet white chocolate chip cookies bring bakery-level charm to any occasion with minimal fuss. They’re soft, chewy, and carry that classic cocoa-kissed red velvet flavor, all punctuated by creamy pops of white chocolate. These cookies look stunning on a platter and taste even better than they look.
5 Irresistible Desserts, Completely Free
Get five easy dessert recipes you’ll want to save, share, and make again and again—delivered straight to your inbox.
Whether you’re baking for a holiday, a birthday, or a simple weeknight treat, this recipe is friendly and foolproof. You’ll get consistent results, and the dough comes together in one bowl with pantry staples.
Ingredients
Method
- Preheat and prep: Heat your oven to 350°F (175°C). Line two baking sheets with parchment paper or silicone mats. This helps prevent over-browning and makes cleanup a breeze.
- Whisk dry ingredients: In a medium bowl, whisk flour, cocoa powder, cornstarch, baking soda, and salt until evenly combined. Set aside.
- Mix wet ingredients: In a large bowl, whisk the melted, slightly cooled butter with granulated sugar and brown sugar until glossy and smooth, about 45 seconds. Add the egg, egg yolk, and vanilla. Whisk again until the mixture looks thick and shiny.
- Add color and vinegar: Stir in the vinegar. Add red gel food coloring a little at a time until the batter is a deep, vibrant red. Gel coloring works best because it won’t thin your dough.
- Combine wet and dry: Add the dry ingredients to the wet mixture. Use a spatula to fold gently until just combined. Avoid overmixing—stop when you no longer see dry streaks.
- Fold in chips: Stir in the white chocolate chips, reserving a small handful for topping. The dough will be soft but scoopable.
- Chill briefly (optional but helpful): If your kitchen is warm, chill the dough for 15–20 minutes to prevent too much spread. This step also deepens flavor.
- Scoop and shape: Scoop 1.5-tablespoon mounds (a medium cookie scoop works well) onto the prepared sheets, spacing about 2 inches apart. Press a few extra white chocolate chips on top for bakery-style looks.
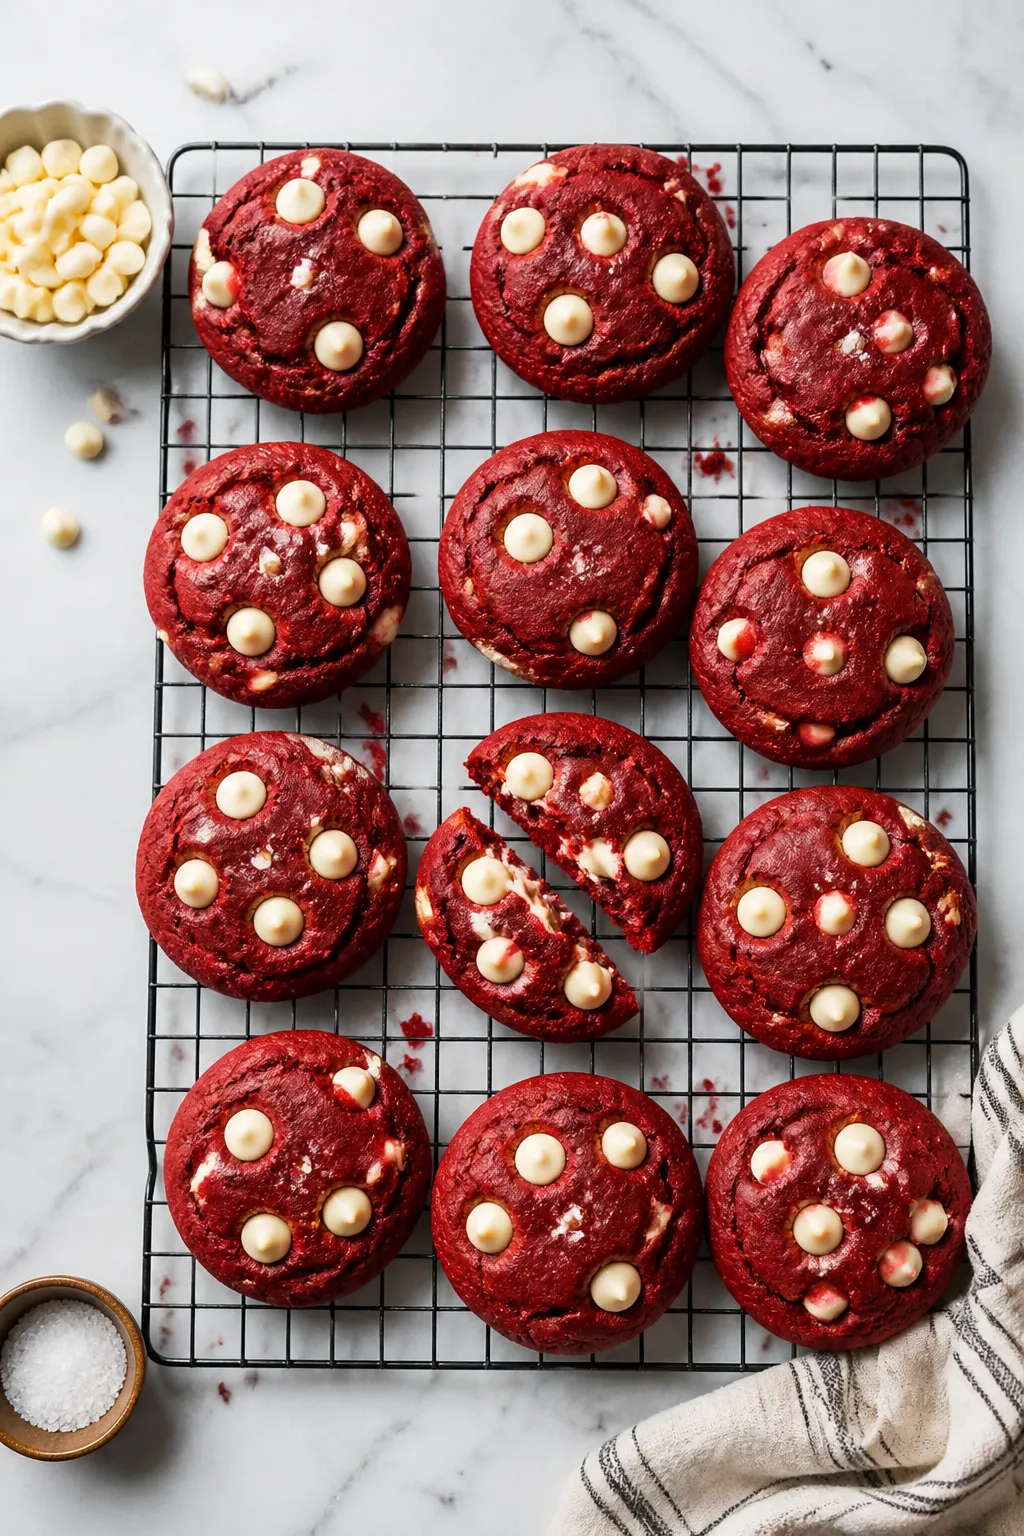
- Bake: Bake for 9–11 minutes, rotating pans halfway. The edges should look set and the centers still slightly soft and puffy. Don’t overbake—carryover heat will finish them.
- Finish and cool: If you like, sprinkle a pinch of flaky sea salt on each cookie as soon as they come out. Let them cool on the tray for 5 minutes, then transfer to a rack to cool completely.
Why This Recipe Works
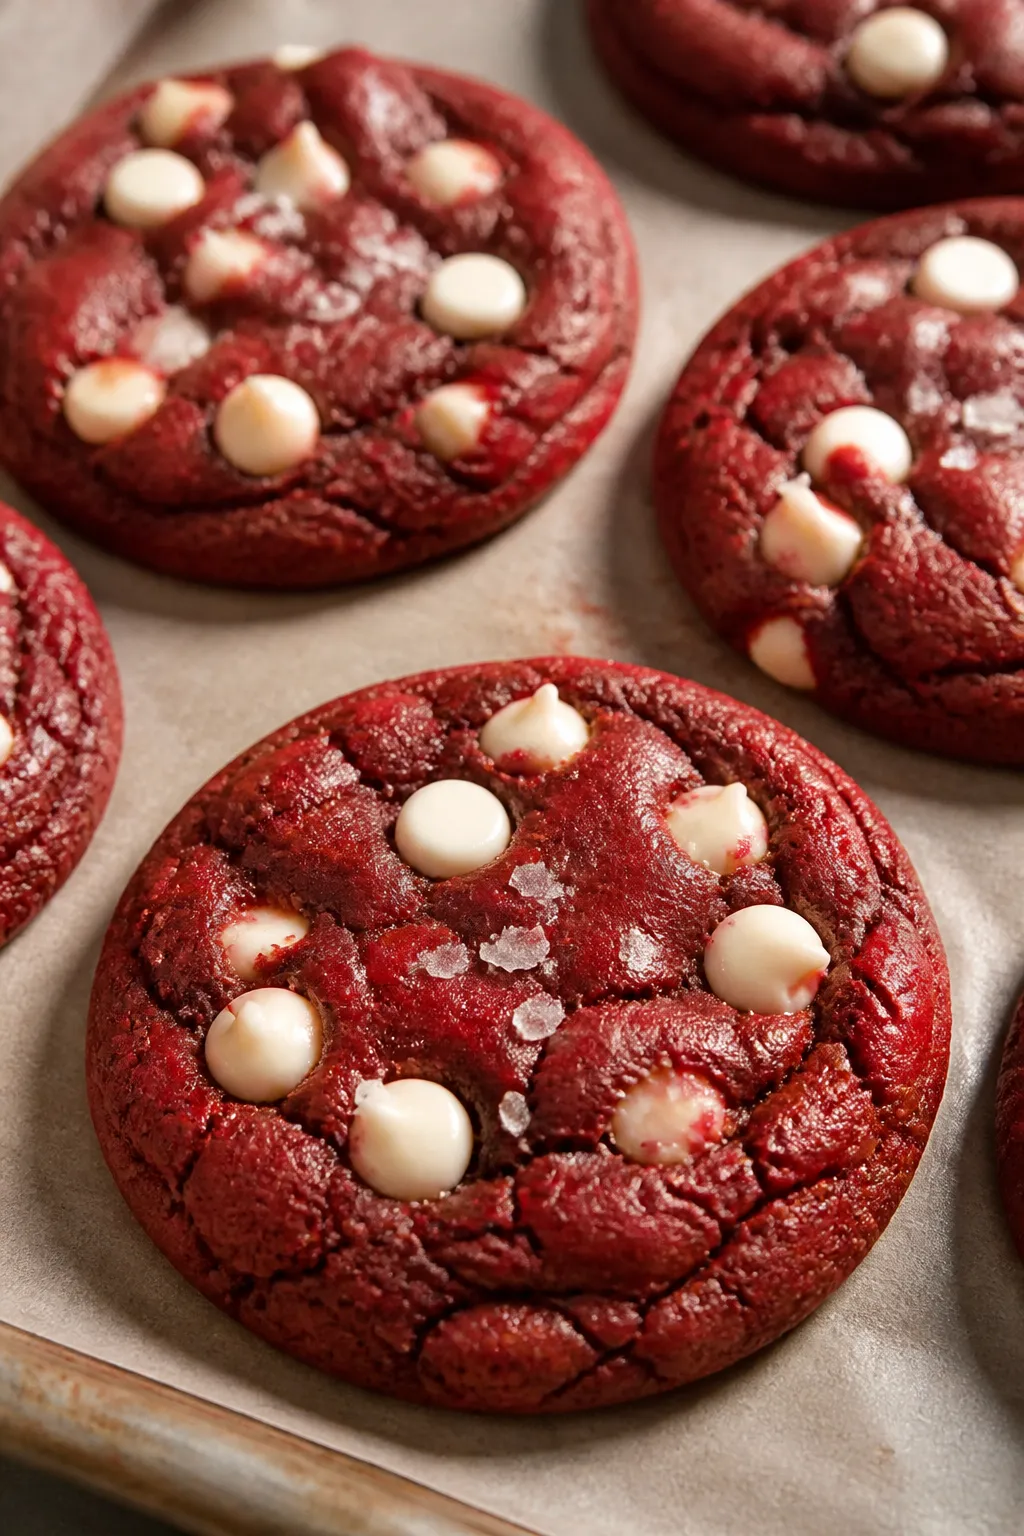
This recipe balances cocoa powder and vanilla to deliver that signature red velvet taste without bitterness. A touch of vinegar reacts with baking soda for extra lift and tenderness, so the cookies bake up soft and slightly puffy.
Using both brown and granulated sugar creates a chewy center with just enough crisp at the edges. Cornstarch keeps the crumb delicate, while melted butter speeds up mixing and enhances the cookies’ rich flavor. Finally, white chocolate chips add creamy sweetness that complements the cocoa and makes the red color pop.
Shopping List
- All-purpose flour (2 cups)
- Unsweetened cocoa powder (2 tablespoons)
- Cornstarch (2 teaspoons)
- Baking soda (1 teaspoon)
- Fine sea salt (1/2 teaspoon)
- Unsalted butter, melted and slightly cooled (1/2 cup)
- Granulated sugar (1/2 cup)
- Light brown sugar, packed (1/2 cup)
- Large egg (1)
- Egg yolk (1)
- Pure vanilla extract (2 teaspoons)
- Distilled white vinegar (1/2 teaspoon)
- Red gel food coloring (about 1–2 teaspoons, as needed)
- White chocolate chips (1 to 1 1/4 cups)
- Optional: White chocolate chunks, flaky sea salt for topping
How to Make It
- Preheat and prep: Heat your oven to 350°F (175°C).
Line two baking sheets with parchment paper or silicone mats. This helps prevent over-browning and makes cleanup a breeze.
- Whisk dry ingredients: In a medium bowl, whisk flour, cocoa powder, cornstarch, baking soda, and salt until evenly combined. Set aside.
- Mix wet ingredients: In a large bowl, whisk the melted, slightly cooled butter with granulated sugar and brown sugar until glossy and smooth, about 45 seconds.
Add the egg, egg yolk, and vanilla. Whisk again until the mixture looks thick and shiny.
- Add color and vinegar: Stir in the vinegar. Add red gel food coloring a little at a time until the batter is a deep, vibrant red.
Gel coloring works best because it won’t thin your dough.
- Combine wet and dry: Add the dry ingredients to the wet mixture. Use a spatula to fold gently until just combined. Avoid overmixing—stop when you no longer see dry streaks.
- Fold in chips: Stir in the white chocolate chips, reserving a small handful for topping.
The dough will be soft but scoopable.
- Chill briefly (optional but helpful): If your kitchen is warm, chill the dough for 15–20 minutes to prevent too much spread. This step also deepens flavor.
- Scoop and shape: Scoop 1.5-tablespoon mounds (a medium cookie scoop works well) onto the prepared sheets, spacing about 2 inches apart. Press a few extra white chocolate chips on top for bakery-style looks.
- Bake: Bake for 9–11 minutes, rotating pans halfway.
The edges should look set and the centers still slightly soft and puffy. Don’t overbake—carryover heat will finish them.
- Finish and cool: If you like, sprinkle a pinch of flaky sea salt on each cookie as soon as they come out. Let them cool on the tray for 5 minutes, then transfer to a rack to cool completely.
Storage Instructions
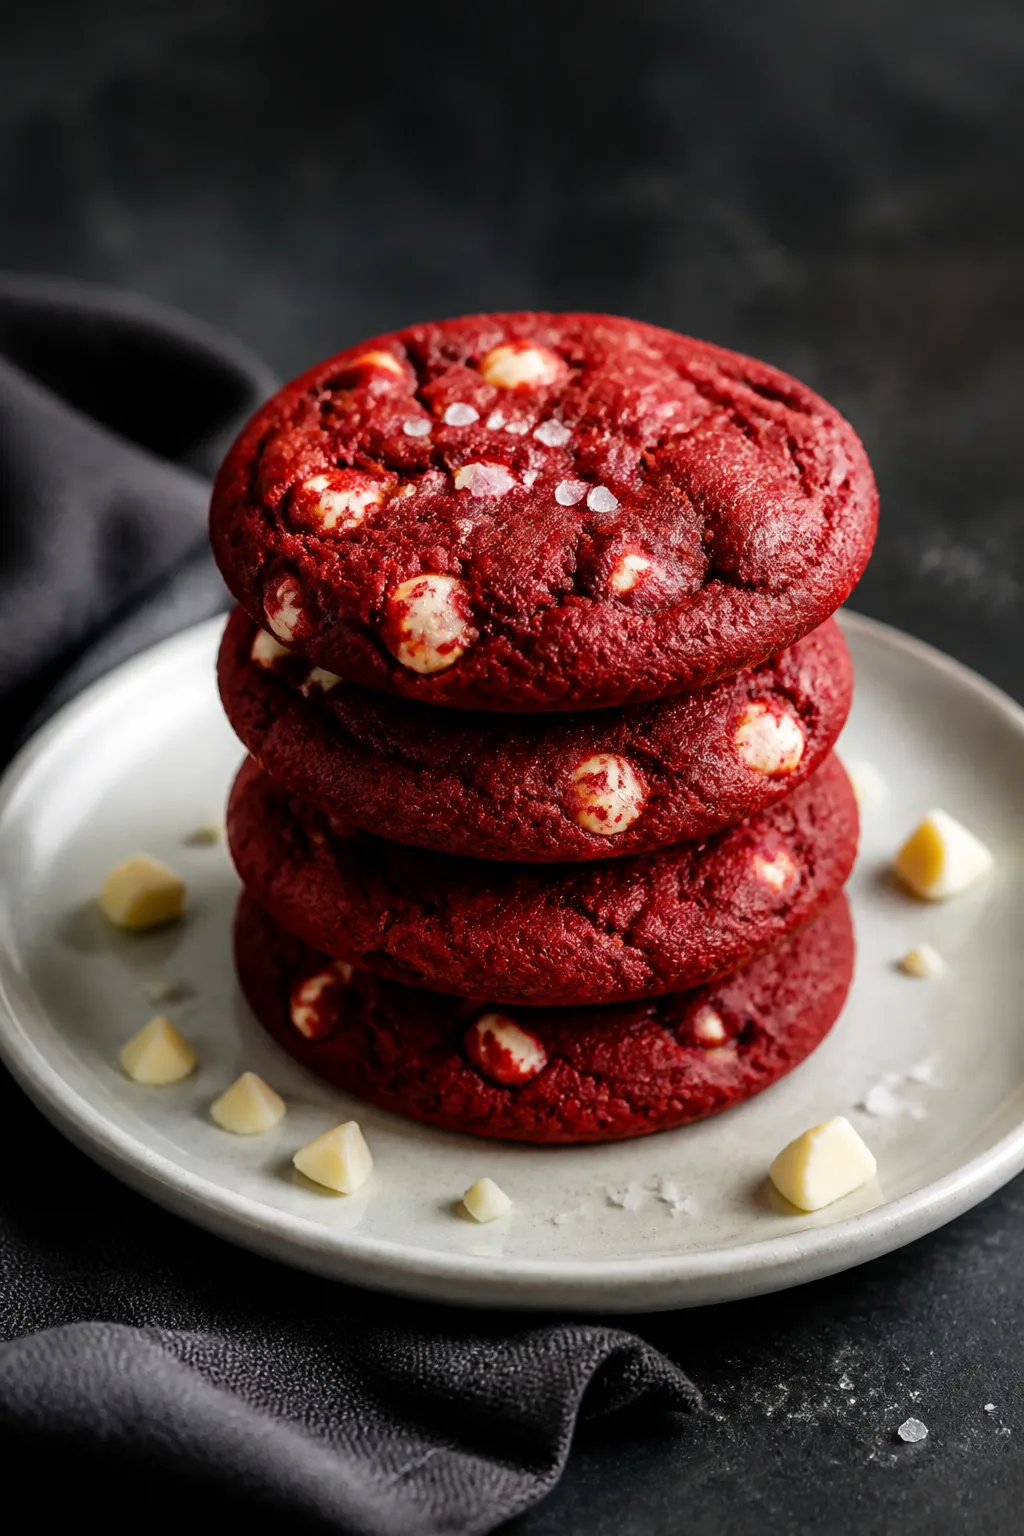
Store cooled cookies in an airtight container at room temperature for up to 4 days.
Slip a slice of bread or a marshmallow into the container to keep them soft. For longer storage, freeze baked cookies in a zip-top bag for up to 2 months. Thaw at room temperature and refresh in a 300°F (150°C) oven for 3–4 minutes if you want that just-baked texture.
You can also freeze portioned dough balls on a sheet pan until solid, then transfer to a freezer bag.
Bake from frozen at 350°F (175°C) and add 1–2 minutes to the bake time.
Health Benefits
These cookies are a treat, but you can still make a few choices that tilt them in a better direction. Using dark cocoa offers a small boost of flavonoids, and opting for unsalted butter helps you control sodium. Portioning the cookies smaller means you still get the experience without overdoing it.
You can also mix in a handful of chopped nuts for healthy fats and a bit of protein, which adds satiety and texture.
If you’re watching sugar, consider using less white chocolate or swapping some chips for unsweetened coconut flakes. While cookies aren’t health food, thoughtful tweaks can make them fit more comfortably into a balanced diet.
Common Mistakes to Avoid
- Overbaking: Pull them when the centers look slightly underdone. They set as they cool.
- Using liquid food coloring: It can water down the dough.
Go for gel or paste for bold color without changing texture.
- Skipping the vinegar: It’s subtle but important for lift and that classic red velvet tang.
- Packing flour: Scooping directly from the bag can add too much. Fluff, spoon, and level your flour or weigh it for accuracy.
- Hot butter: If the butter is too warm, the dough can get greasy and spread too much. Let it cool slightly after melting.
Alternatives
Your Next Favorite Dessert Is Inside
SEND ME THE FREE DESSERTS
- Flavor twists: Add 1 teaspoon of espresso powder to deepen the cocoa notes, or 1/2 teaspoon of almond extract for a bakery-style nuance.
- Mix-ins: Swap in white chocolate chunks, ruby chocolate, or a blend of white and semisweet chips.
Macadamias or pistachios are great for crunch.
- Frosted version: Sandwich two cookies with a cream cheese frosting for red velvet whoopie-pie vibes.
- Gluten-free: Use a 1:1 gluten-free all-purpose blend with xanthan gum. Chill the dough 30 minutes to help structure.
- Dairy-free: Use plant-based butter sticks and dairy-free white chips. Check that your food coloring is vegan-friendly.
- Natural coloring: Beet powder can work in a pinch, though the color may be muted.
Start with 1–2 teaspoons and adjust.
FAQ
Can I make the dough ahead of time?
Yes. Cover the bowl or wrap the dough tightly and refrigerate for up to 48 hours. Let it sit at room temperature for 15–20 minutes before scooping, or portion before chilling for easy baking.
Why did my cookies turn brown instead of red?
Too much cocoa or not enough gel coloring can mute the red.
Use a light hand with cocoa, choose gel coloring, and bake just until set to avoid excessive browning.
How do I keep my cookies thick and chewy?
Chill the dough briefly, avoid overmixing, and measure flour correctly. Also, bake on lined sheets and pull them while centers are soft—this preserves thickness and chew.
Can I use oil instead of butter?
You can, but the flavor and texture will change. If you must, use 1/2 cup neutral oil, and consider adding 1–2 tablespoons of milk to balance dryness.
Expect slightly cakier cookies.
What if I don’t have vinegar?
Lemon juice works in a pinch at the same amount. The goal is a mild acid to react with the baking soda and add a hint of tang.
How many cookies does this make?
Using a medium scoop (about 1.5 tablespoons), you’ll get roughly 20–22 cookies. Smaller scoops will yield more; adjust baking time by a minute or two.
Can I reduce the sugar?
You can cut total sugar by about 2–3 tablespoons without major changes, but the cookies may be less chewy and less vibrant in color.
Keep at least half the white chocolate for balance.
Do I have to use cornstarch?
No, but it helps create a softer crumb. If you skip it, the cookies will still be good—just a little less tender. You could also replace 1 tablespoon of flour with cornstarch if you’re short.
Wrapping Up
Red velvet white chocolate chip cookies are simple to make, easy to love, and always eye-catching.
With a short ingredient list and straightforward steps, you’ll get bakery-quality results at home. Keep an eye on bake time, measure carefully, and let the white chocolate shine. Once you’ve mastered the base, try the variations to make the recipe your own.
Happy baking—you’re about to have a new crowd favorite on your hands.
Printable Recipe Card
Want just the essential recipe details without scrolling through the article? Get our printable recipe card with just the ingredients and instructions.
Save Room for Something Sweet
Before you go, grab five irresistible dessert recipes that are simple to follow, satisfying to make and perfect for sharing.