Christmas Chocolate Chip Cookie Cups – Bite-Size Holiday Treats
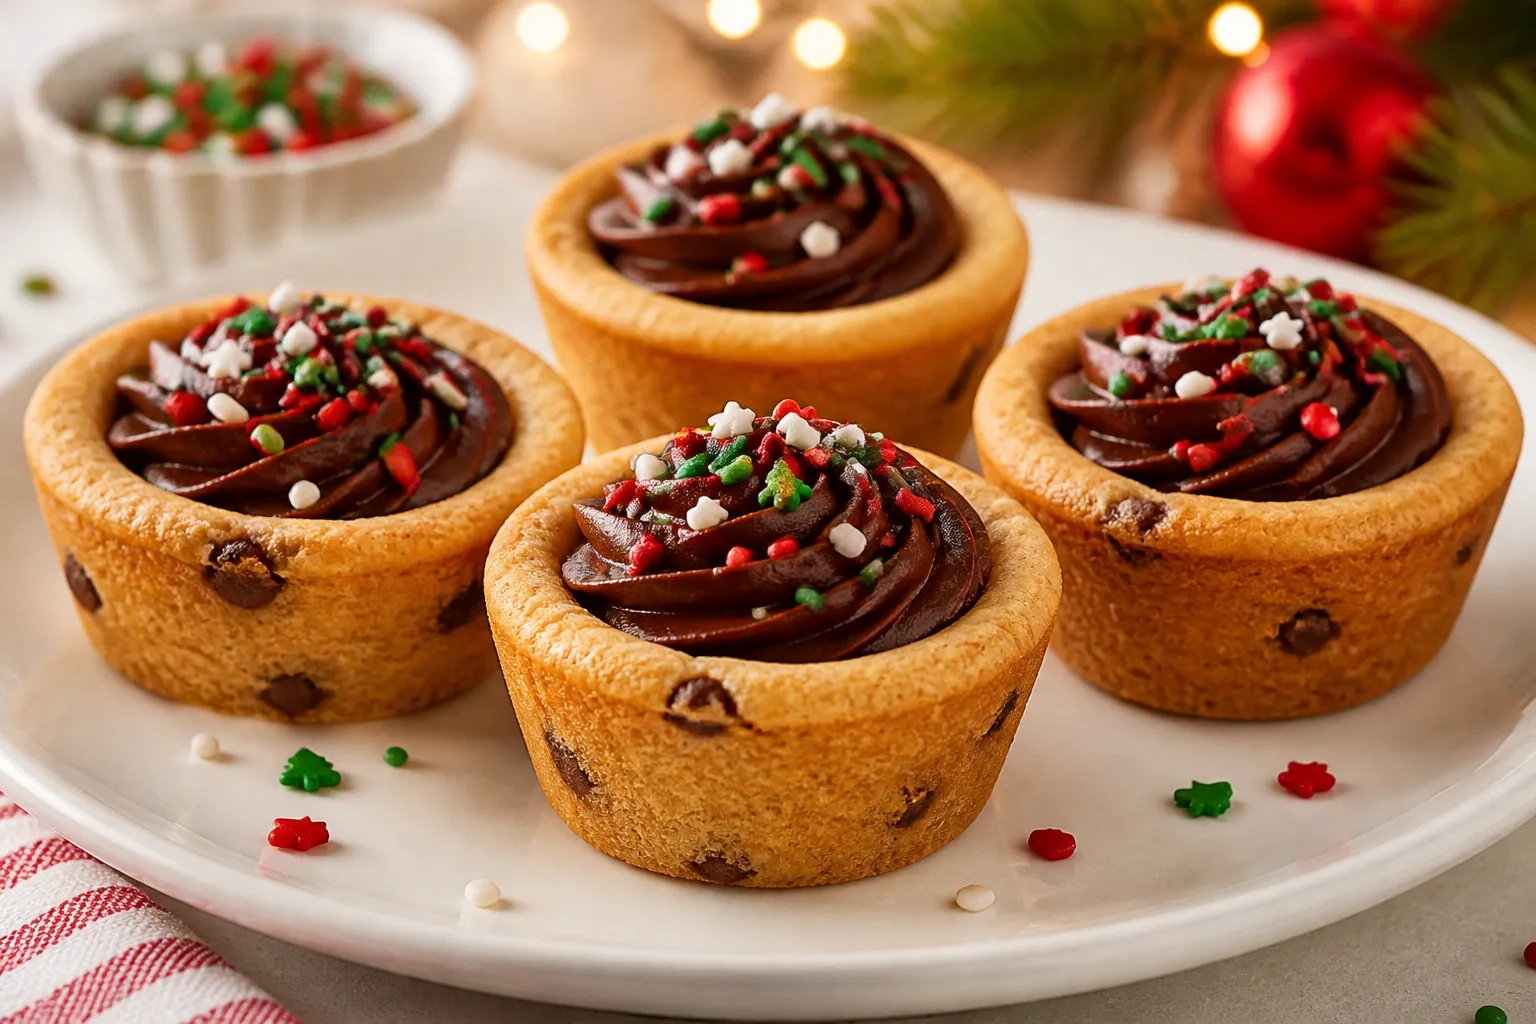
Warm, soft, and full of chocolate, these Christmas Chocolate Chip Cookie Cups bring big holiday cheer in a tiny, two-bite package. They look festive, taste nostalgic, and are easy to share at parties or gift in tins. You get the cozy flavor of a classic chocolate chip cookie with a sweet little well for frosting, ganache, or peppermint cream.
5 Irresistible Desserts, Completely Free
Get five easy dessert recipes you’ll want to save, share, and make again and again—delivered straight to your inbox.
They’re simple enough for a weeknight bake and special enough for Christmas morning. If you love cookies but want something a little more fun and polished, these are your new go-to.
Ingredients
Method
- Prep your pan and oven. Heat the oven to 350°F (175°C). Grease a 24-cup mini muffin tin well with nonstick spray or butter. Lightly dust with flour if your pan tends to stick.
- Cream the butter and sugars. In a large bowl, beat the softened butter, granulated sugar, and brown sugar until light and fluffy, about 2–3 minutes. This traps air and helps the cups rise.
- Add egg and vanilla. Mix in the egg and vanilla until smooth, scraping the bowl as needed.
- Combine dry ingredients. In a separate bowl, whisk flour, baking soda, baking powder, and salt. Add to the wet ingredients and mix on low just until combined. Don’t overmix.
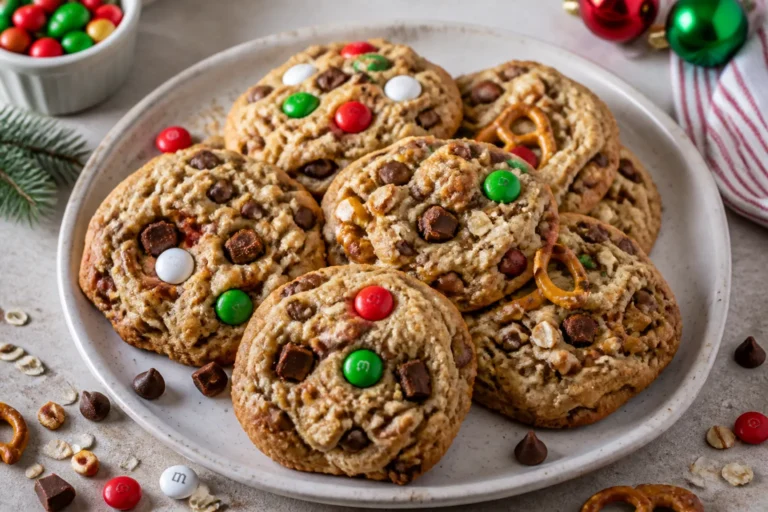
- Fold in chips and extras. Stir in mini chocolate chips and any festive add-ins like M&M minis or sprinkles.
- Portion the dough. Use a small cookie scoop or spoon to drop about 1 tablespoon of dough into each mini muffin cup. The cups should be about 2/3 full.
- Bake. Bake for 9–11 minutes, until the edges are set and lightly golden but the centers still look soft. They’ll continue to cook in the pan.
- Create the “cup.” Right out of the oven, use the back of a teaspoon or a small round measuring spoon to gently press a well into each cookie, forming a cup shape. Work carefully so you don’t crack the edges.
- Cool. Let the cookie cups cool in the pan for 10 minutes, then loosen edges with a small knife and transfer to a wire rack to cool completely.
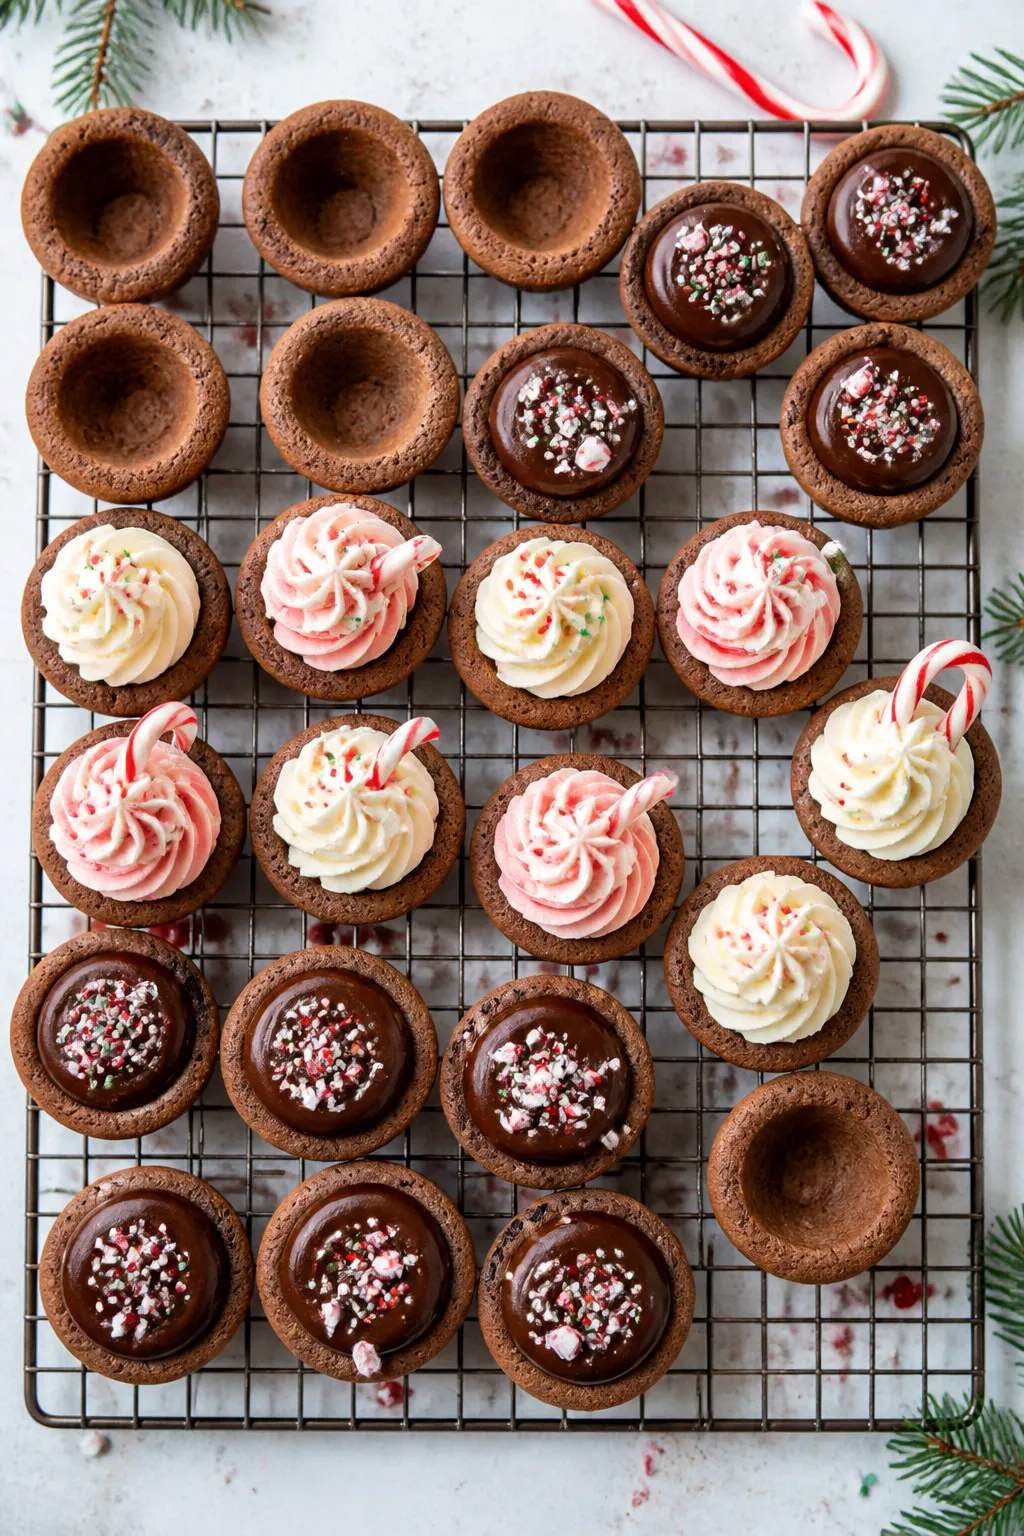
- Make your filling. For buttercream or peppermint cream, beat butter until creamy. Add powdered sugar, milk, and extract (vanilla or peppermint). Whip until smooth and pipeable. For ganache, heat cream until steaming, pour over chocolate chips, rest 2 minutes, then stir smooth. Cool to thicken slightly.
- Fill and decorate. Spoon or pipe the filling into each cup. Add sprinkles, crushed peppermint, or mini candy canes. Let ganache set for 20–30 minutes before stacking.
What Makes This Special
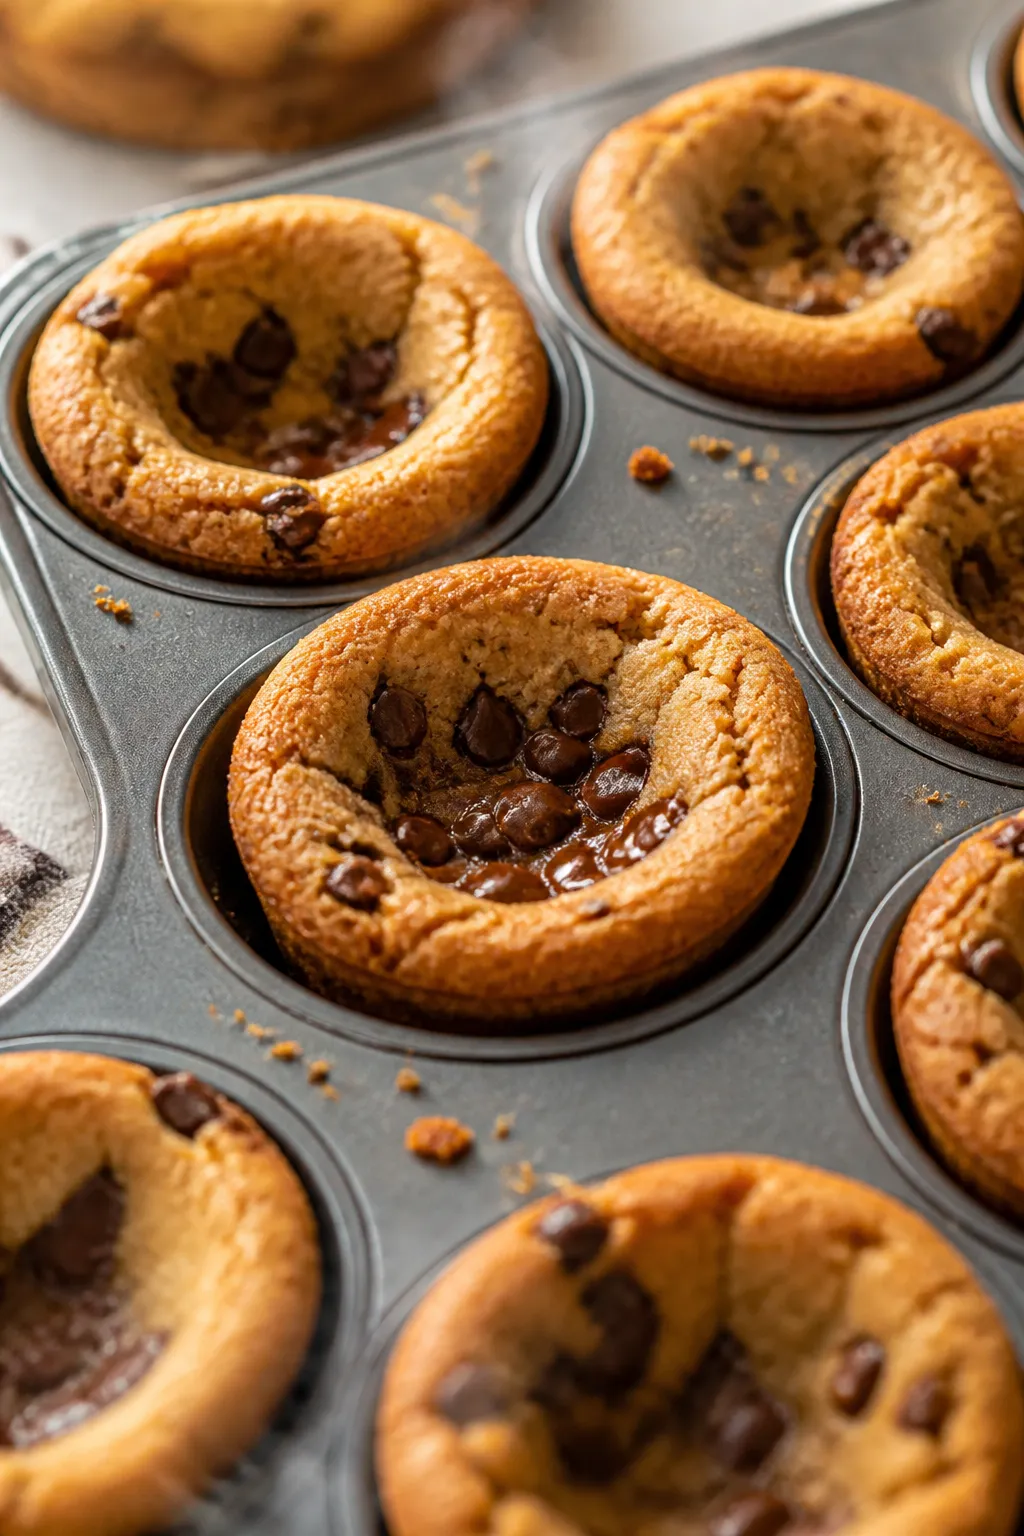
Classic chocolate chip cookies are great, but cookie cups feel instantly festive and fancy without extra work. The shape gives you a soft, chewy center and lightly crisp edges—ideal for holding fillings and toppings.
You can color the decorations and frosting to match your holiday theme, or keep them classic with chocolate and sprinkles. They’re also perfect for gifting because they stack neatly and travel well. And if you want to bake with kids, this recipe is kid-friendly and forgiving.
What You’ll Need
- 1/2 cup (113 g) unsalted butter, softened
- 1/2 cup (100 g) granulated sugar
- 1/2 cup (110 g) packed light brown sugar
- 1 large egg, room temperature
- 1 1/2 teaspoons vanilla extract
- 1 1/2 cups (190 g) all-purpose flour
- 1/2 teaspoon baking soda
- 1/4 teaspoon baking powder
- 1/2 teaspoon fine salt
- 3/4 cup (130 g) mini chocolate chips (mini chips fit better in cups)
- Festive add-ins (optional): 1/3 cup red and green M&M minis, crushed candy canes, or holiday sprinkles
- For filling (choose one):
- Vanilla buttercream: 1/2 cup butter, 1 1/2 cups powdered sugar, 1–2 tablespoons milk, 1 teaspoon vanilla
- Chocolate ganache: 1/2 cup heavy cream, 3/4 cup semi-sweet chocolate chips
- Peppermint cream: 1/2 cup butter, 1 1/2 cups powdered sugar, 1–2 tablespoons milk, 1/2 teaspoon peppermint extract
- Decorations: holiday sprinkles, crushed peppermint, mini candy canes
- Equipment: 24-cup mini muffin tin, nonstick spray or butter, mixing bowls, hand mixer or stand mixer, small cookie scoop, measuring cups/spoons
Instructions
- Prep your pan and oven. Heat the oven to 350°F (175°C).
Grease a 24-cup mini muffin tin well with nonstick spray or butter. Lightly dust with flour if your pan tends to stick.
- Cream the butter and sugars. In a large bowl, beat the softened butter, granulated sugar, and brown sugar until light and fluffy, about 2–3 minutes. This traps air and helps the cups rise.
- Add egg and vanilla. Mix in the egg and vanilla until smooth, scraping the bowl as needed.
- Combine dry ingredients. In a separate bowl, whisk flour, baking soda, baking powder, and salt.
Add to the wet ingredients and mix on low just until combined. Don’t overmix.
- Fold in chips and extras. Stir in mini chocolate chips and any festive add-ins like M&M minis or sprinkles.
- Portion the dough. Use a small cookie scoop or spoon to drop about 1 tablespoon of dough into each mini muffin cup. The cups should be about 2/3 full.
- Bake. Bake for 9–11 minutes, until the edges are set and lightly golden but the centers still look soft.
They’ll continue to cook in the pan.
- Create the “cup.” Right out of the oven, use the back of a teaspoon or a small round measuring spoon to gently press a well into each cookie, forming a cup shape. Work carefully so you don’t crack the edges.
- Cool. Let the cookie cups cool in the pan for 10 minutes, then loosen edges with a small knife and transfer to a wire rack to cool completely.
- Make your filling. For buttercream or peppermint cream, beat butter until creamy. Add powdered sugar, milk, and extract (vanilla or peppermint).
Whip until smooth and pipeable. For ganache, heat cream until steaming, pour over chocolate chips, rest 2 minutes, then stir smooth. Cool to thicken slightly.
- Fill and decorate. Spoon or pipe the filling into each cup.
Add sprinkles, crushed peppermint, or mini candy canes. Let ganache set for 20–30 minutes before stacking.
How to Store
- Room temperature: Unfilled cookie cups keep in an airtight container for 3–4 days. Add a slice of bread to the container to keep them soft.
- Refrigerated: Filled cups with buttercream or peppermint cream keep 3–4 days in the fridge.
Let sit at room temperature 15–20 minutes before serving.
- Freezer: Freeze unfilled cups up to 2 months in a sealed bag or container. Thaw at room temperature, then fill. Ganache-filled cups also freeze well.
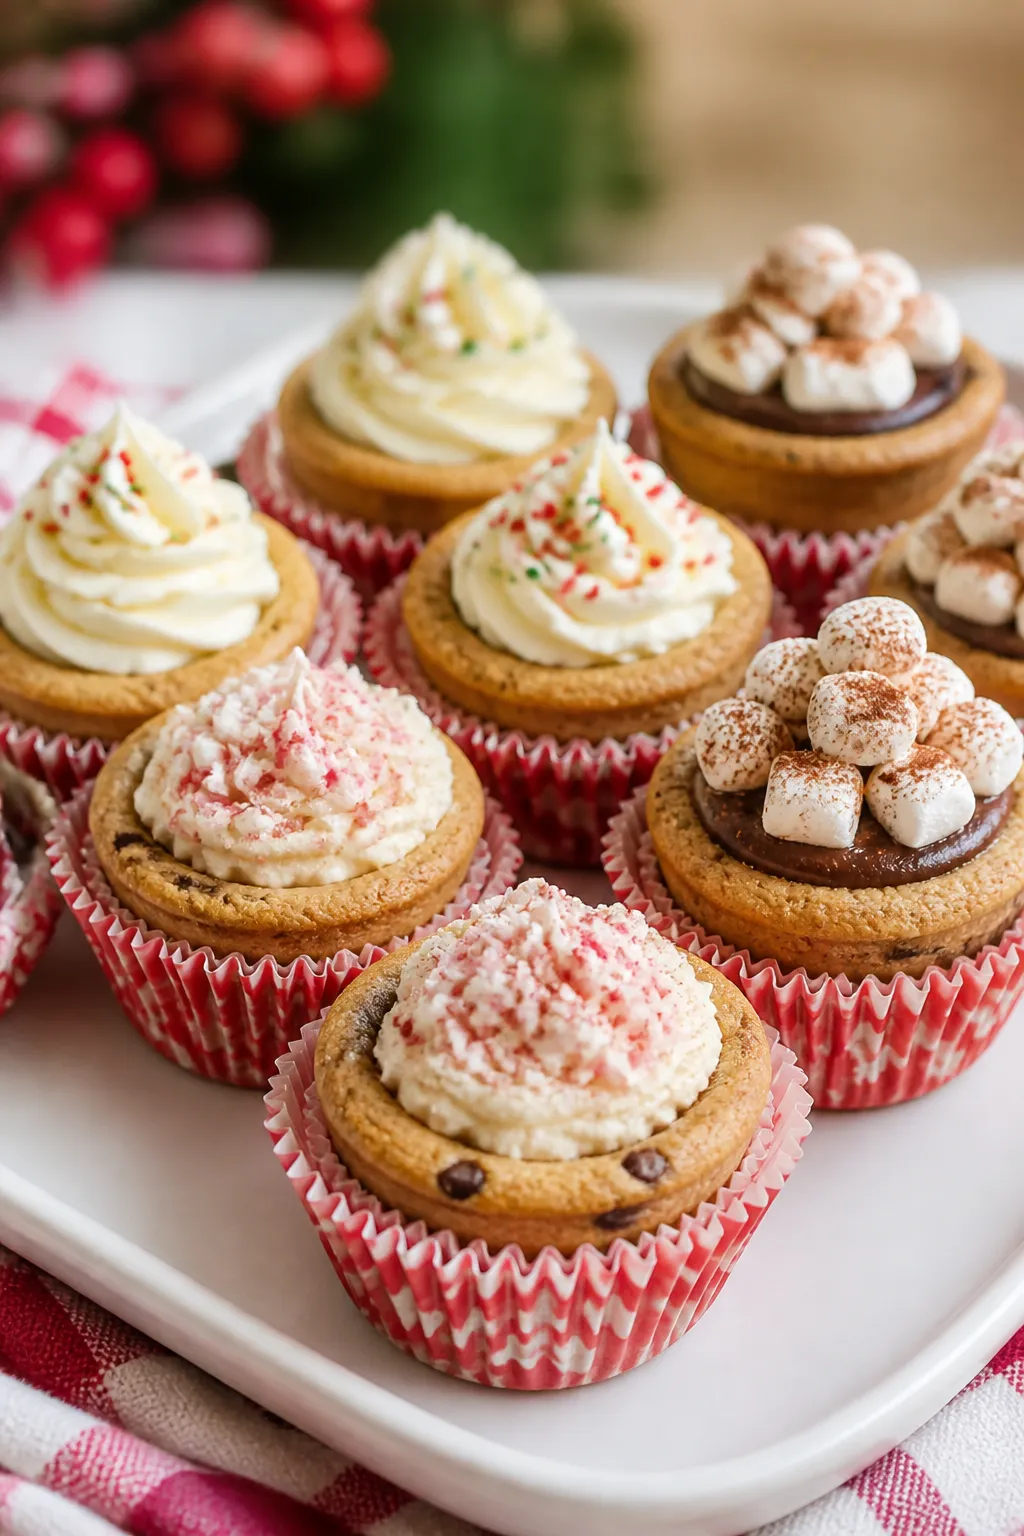
- Transport: Place each cup in mini cupcake liners for easy stacking and clean presentation.
Why This is Good for You
Holiday baking is about more than sugar.
It’s about connection, creativity, and making memories. These cookie cups are shareable, which makes them great for gatherings and gifting. You can also control portions more easily than with big cookies or bars.
And since the base is familiar, they’re an easy win for picky eaters while still giving you room to experiment with flavors and textures.
Common Mistakes to Avoid
- Overbaking: Pull them when the edges just turn golden. If they’re too brown, they’ll turn crunchy and hard to press into cups.
- Skipping the nonstick step: Mini pans stick more than you think. Grease well and loosen edges before removing.
- Pressing too hard: Make the well gently.
If you mash the center, you might crack the edges or push through the bottom.
- Adding too many mix-ins: Keep chips and candies to about 1 cup total so the dough can hold its shape.
- Filling too warm: Let cups cool completely before adding buttercream or ganache, or you’ll get melting and sliding.
Variations You Can Try
- Salted Caramel Cups: Spoon a little store-bought caramel into each well and finish with flaky sea salt.
- Hot Cocoa Cups: Fill with chocolate ganache and top with mini marshmallows and a dusting of cocoa powder.
- White Chocolate Peppermint: Use white chocolate chips in the dough and top with peppermint cream and crushed candy cane.
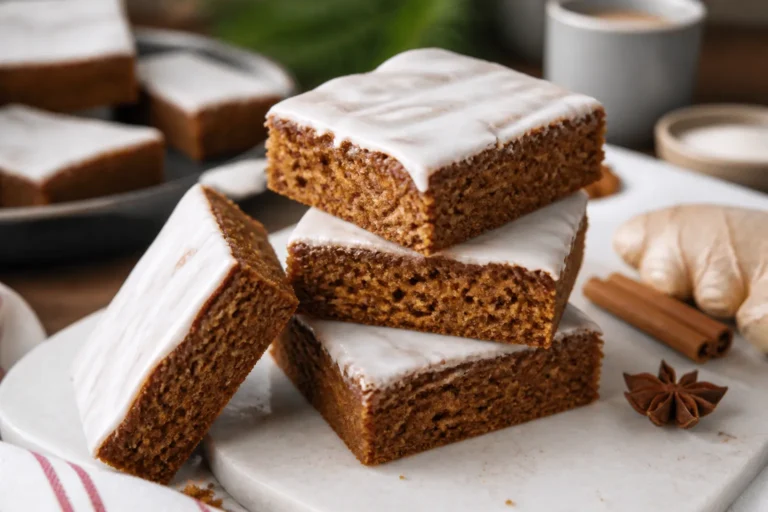
- Gingerbread Twist: Add 1 teaspoon ground ginger and 1/2 teaspoon cinnamon to the dry ingredients, plus a drizzle of molasses to the wet.
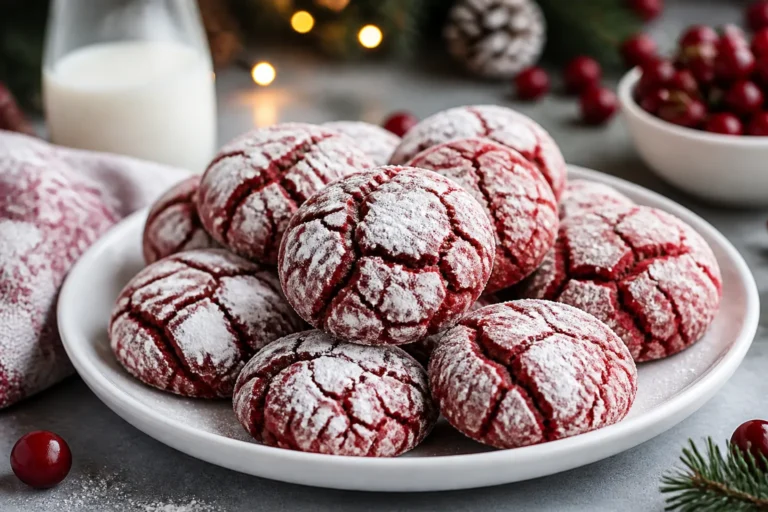
- Red Velvet: Replace 2 tablespoons of the flour with cocoa powder and add a few drops of red gel coloring to the dough.
- Nutty Crunch: Fold in 1/3 cup chopped toasted pecans or walnuts and finish with a maple buttercream.
Your Next Favorite Dessert Is Inside
SEND ME THE FREE DESSERTS
FAQ
Can I make these without a mini muffin pan?
You can use a regular muffin pan and bake larger cups, adding a few extra minutes to the bake time. Press deeper wells to hold more filling. The yield will drop to around 10–12 cups.
How do I keep the cookie cups from sticking?
Grease the pan thoroughly, including the sides and corners.
After baking, cool 10 minutes, run a thin knife around the edges, and lift gently. Nonstick pans and a light dusting of flour help a lot.
What’s the best filling for make-ahead gifting?
Chocolate ganache is sturdy, sets nicely, and travels well. Buttercream also works if you keep the cups cool and packed snugly.
Avoid whipped cream or anything too soft.
Can I reduce the sugar?
You can cut each sugar by about 2 tablespoons without major texture issues. Any more and the cups may bake up drier and less chewy. Consider using darker chocolate to balance sweetness.
Do I need to chill the dough?
Not required for mini cups, but chilling 20–30 minutes can help if your kitchen is warm or your dough feels sticky.
Chilled dough holds shape a little better.
How do I make these gluten-free?
Use a 1:1 gluten-free baking flour blend with xanthan gum. Check your chocolate chips and decorations to confirm they’re gluten-free. Texture will be slightly more delicate but still tasty.
Can I add food coloring to the dough?
Yes, gel food coloring works best and won’t water down the dough.
Mix it in after the egg and vanilla so it disperses evenly.
What’s the best way to fill them neatly?
Use a small piping bag fitted with a star or round tip. For ganache, a small spoon works well. If you don’t have piping bags, use a zip-top bag and snip a corner.
Wrapping Up
These Christmas Chocolate Chip Cookie Cups are simple to make, easy to decorate, and guaranteed to disappear fast.
They bring a playful twist to a classic cookie, and the filling options keep things fun and customizable. Whether you’re baking for a cookie swap, a holiday movie night, or a classroom party, this recipe hits that sweet spot between festive and fuss-free. Make a batch, dress them up, and enjoy the cheerful crunch-snap-chew in every bite.
Printable Recipe Card
Want just the essential recipe details without scrolling through the article? Get our printable recipe card with just the ingredients and instructions.
Save Room for Something Sweet
Before you go, grab five irresistible dessert recipes that are simple to follow, satisfying to make and perfect for sharing.