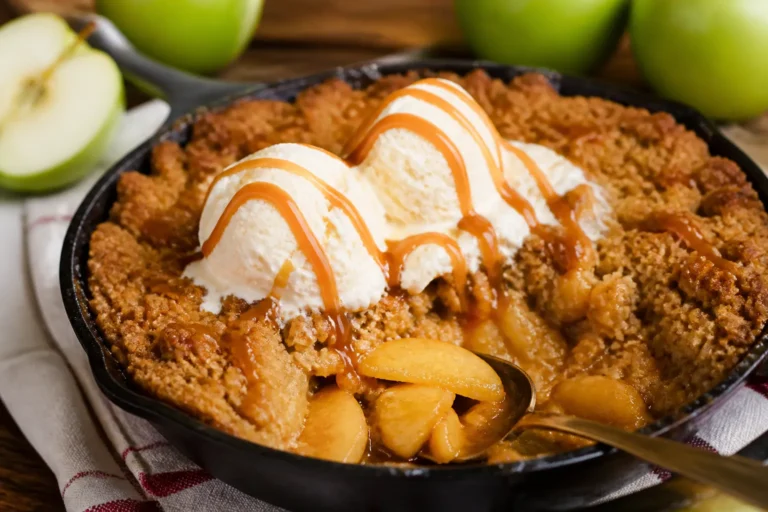
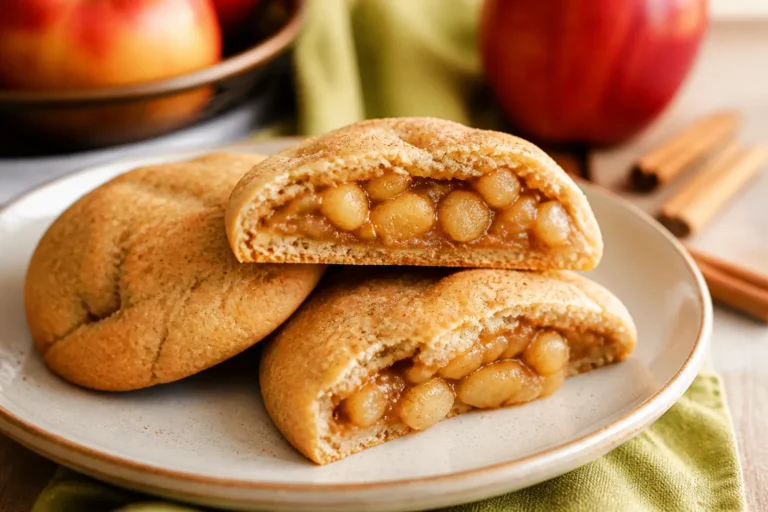
Caramel Apple Cookie Bars – Soft, Gooey, and Perfect for Sharing
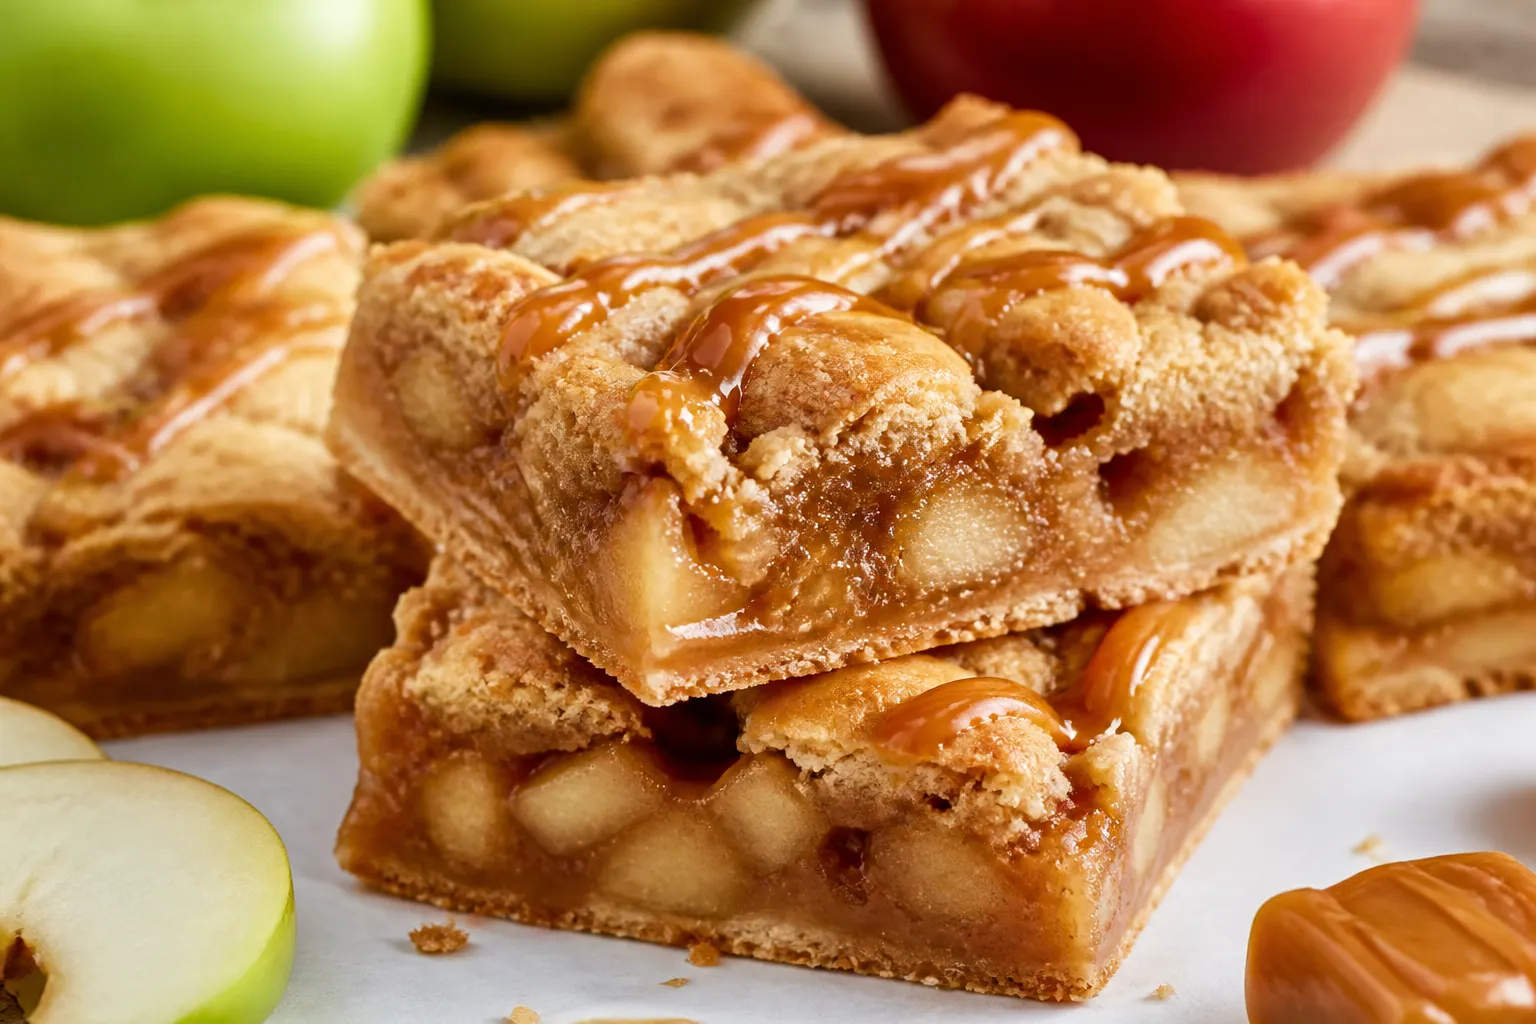
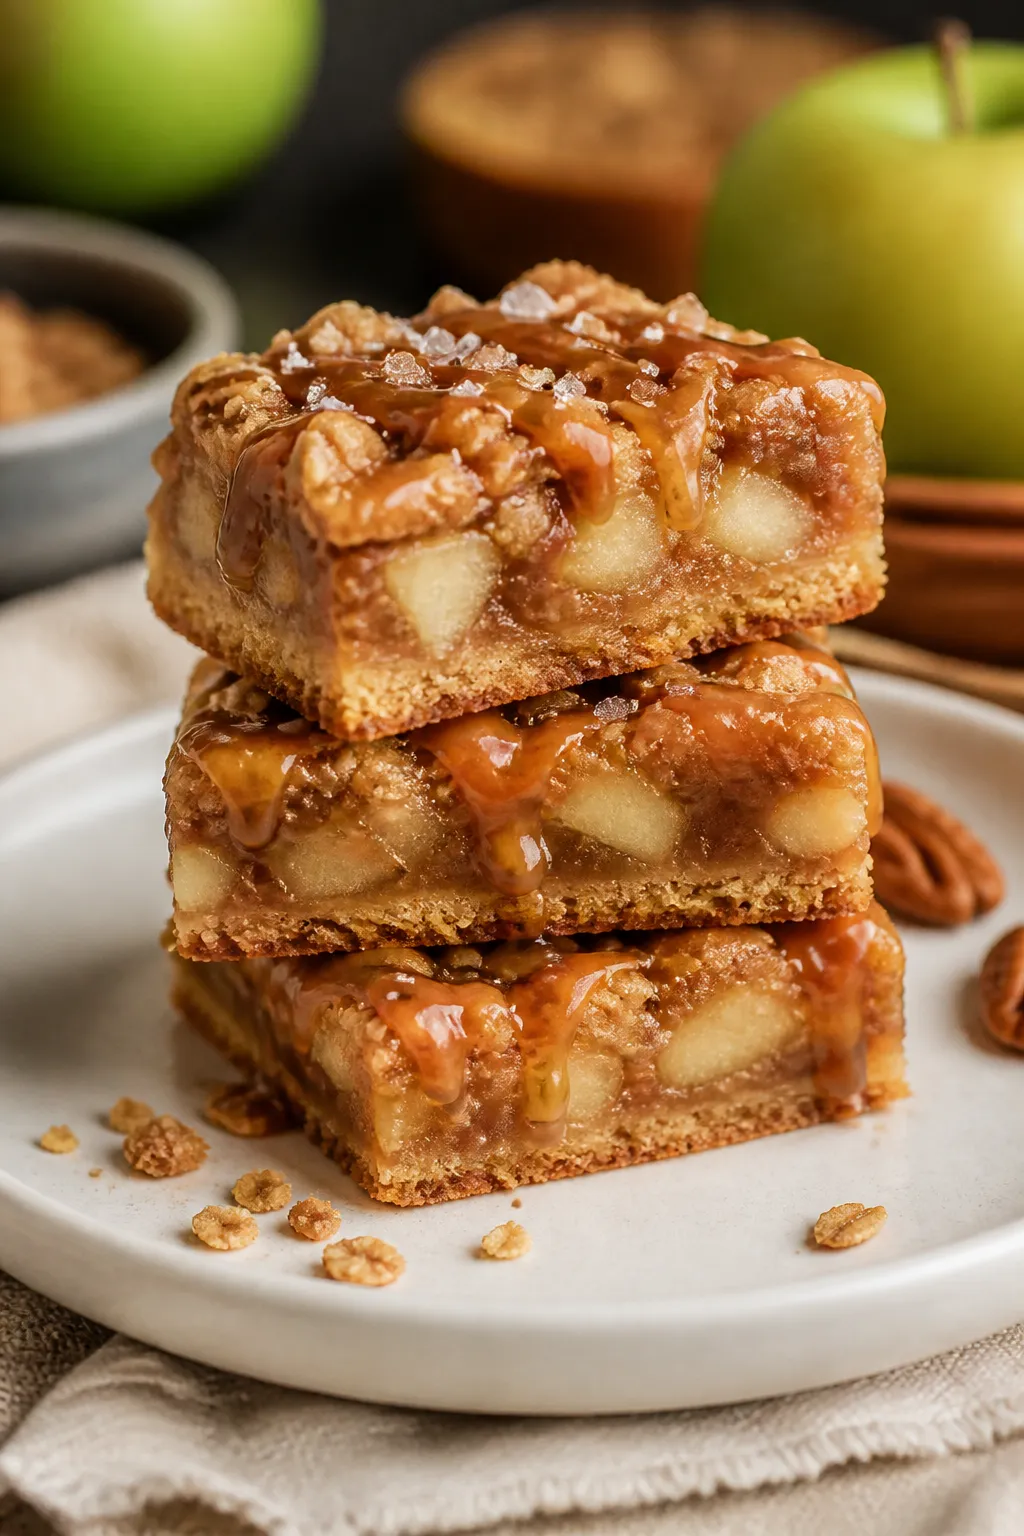
Caramel Apple Cookie Bars are everything you love about a fall fair treat, baked into one pan. Think soft cookie base, tender cinnamon-spiced apples, and a golden ribbon of gooey caramel on top. They’re easy to make, easy to slice, and a total crowd-pleaser.
5 Irresistible Desserts, Completely Free
Get five easy dessert recipes you’ll want to save, share, and make again and again—delivered straight to your inbox.
No fancy techniques, just honest ingredients and cozy flavors. Whether you’re baking for a potluck or a weekend treat, these bars bring instant comfort.
Ingredients
Method
- Prep the pan and oven: Heat the oven to 350°F (175°C). Line a 9x13-inch baking pan with parchment, leaving overhang on two sides for easy lifting. Lightly grease the parchment.
- Prep the apples: Peel (optional), core, and chop the apples into small 1/2-inch cubes. Toss with lemon juice, 1 teaspoon cinnamon, a pinch of salt, and the cornstarch. Set aside while you make the dough.
- Cream the butter and sugars: In a large bowl, beat softened butter with brown sugar and granulated sugar until light and fluffy, about 2 minutes. Add eggs and vanilla and beat until smooth.
- Mix the dry ingredients: In a separate bowl, whisk flour, baking powder, baking soda, 1 teaspoon cinnamon, nutmeg (if using), and 3/4 teaspoon kosher salt.
- Make the dough: Add the dry ingredients to the wet ingredients and mix on low just until no dry streaks remain. Fold in oats or pecans if you like a little texture.
- Build the base: Press about two-thirds of the dough into the prepared pan in an even layer. It helps to lightly dampen your fingertips or use a small offset spatula.
- Add the apples: Scatter the seasoned apples evenly over the dough. Gently press them in so they stick and bake evenly.
- Drizzle the caramel: Warm the caramel until pourable but thick. Drizzle generously over the apples, aiming for even coverage. Reserve a little for finishing, if you want a glossy top.
- Top with remaining dough: Drop the remaining dough in small spoonfuls over the caramel layer. It won’t fully cover, and that’s perfect—those gaps let caramel bubble through.
- Bake: Bake 30–38 minutes, until the top is golden and the edges are set. The center should look slightly soft but not jiggly. If your oven runs hot, start checking at 28 minutes.
- Cool completely: Let the bars cool in the pan on a rack. For the cleanest slices, chill for 45–60 minutes after they reach room temperature. Drizzle with any remaining caramel and a pinch of flaky sea salt.
- Slice and serve: Lift out using the parchment overhang. Cut into 16–24 bars, depending on how generous you want to be.
What Makes This Special
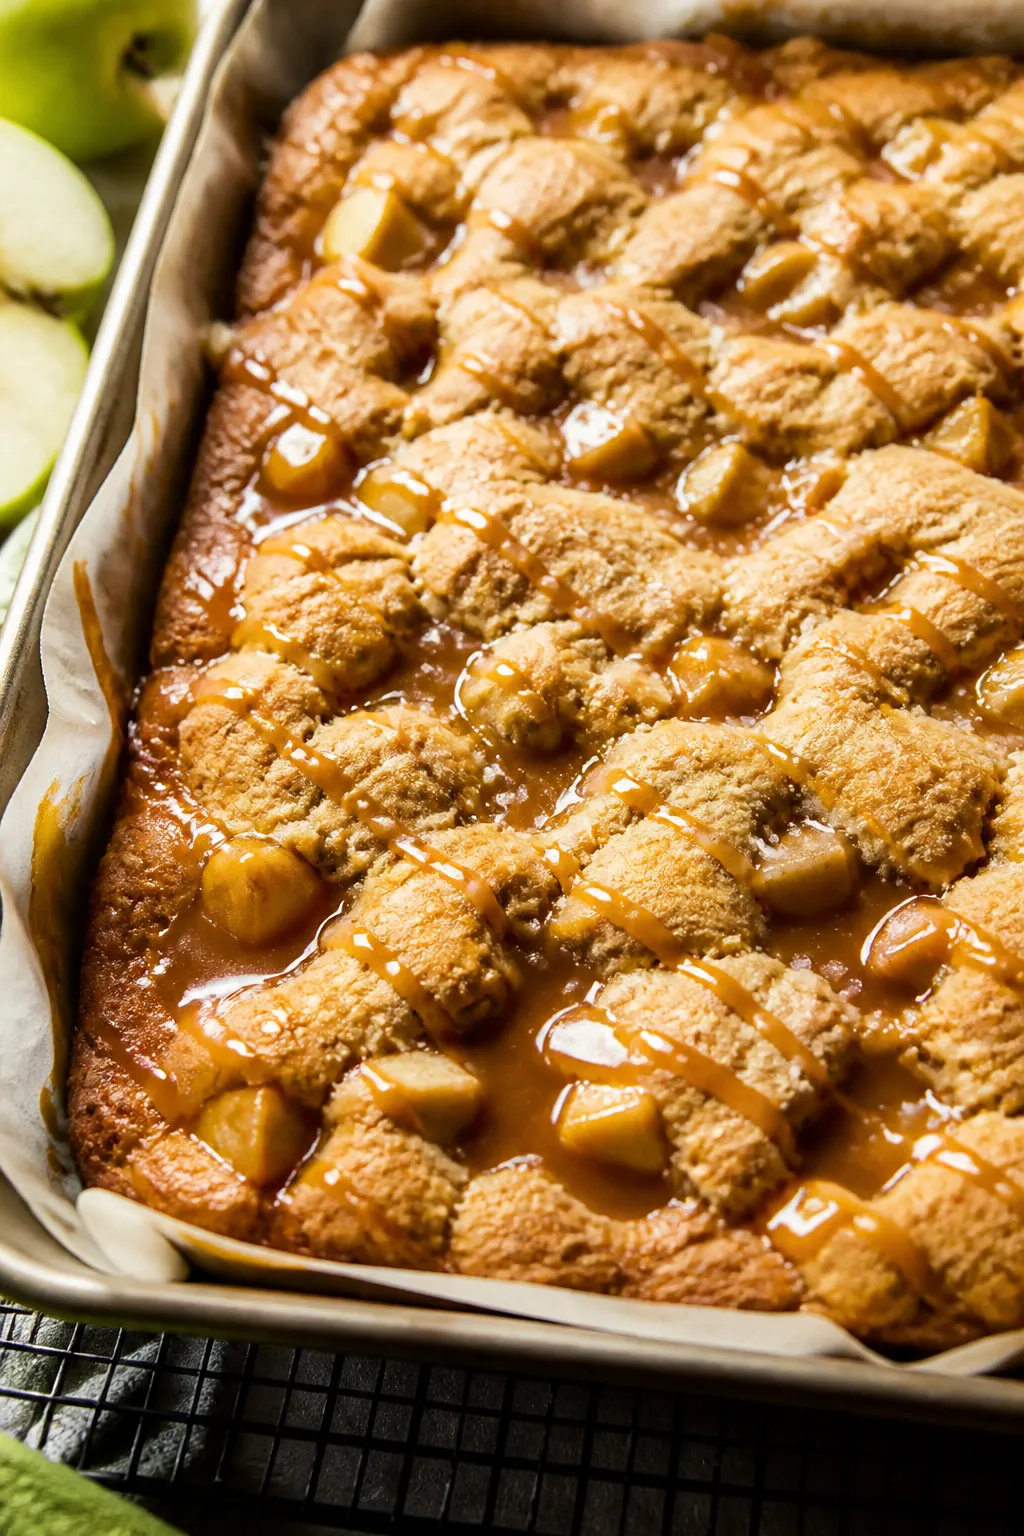
These bars combine three textures in one bite: a soft cookie crust, juicy apples, and a caramel layer that melts into every corner. You don’t need to assemble multiple layers or fuss with pie dough.
The base is a simple brown-sugar cookie dough that bakes up chewy, not crumbly. The apples are lightly sautéed to bring out their sweetness and keep the bars from getting soggy. And the caramel?
It turns a simple dessert into something that feels bakery-worthy.
Shopping List
- Unsalted butter (1 cup, softened)
- Brown sugar (1 cup, packed)
- Granulated sugar (1/2 cup)
- Large eggs (2)
- Vanilla extract (2 teaspoons)
- All-purpose flour (2 1/4 cups)
- Baking powder (1 teaspoon)
- Baking soda (1/2 teaspoon)
- Kosher salt (3/4 teaspoon)
- Ground cinnamon (2 teaspoons)
- Ground nutmeg (optional, 1/4 teaspoon)
- Apples (2 to 3 medium, about 3 cups chopped; Honeycrisp, Granny Smith, or Pink Lady)
- Lemon juice (1 tablespoon)
- Cornstarch (1 tablespoon)
- Caramel (about 1 cup; soft caramels melted with a splash of cream, or thick jarred caramel sauce)
- Rolled oats or chopped pecans (optional, 1/2 cup for texture)
- Flaky sea salt (optional, for finishing)
How to Make It
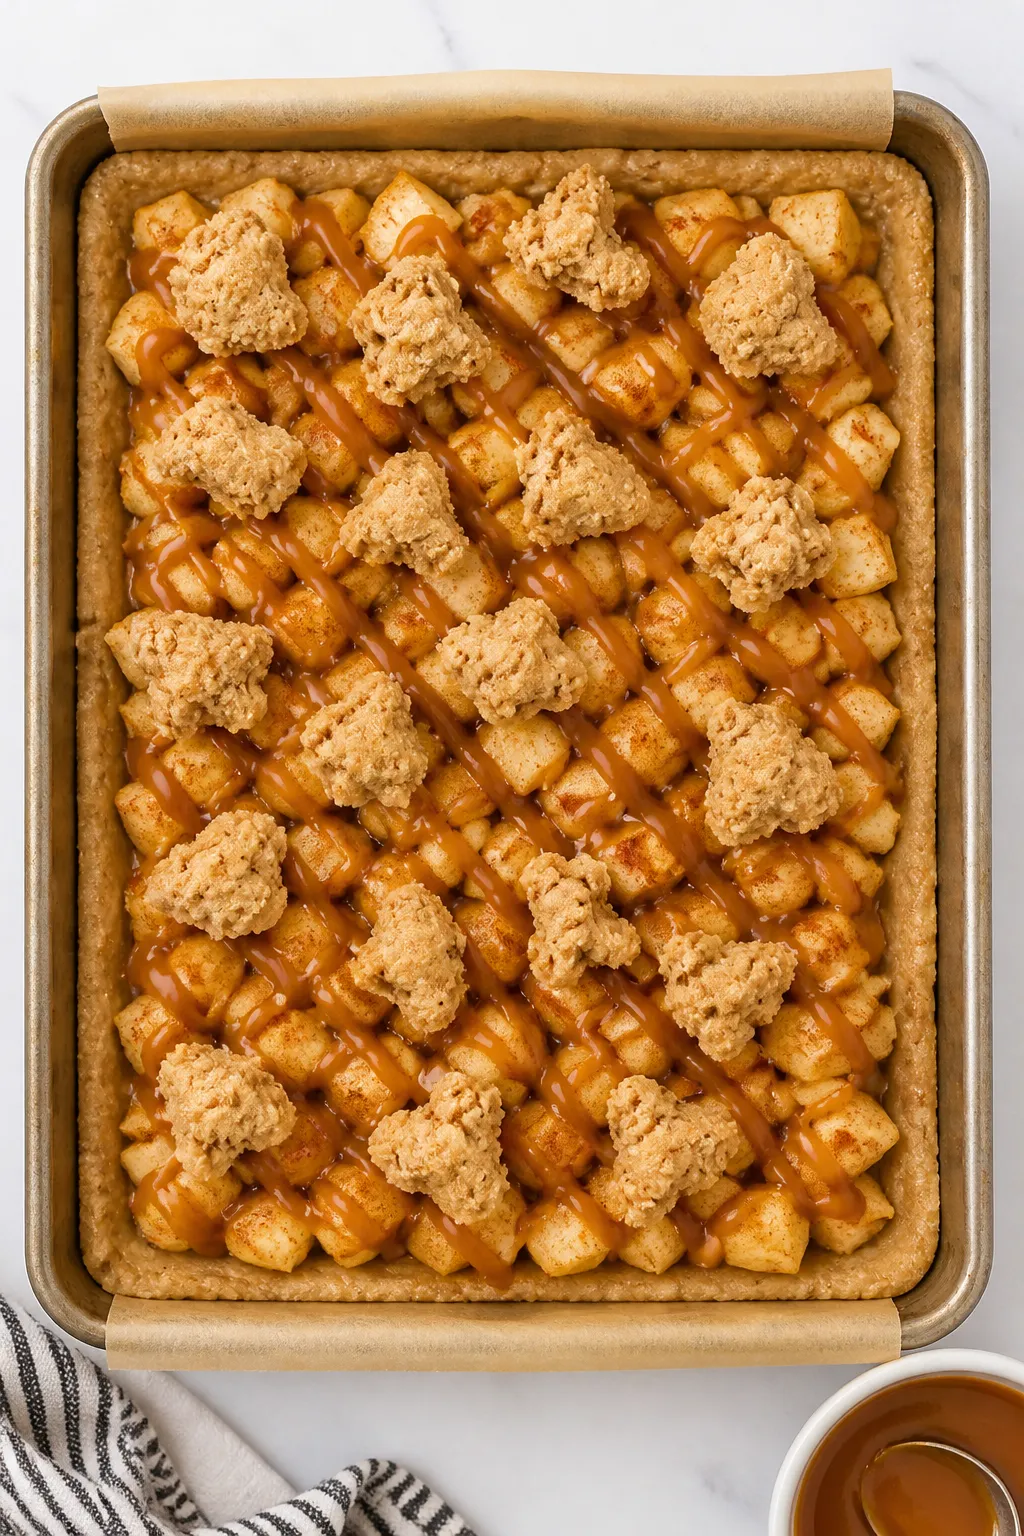
- Prep the pan and oven: Heat the oven to 350°F (175°C). Line a 9×13-inch baking pan with parchment, leaving overhang on two sides for easy lifting. Lightly grease the parchment.
- Prep the apples: Peel (optional), core, and chop the apples into small 1/2-inch cubes.
Toss with lemon juice, 1 teaspoon cinnamon, a pinch of salt, and the cornstarch. Set aside while you make the dough.
- Cream the butter and sugars: In a large bowl, beat softened butter with brown sugar and granulated sugar until light and fluffy, about 2 minutes. Add eggs and vanilla and beat until smooth.
- Mix the dry ingredients: In a separate bowl, whisk flour, baking powder, baking soda, 1 teaspoon cinnamon, nutmeg (if using), and 3/4 teaspoon kosher salt.
- Make the dough: Add the dry ingredients to the wet ingredients and mix on low just until no dry streaks remain.
Fold in oats or pecans if you like a little texture.
- Build the base: Press about two-thirds of the dough into the prepared pan in an even layer. It helps to lightly dampen your fingertips or use a small offset spatula.
- Add the apples: Scatter the seasoned apples evenly over the dough. Gently press them in so they stick and bake evenly.
- Drizzle the caramel: Warm the caramel until pourable but thick.
Drizzle generously over the apples, aiming for even coverage. Reserve a little for finishing, if you want a glossy top.
- Top with remaining dough: Drop the remaining dough in small spoonfuls over the caramel layer. It won’t fully cover, and that’s perfect—those gaps let caramel bubble through.
- Bake: Bake 30–38 minutes, until the top is golden and the edges are set.
The center should look slightly soft but not jiggly. If your oven runs hot, start checking at 28 minutes.
- Cool completely: Let the bars cool in the pan on a rack. For the cleanest slices, chill for 45–60 minutes after they reach room temperature.
Drizzle with any remaining caramel and a pinch of flaky sea salt.
- Slice and serve: Lift out using the parchment overhang. Cut into 16–24 bars, depending on how generous you want to be.
How to Store
- Room temperature: Keep in an airtight container for up to 2 days. The bars stay soft and chewy.
- Refrigerator: Store up to 5 days for maximum freshness.
Let them come to room temp before serving, or warm briefly to soften the caramel.
- Freezer: Wrap bars individually, then place in a freezer bag. Freeze up to 2 months. Thaw at room temperature or microwave in short bursts.
Benefits of This Recipe
- Faster than pie: No rolling, no crimping, and no blind baking.
Just press, layer, bake.
- Great for gatherings: One pan makes plenty, and bars travel well.
- Flexible ingredients: Use your favorite baking apples and either store-bought or homemade caramel.
- Kid-approved flavors: Soft cookie, sweet caramel, and warm spice hit all the right notes.
- Make-ahead friendly: The flavor often improves on day two as the caramel and apple settle in.
Common Mistakes to Avoid
- Skipping the cornstarch: A little starch helps thicken apple juices so the bars don’t turn soggy.
- Overbaking: Pull the bars when the edges are set and the center looks slightly soft. They firm up as they cool.
- Using thin caramel sauce: Very runny caramel can disappear into the dough. Choose a thicker sauce or melt soft caramels with just a splash of cream.
- Cutting too soon: Warm caramel needs time to set.
Cooling makes slicing neat and easy.
- Uneven apple pieces: Keep the cubes consistent so they bake at the same rate.
Variations You Can Try
- Salted caramel pecan: Add 1/2 cup chopped pecans to the dough and finish with extra flaky sea salt.
- Maple glaze: Whisk 1/2 cup powdered sugar with 1–2 tablespoons maple syrup and a pinch of salt. Drizzle over cooled bars.
- Oatmeal cookie base: Swap 3/4 cup of the flour for old-fashioned oats for a heartier texture.
- Spiced apple: Add a pinch of cloves and cardamom to the cinnamon for a warmer, bakery-style aroma.
- Gluten-free: Use a quality 1:1 gluten-free flour blend. Check your caramel for gluten-free labeling.
- Cheesecake swirl: Beat 8 ounces softened cream cheese with 1/4 cup sugar and 1 egg.
Dollop on top of the apples, then add caramel and remaining dough.
FAQ
What apples work best for these bars?
Firm, slightly tart apples hold their shape and balance the sweetness. Granny Smith, Honeycrisp, Pink Lady, and Braeburn all work well. Mixing two varieties gives great flavor.
Can I use store-bought caramel?
Your Next Favorite Dessert Is Inside
SEND ME THE FREE DESSERTS
Yes.
Choose a thick, spoonable caramel so it doesn’t vanish into the dough. If using chewy caramels, melt them gently with 1–2 tablespoons heavy cream until smooth.
Do I need to peel the apples?
No, peeling is optional. Peeled apples bake softer and blend into the bars.
Unpeeled apples add a little texture and color. Choose what you prefer.
How do I know when the bars are done?
Look for golden edges and a center that’s set but still soft. A toothpick inserted near the center should come out with a few moist crumbs, not wet batter.
Can I halve the recipe?
Yes.
Bake in an 8×8-inch pan. Start checking for doneness around 24–28 minutes, as smaller pans can bake a bit faster.
How can I keep the caramel from sticking to the knife?
Chill the bars before slicing and use a sharp, lightly oiled knife. Wipe the blade clean between cuts for neat squares.
Are these bars very sweet?
They’re rich, but the tart apples and a pinch of salt keep the sweetness balanced.
If you prefer less sweet, reduce the granulated sugar by 2–3 tablespoons and use a lightly salted caramel.
Can I make them dairy-free?
Use a dairy-free butter alternative and a dairy-free caramel. Check labels to ensure both are suitable for baking.
What if I don’t have cornstarch?
Use 2 teaspoons all-purpose flour or 1 teaspoon arrowroot. The goal is to lightly thicken the apple juices.
How should I reheat leftovers?
Warm a bar in the microwave for 10–15 seconds to soften the caramel and refresh the texture.
Don’t overheat, or the caramel can melt out.
In Conclusion
Caramel Apple Cookie Bars bring cozy, familiar flavors without the extra work of a pie. The soft cookie base, juicy apples, and glossy caramel make every square feel special. They’re easy to bake, simple to share, and flexible enough to fit your style.
Keep a pan in your back pocket for game days, bake sales, or any night you want something sweet and warm from the oven. One batch, and they’ll earn a permanent spot in your recipe rotation.
Printable Recipe Card
Want just the essential recipe details without scrolling through the article? Get our printable recipe card with just the ingredients and instructions.
Save Room for Something Sweet
Before you go, grab five irresistible dessert recipes that are simple to follow, satisfying to make and perfect for sharing.