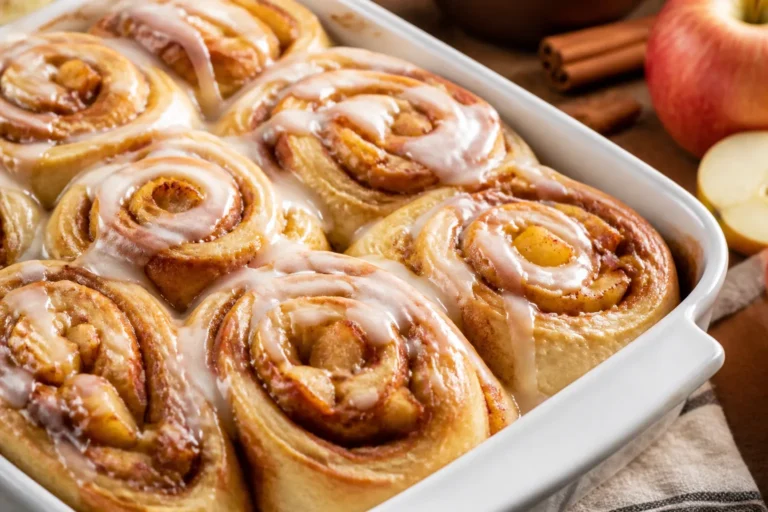
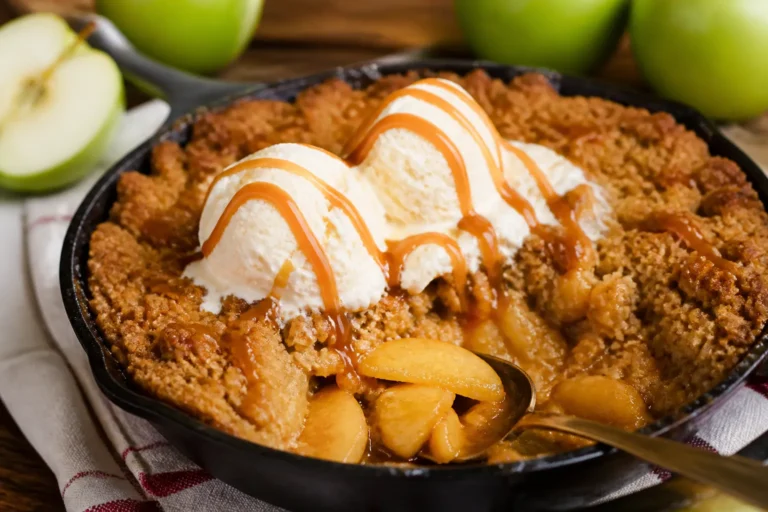
Apple Crisp Mini Cheesecakes – Cozy, Crunchy, and Perfectly Portable
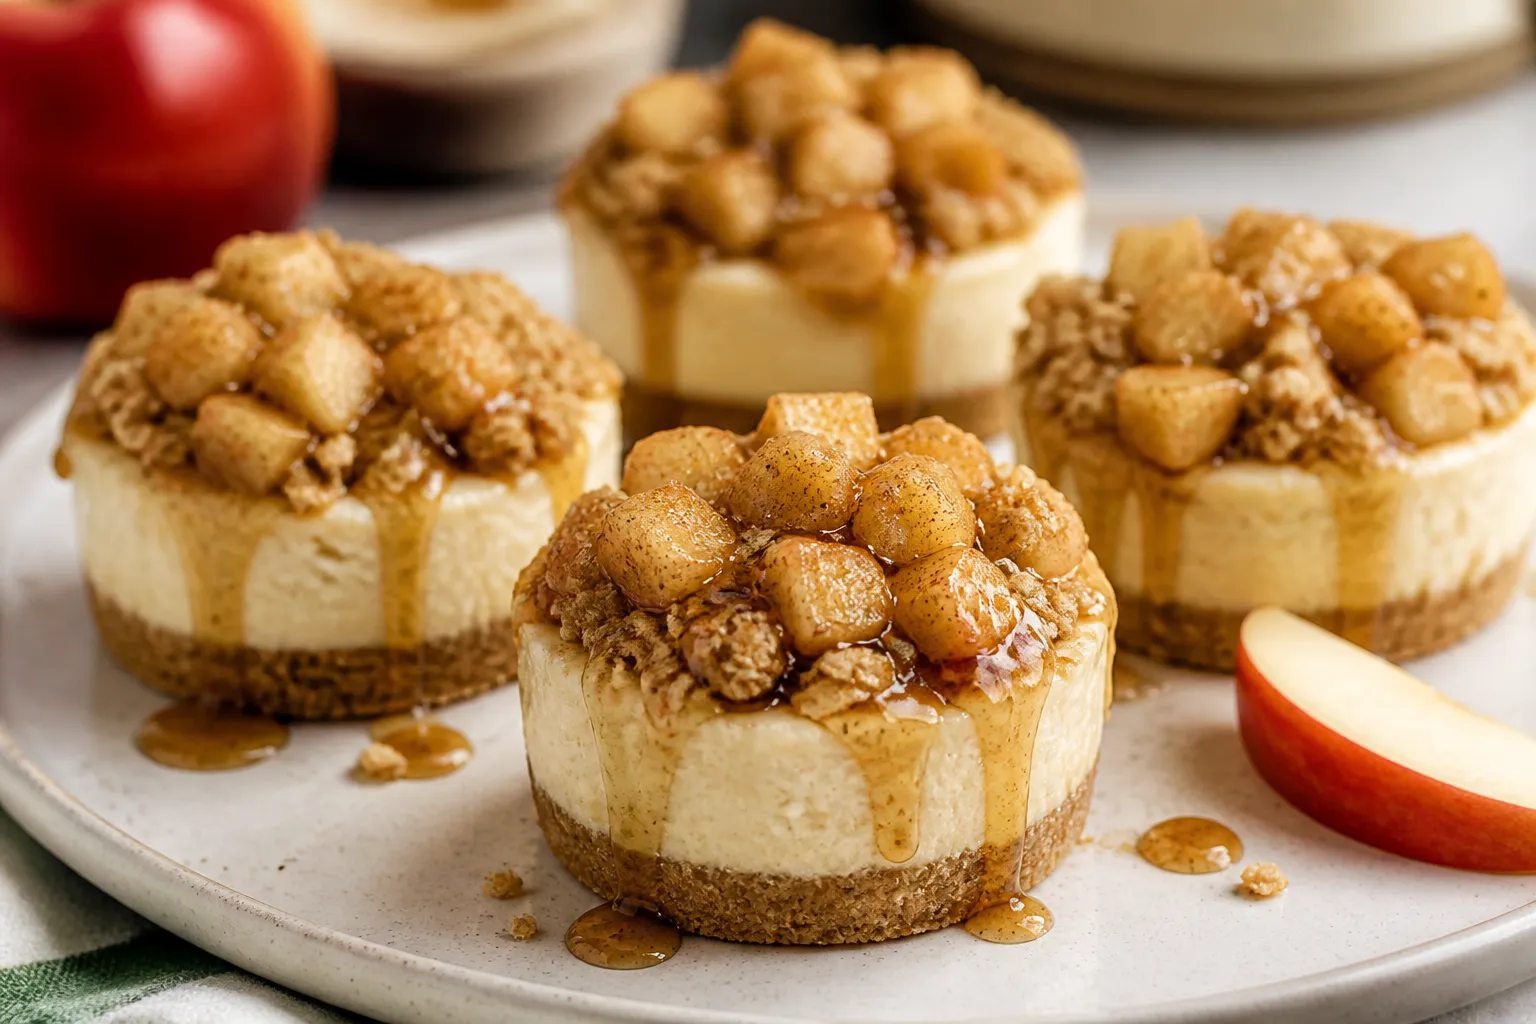
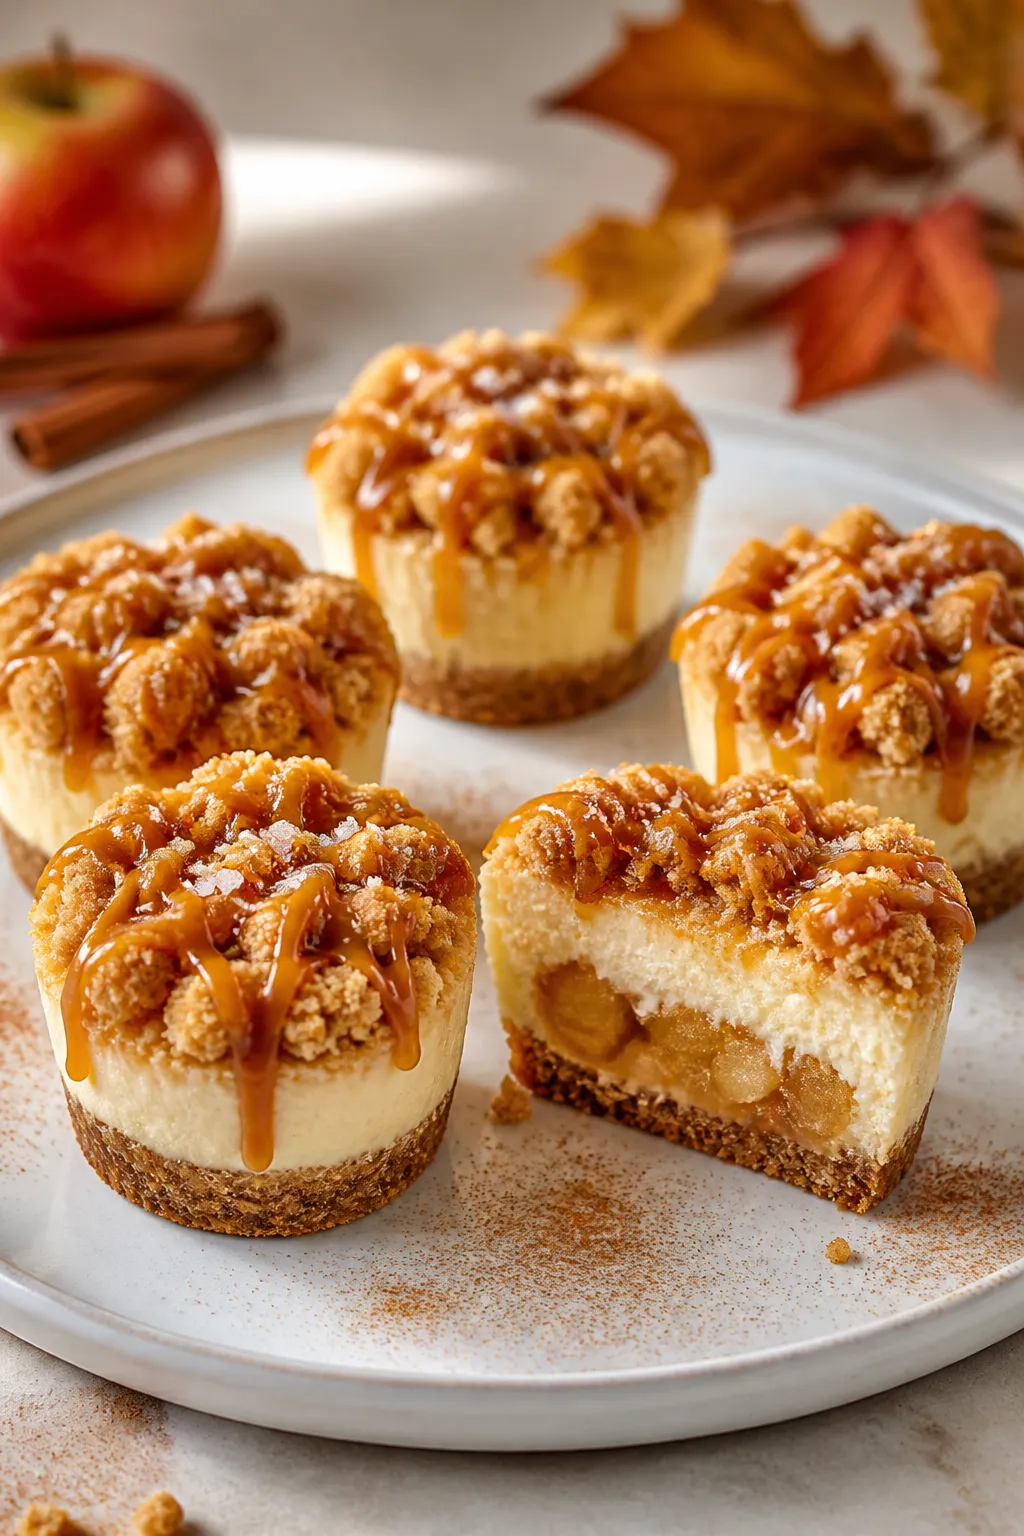
These Apple Crisp Mini Cheesecakes bring together everything you love about fall baking in one bite-sized dessert. You get a creamy cheesecake base, a buttery graham crust, and a cinnamon-apple topping crowned with a crisp, golden crumble. They’re easy to share, simple to serve, and look impressive without much fuss.
5 Irresistible Desserts, Completely Free
Get five easy dessert recipes you’ll want to save, share, and make again and again—delivered straight to your inbox.
Whether you’re planning a holiday dessert tray or a casual weekend treat, these little cheesecakes deliver big flavor with minimal effort.
Ingredients
Method
- Prep the pan and oven: Line a 12-cup muffin pan with paper liners. Preheat oven to 325°F (165°C). This lower temp helps prevent cracks.
- Make the crust: Stir 1 cup graham cracker crumbs with 2 tablespoons sugar, a pinch of salt, and 4 tablespoons melted butter until it looks like wet sand. Press about 1 to 1.5 tablespoons into each liner. Use a flat-bottom glass to pack it firmly. Bake for 5 minutes, then set aside.
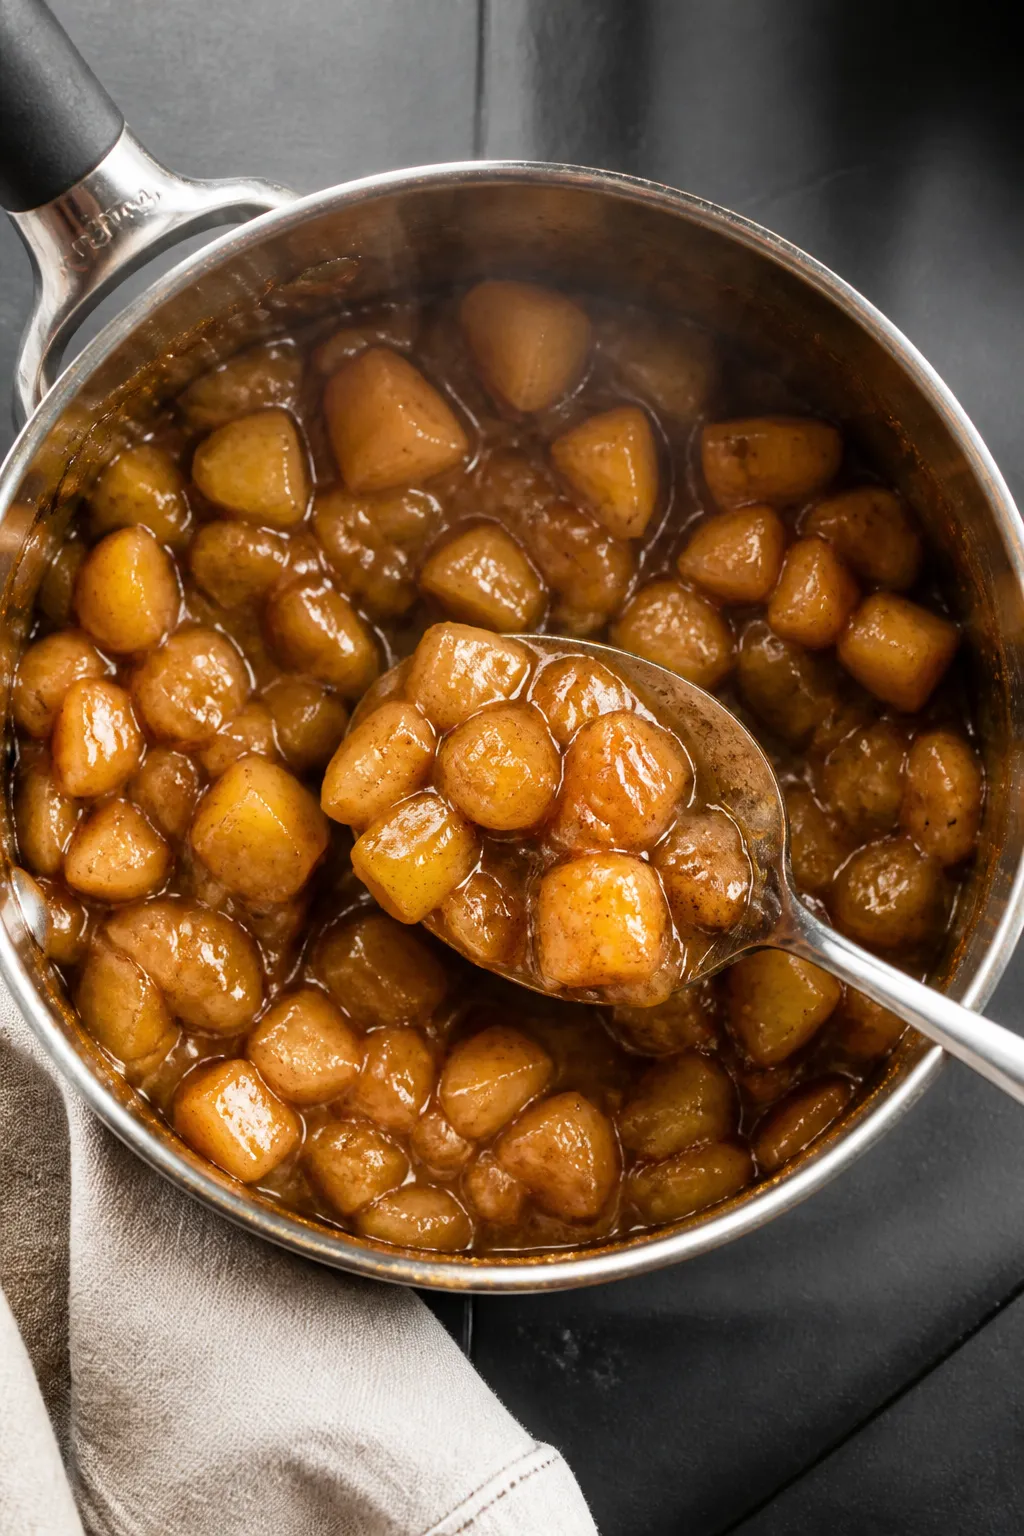
- Cook the apples: Peel and dice 2 medium apples into small cubes. In a saucepan, melt 1 tablespoon butter, then add apples, 2 tablespoons brown sugar, 1/2 teaspoon cinnamon, a pinch of nutmeg, and 1 teaspoon lemon juice. Cook 4–6 minutes until just tender. Stir in 1 teaspoon cornstarch to thicken. Remove from heat and let cool slightly.
- Mix the crisp topping: Combine 1/2 cup rolled oats, 1/3 cup flour, 1/3 cup brown sugar, 1/2 teaspoon cinnamon, a pinch of salt, and 3 tablespoons melted butter. Stir until clumpy. Set aside.
- Make the cheesecake batter: Beat 16 ounces softened cream cheese with 1/2 cup granulated sugar until smooth, about 1–2 minutes. Mix in 1/3 cup sour cream and 1 teaspoon vanilla. Beat in 2 room-temperature eggs, one at a time, on low speed just until incorporated. Do not overmix.
- Fill the cups: Divide cheesecake batter evenly among the crusts, filling each about 3/4 full. Gently tap the pan to release air bubbles.
- Add apples and crisp: Spoon a heaping teaspoon of the cooked apples over each mini cheesecake. Crumble a tablespoon or so of the oat topping over the apples, covering the surface but not overfilling.
- Bake: Bake at 325°F for 18–22 minutes, until edges are set and centers still jiggle slightly. The crisp topping should look golden.
- Cool properly: Turn off the oven and prop the door open for 5 minutes. Move the pan to a rack and cool to room temperature. Do not rush this step or you’ll risk sunken centers.
- Chill: Refrigerate at least 2 hours (overnight is best) to fully set. Remove liners before serving if you like.
- Finish and serve: Drizzle with caramel and a pinch of flaky salt, or add a small dollop of whipped cream. Serve chilled or slightly cool.
What Makes This Recipe So Good
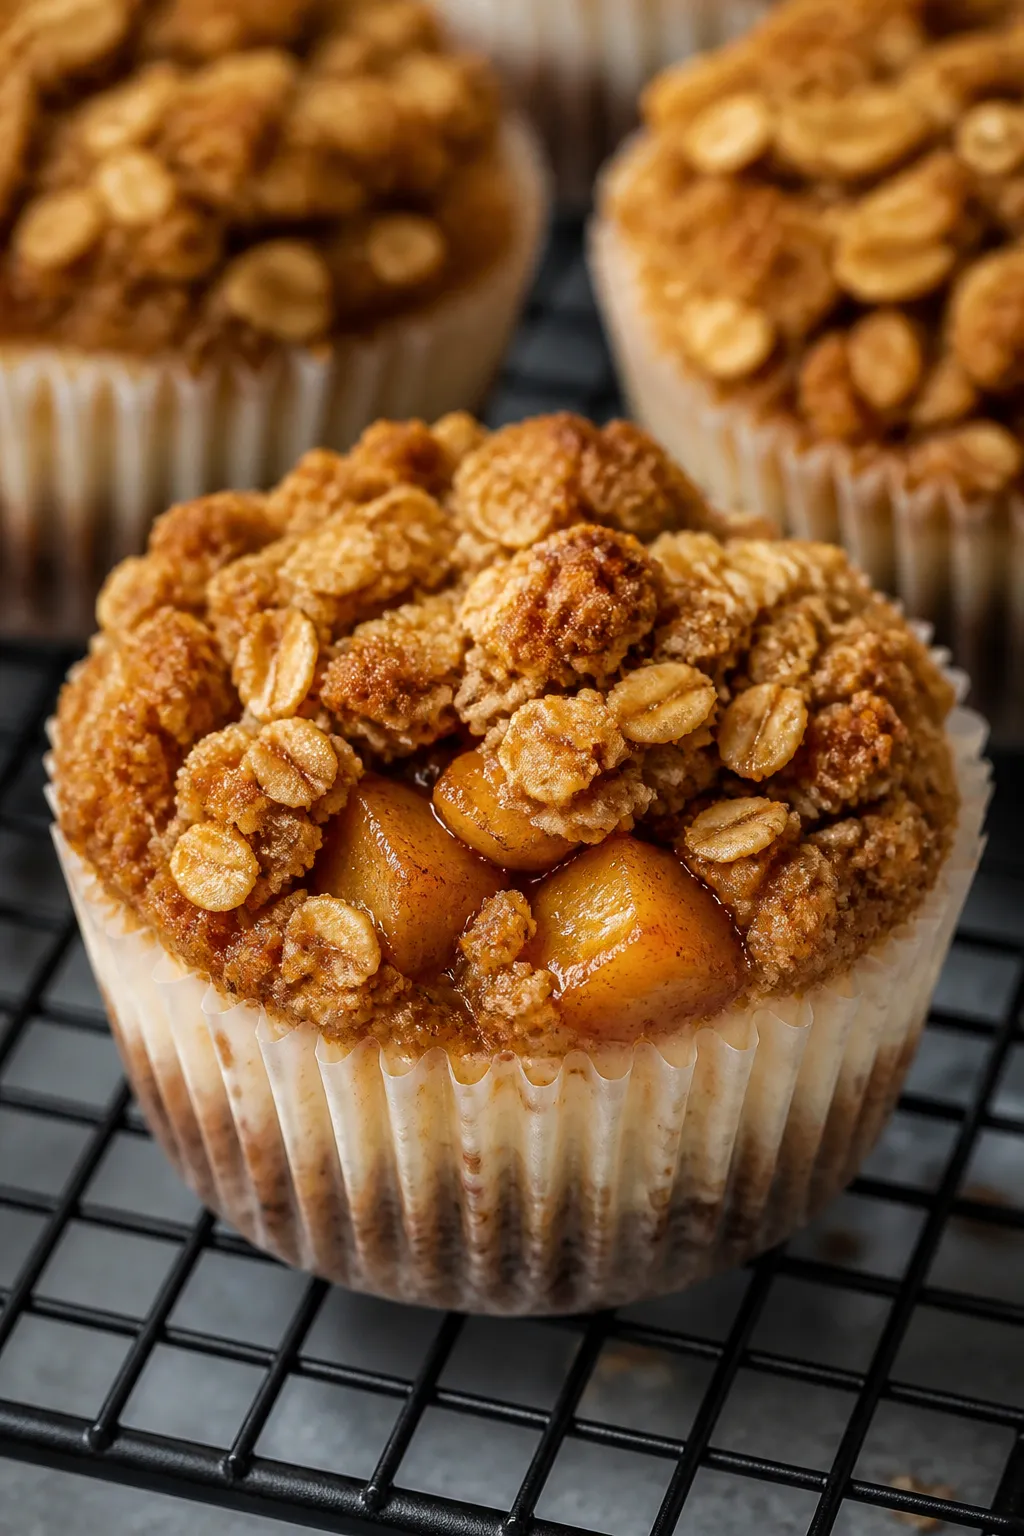
- Two classics in one: Creamy cheesecake meets warm apple crisp, giving you rich, tangy, spiced, and crunchy in every bite.
- Mini size, major payoff: They bake faster than a full cheesecake and chill quicker, so dessert is ready sooner.
- Make-ahead friendly: You can prep components ahead, then assemble and chill when you’re ready.
- Balanced sweetness: The tang of cream cheese keeps the dessert from being cloying, even with the caramel-like apples.
- Great texture contrast: Buttery crust, silky filling, tender apples, and a crisp topping you can actually hear when you bite in.
Shopping List
- For the crust: Graham cracker crumbs, granulated sugar, unsalted butter, pinch of salt
- For the cheesecake filling: Cream cheese (full-fat, brick style), granulated sugar, sour cream, vanilla extract, eggs
- For the apple layer: Apples (Honeycrisp, Granny Smith, or a mix), brown sugar, lemon juice, ground cinnamon, ground nutmeg, cornstarch or flour, unsalted butter
- For the crisp topping: Old-fashioned rolled oats, all-purpose flour, brown sugar, ground cinnamon, pinch of salt, unsalted butter
- Optional finishes: Caramel sauce, flaky sea salt, whipped cream
- Tools: 12-cup muffin pan, paper or foil liners, mixing bowls, hand mixer or stand mixer, spatula, small saucepan, spoon or scoop
Instructions
- Prep the pan and oven: Line a 12-cup muffin pan with paper liners. Preheat oven to 325°F (165°C). This lower temp helps prevent cracks.
- Make the crust: Stir 1 cup graham cracker crumbs with 2 tablespoons sugar, a pinch of salt, and 4 tablespoons melted butter until it looks like wet sand.
Press about 1 to 1.5 tablespoons into each liner. Use a flat-bottom glass to pack it firmly. Bake for 5 minutes, then set aside.
- Cook the apples: Peel and dice 2 medium apples into small cubes.
In a saucepan, melt 1 tablespoon butter, then add apples, 2 tablespoons brown sugar, 1/2 teaspoon cinnamon, a pinch of nutmeg, and 1 teaspoon lemon juice. Cook 4–6 minutes until just tender. Stir in 1 teaspoon cornstarch to thicken.
Remove from heat and let cool slightly.
- Mix the crisp topping: Combine 1/2 cup rolled oats, 1/3 cup flour, 1/3 cup brown sugar, 1/2 teaspoon cinnamon, a pinch of salt, and 3 tablespoons melted butter. Stir until clumpy. Set aside.
- Make the cheesecake batter: Beat 16 ounces softened cream cheese with 1/2 cup granulated sugar until smooth, about 1–2 minutes.
Mix in 1/3 cup sour cream and 1 teaspoon vanilla. Beat in 2 room-temperature eggs, one at a time, on low speed just until incorporated. Do not overmix.
- Fill the cups: Divide cheesecake batter evenly among the crusts, filling each about 3/4 full. Gently tap the pan to release air bubbles.
- Add apples and crisp: Spoon a heaping teaspoon of the cooked apples over each mini cheesecake.
Crumble a tablespoon or so of the oat topping over the apples, covering the surface but not overfilling.
- Bake: Bake at 325°F for 18–22 minutes, until edges are set and centers still jiggle slightly. The crisp topping should look golden.
- Cool properly: Turn off the oven and prop the door open for 5 minutes. Move the pan to a rack and cool to room temperature. Do not rush this step or you’ll risk sunken centers.
- Chill: Refrigerate at least 2 hours (overnight is best) to fully set.
Remove liners before serving if you like.
- Finish and serve: Drizzle with caramel and a pinch of flaky salt, or add a small dollop of whipped cream. Serve chilled or slightly cool.
Keeping It Fresh
Store the mini cheesecakes in an airtight container in the fridge for up to 4 days. Place parchment between layers to protect the crisp topping.
For the best texture, add caramel or whipped cream right before serving.
You can freeze them, too. Freeze on a sheet pan until firm, then wrap individually and store in a freezer bag for up to 2 months. Thaw in the fridge overnight. Skip adding whipped cream before freezing for the cleanest results.
Benefits of This Recipe
- Comforting flavors: Cinnamon-spiced apples and creamy cheesecake hit all the cozy notes without being heavy.
- Built-in portion control: Minis help you manage servings at parties or weeknight treats.
- Flexible timing: Each component can be made ahead, making holiday prep less stressful.
- Kid- and crowd-friendly: Familiar flavors and handheld size make these a safe bet for mixed groups.
- Reliable results: Lower bake temp and small format mean fewer cracks and quicker chill time.
Pitfalls to Watch Out For
- Overmixing the batter: Too much air leads to puffing and sinking.
Mix on low and stop when combined.
- Hot apples on cold batter: Add apples warm and they’ll melt the cheesecake. Let them cool to lukewarm before topping.
- Overfilling the cups: Leave a little room up top for the apple and crisp layers to sit without spilling.
- Skipping the chill: Cheesecake needs time to set. Rushing leads to soft centers that won’t slice cleanly.
- Using instant oats: They won’t stay as crisp.
Old-fashioned rolled oats give better texture.
Variations You Can Try
Your Next Favorite Dessert Is Inside
SEND ME THE FREE DESSERTS
- Ginger snap crust: Swap graham crumbs for crushed ginger snaps for a spicy kick.
- Brown butter boost: Brown the butter for the crust and topping to add a nutty depth.
- Maple twist: Replace part of the sugar in the apples with pure maple syrup for richer flavor.
- Gluten-free: Use gluten-free graham crumbs and a 1:1 gluten-free flour blend in the topping.
- Nutty crunch: Add finely chopped pecans or walnuts to the crisp topping.
- Spice blend: Use apple pie spice instead of straight cinnamon for a more layered profile.
- No-bake shortcut: Bake only the crisp on a sheet pan, use a no-bake cheesecake filling, and spoon the cooked apples over before chilling.
FAQ
What apples work best?
Use a mix of tart and sweet for balance. Granny Smith holds shape and adds tang, while Honeycrisp or Pink Lady bring sweetness and texture. Avoid apples that turn mushy quickly, like McIntosh.
Can I make these a day ahead?
Yes.
They’re actually better the next day because the cheesecake sets fully and flavors meld. Add caramel or whipped cream right before serving to keep the topping crisp.
How do I prevent cracks?
Use room-temperature ingredients, mix on low, and bake at 325°F until just set. Cooling gradually and chilling completely also helps.
Mini cheesecakes are naturally less prone to cracking than full-size ones.
Do I have to cook the apples first?
Cooking the apples concentrates flavor and prevents watery tops. Raw apples can release too much juice and soften the crisp. A quick 5-minute sauté makes a big difference.
Can I use a silicone muffin pan without liners?
You can, but liners make removal and serving easier.
If skipping liners, lightly grease the wells and chill the cheesecakes thoroughly before unmolding.
What if I don’t have sour cream?
Use plain Greek yogurt, preferably full-fat, for similar tang and texture. The filling will still be smooth and creamy.
How do I know they’re done?
The edges should look set, and the centers should jiggle slightly like gelatin when you nudge the pan. If they’re puffing dramatically or browning deeply, they’re overbaking.
Final Thoughts
Apple Crisp Mini Cheesecakes are the kind of dessert that feels special without a big production.
They pack warm spice, creamy comfort, and a satisfying crunch into a tidy little package. Make them for your next gathering or a cozy night in, and enjoy how quickly they disappear. Keep a few in the freezer for future you—you’ll be glad you did.
Printable Recipe Card
Want just the essential recipe details without scrolling through the article? Get our printable recipe card with just the ingredients and instructions.
Save Room for Something Sweet
Before you go, grab five irresistible dessert recipes that are simple to follow, satisfying to make and perfect for sharing.