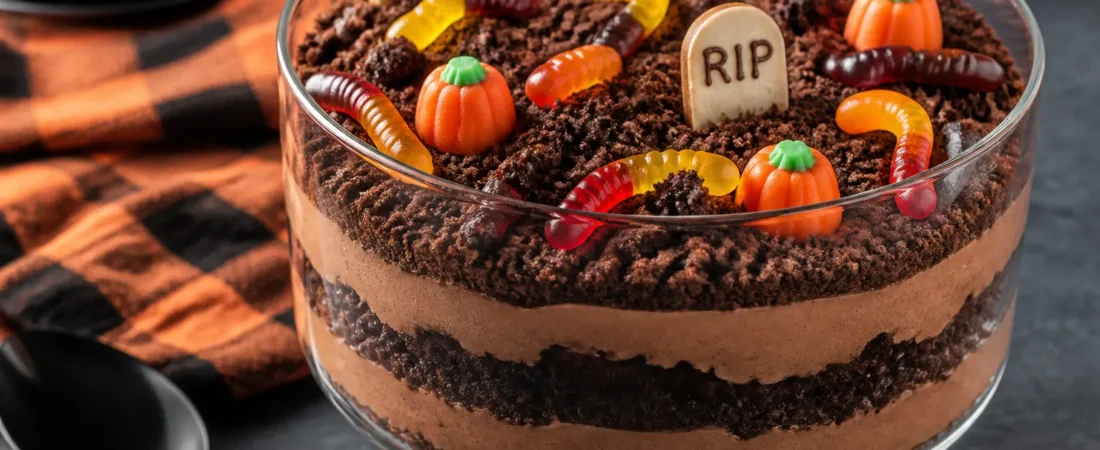
This Halloween Dirt Cake is the kind of dessert that gets the whole table smiling. It looks playful and a little creepy, but it tastes like pure comfort: creamy pudding, fluffy whipped topping, and a crunchy cookie “soil” on top. It’s a no-bake recipe that comes together fast, which is perfect when you’re juggling costumes and candy.
Kids can help decorate, and adults will sneak seconds. Bring it to a party or make it at home before trick-or-treating—it’s a crowd-pleaser either way.

Ingredients
Method
- Crush the cookies: Place the cookies in a large zip-top bag. Crush with a rolling pin until they resemble fine crumbs with a few small chunks. You want that dirt texture.
- Whisk the pudding: In a large bowl, whisk the instant pudding mix with cold milk for about 2 minutes until it thickens. Set aside to firm up slightly.
- Make the cream layer: In a separate bowl, beat softened cream cheese, powdered sugar, butter (if using), and vanilla until smooth and fluffy. No lumps.
- Fold in the whipped topping: Gently fold the whipped topping into the cream cheese mixture until fully combined. Don’t overmix—keep it airy.
- Combine with pudding: Fold the chocolate pudding into the cream mixture until it’s even in color. You’re aiming for a light, mousse-like texture.
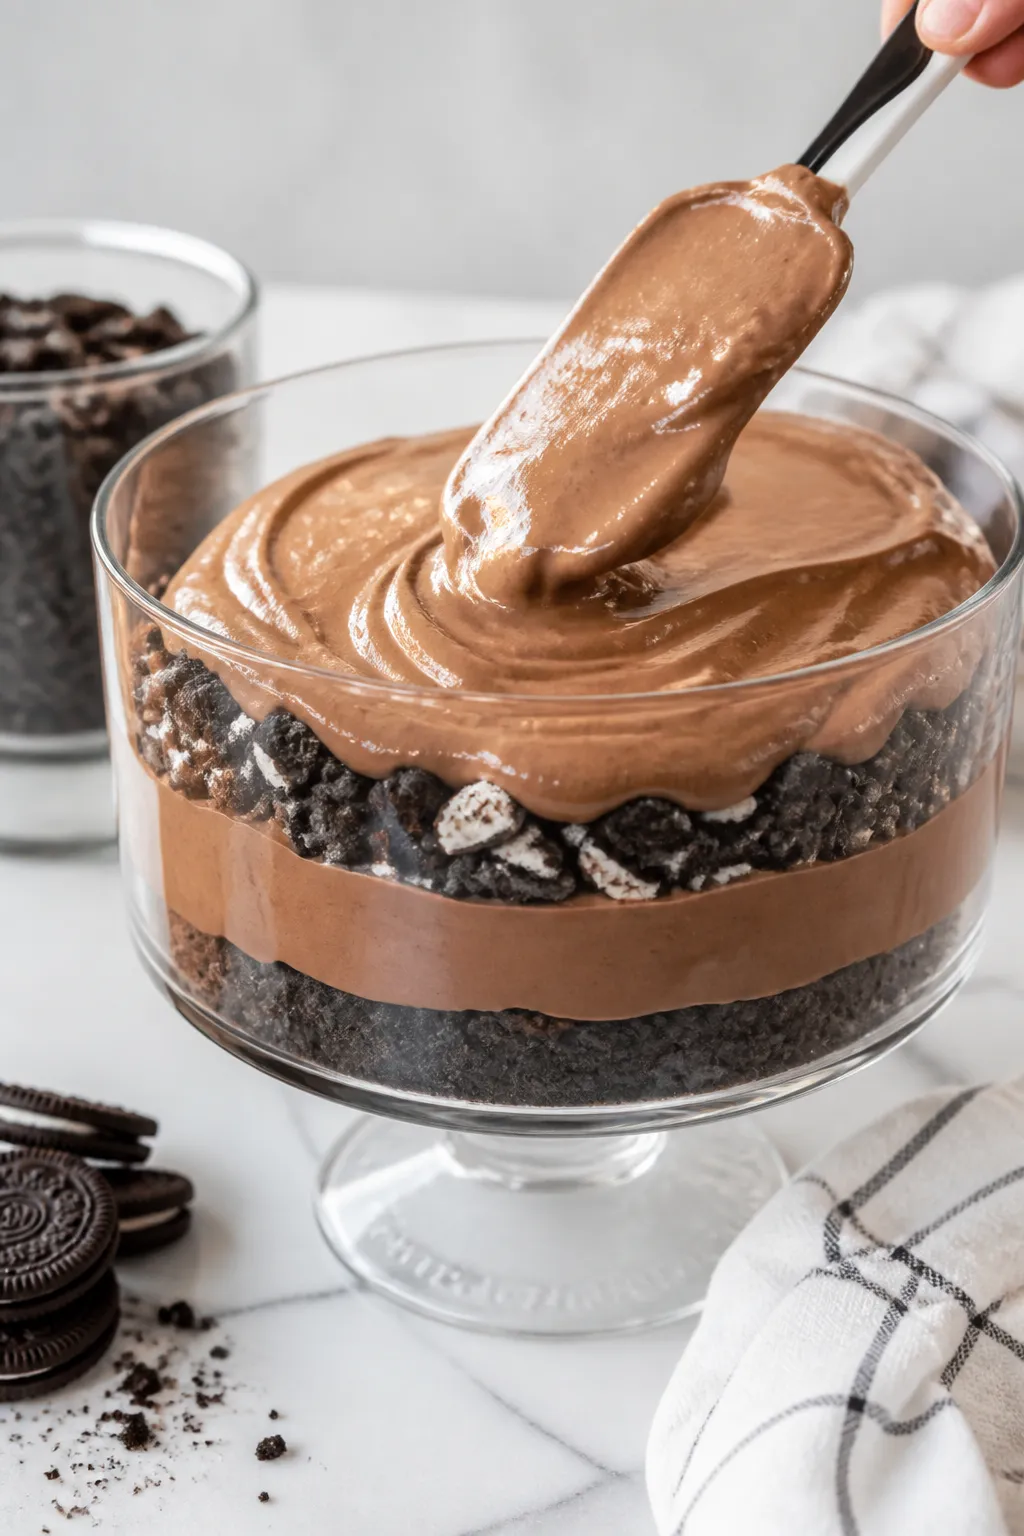
- Layer the “dirt” and filling: In a 9×13 pan, trifle dish, or clear bowl, sprinkle a layer of crushed cookies on the bottom. Spread half the pudding-cream mixture over it. Add another layer of cookies, then the remaining cream mixture, and finish with a thick layer of cookie crumbs on top.
- Chill: Cover and refrigerate for at least 2–4 hours, or overnight if you can. This helps it set and deepens the flavor.
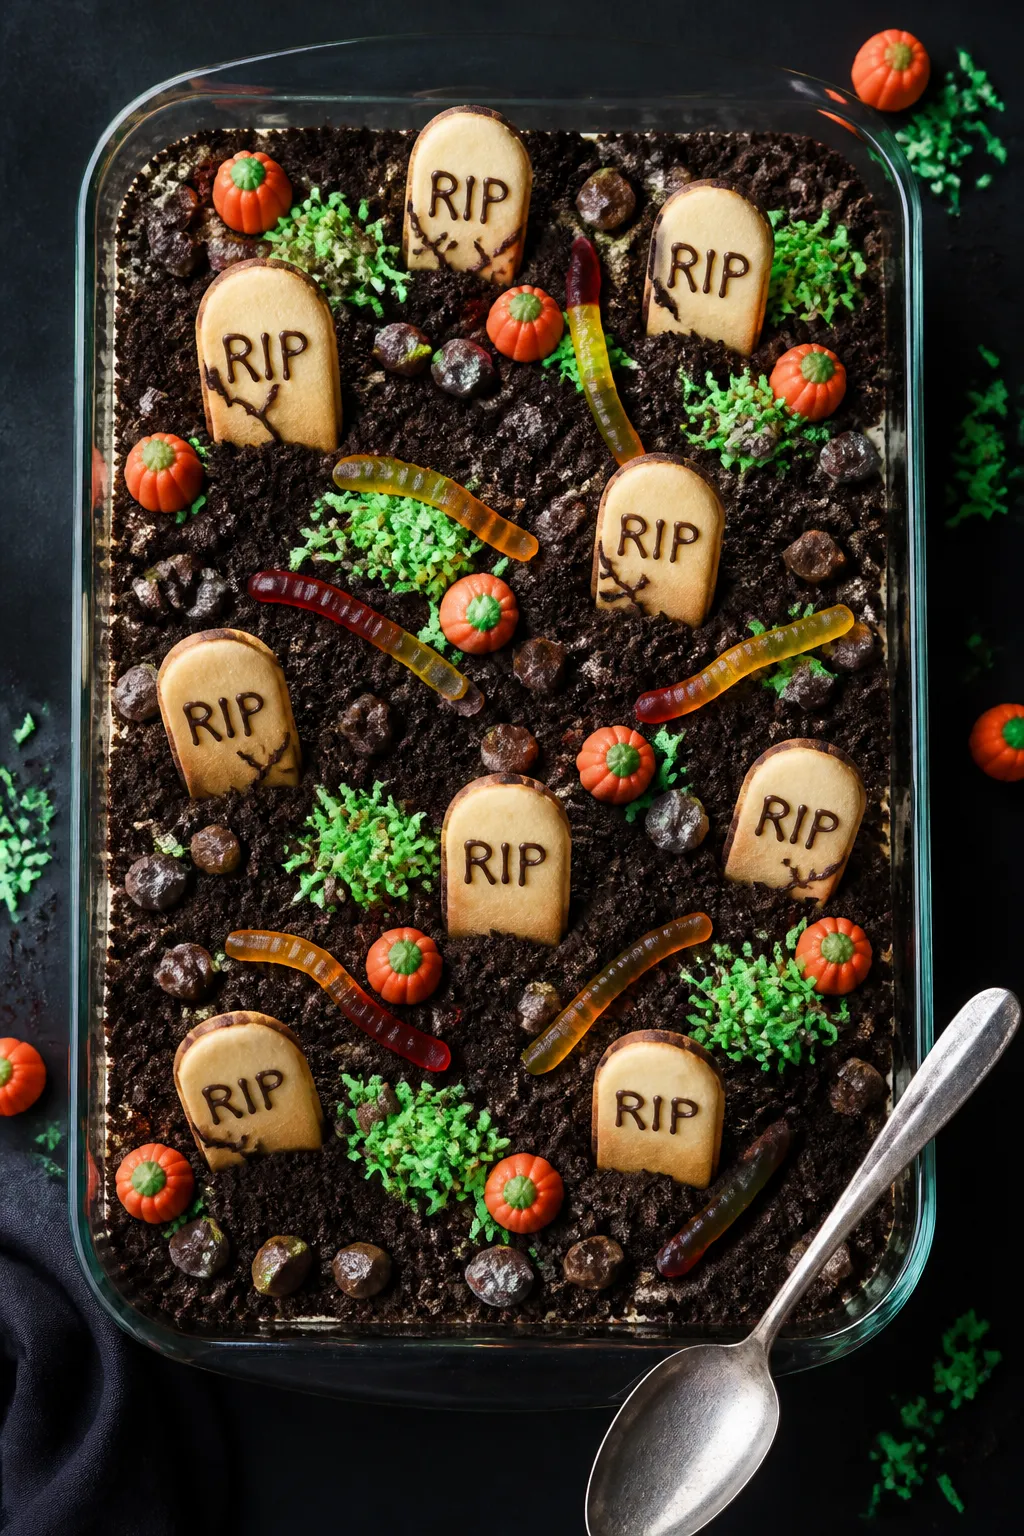
- Decorate: Just before serving, press gummy worms into the top “soil.” Add candy bones, eyes, pumpkin candies, and chocolate rocks. If using green coconut “grass,” sprinkle it around a few candy tombstones for a graveyard vibe.
- Serve cold: Scoop into bowls with a big spoon. Add extra worms for good measure.
What Makes This Special
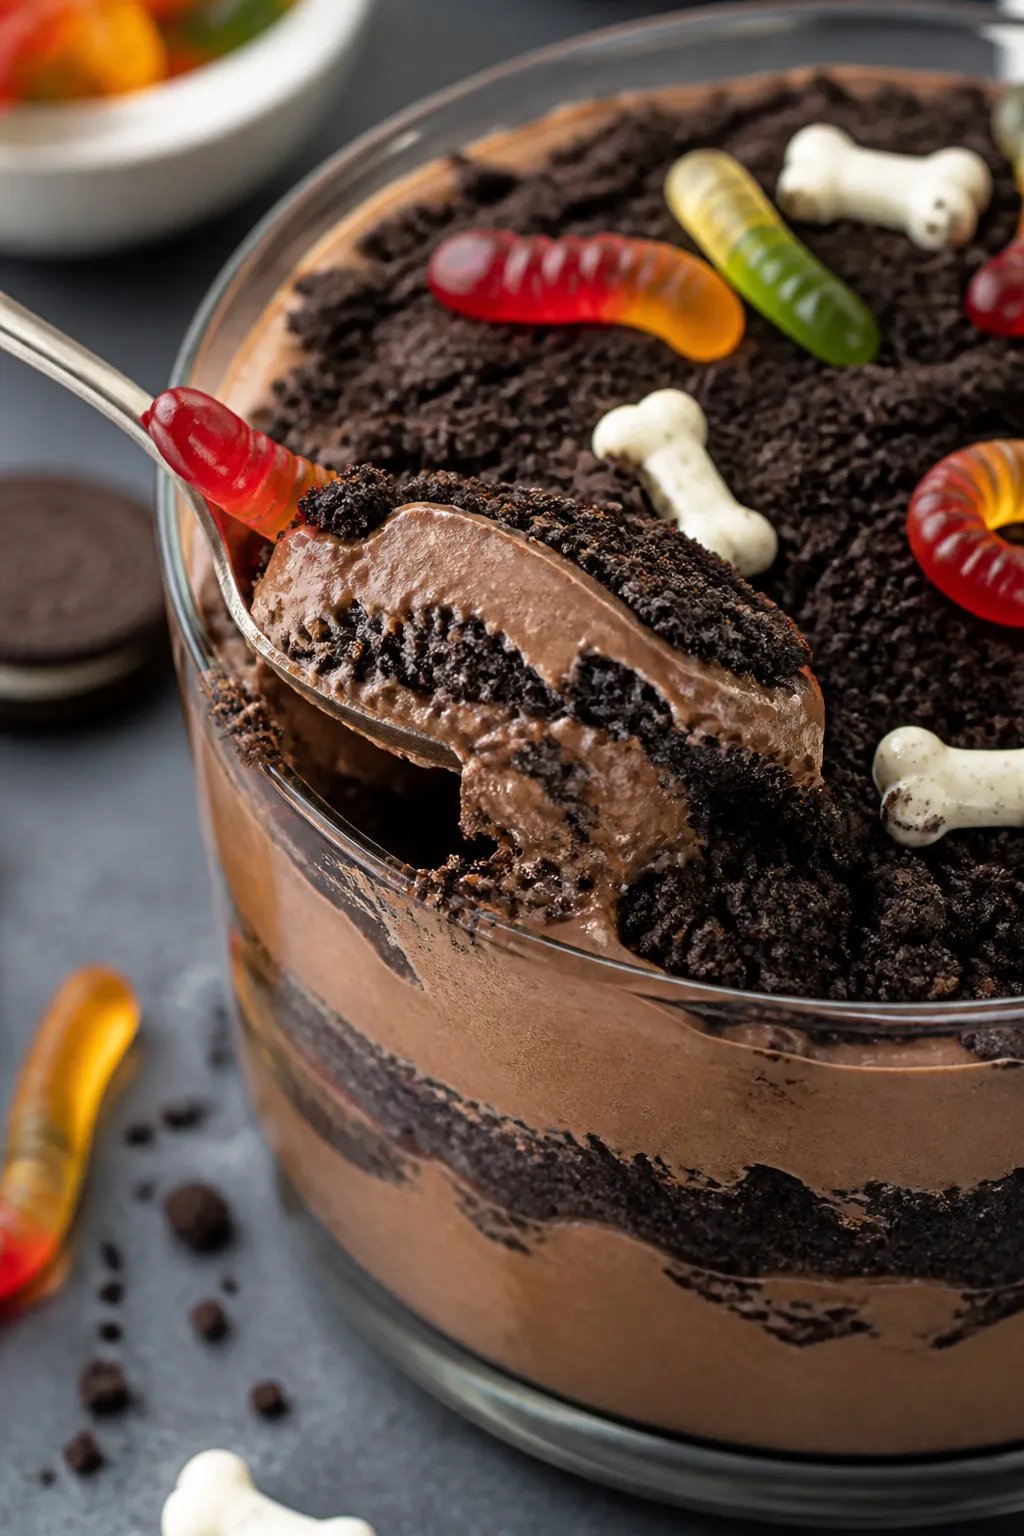
- No baking required: Great for busy days or when you want dessert without turning on the oven.
- Make-ahead friendly: It actually tastes better after chilling, so you can prep it a day early.
- Kid-approved fun: Cookie “dirt,” gummy worms, and candy bones make it spooky and playful.
- Creamy-meets-crunchy: Smooth chocolate pudding layered with crushed chocolate sandwich cookies and a light, fluffy cream mixture.
- Easy to scale: Make it in a trifle dish, 9×13 pan, or individual cups for parties.
Ingredients
- Oreos or chocolate sandwich cookies: About 1 standard package (36 cookies), crushed
- Instant chocolate pudding mix: Two 3.9-ounce boxes
- Cold milk: 4 cups (for the pudding)
- Cream cheese: 8 ounces, softened
- Powdered sugar: 1 cup
- Vanilla extract: 1 teaspoon
- Whipped topping (like Cool Whip): 16 ounces, thawed
- Butter (optional): 2 tablespoons, softened (for extra richness in the cream layer)
- Gummy worms: 1–2 cups for topping
- Halloween candies/decorations: Candy bones, candy eyes, pumpkin candies, chocolate rocks, or edible tombstones
- Green-tinted coconut (optional): For “grass” effect
How to Make It
- Crush the cookies: Place the cookies in a large zip-top bag. Crush with a rolling pin until they resemble fine crumbs with a few small chunks.
You want that dirt texture.
- Whisk the pudding: In a large bowl, whisk the instant pudding mix with cold milk for about 2 minutes until it thickens. Set aside to firm up slightly.
- Make the cream layer: In a separate bowl, beat softened cream cheese, powdered sugar, butter (if using), and vanilla until smooth and fluffy. No lumps.
- Fold in the whipped topping: Gently fold the whipped topping into the cream cheese mixture until fully combined.
Don’t overmix—keep it airy.
- Combine with pudding: Fold the chocolate pudding into the cream mixture until it’s even in color. You’re aiming for a light, mousse-like texture.
- Layer the “dirt” and filling: In a 9×13 pan, trifle dish, or clear bowl, sprinkle a layer of crushed cookies on the bottom. Spread half the pudding-cream mixture over it.
Add another layer of cookies, then the remaining cream mixture, and finish with a thick layer of cookie crumbs on top.
- Chill: Cover and refrigerate for at least 2–4 hours, or overnight if you can. This helps it set and deepens the flavor.
- Decorate: Just before serving, press gummy worms into the top “soil.” Add candy bones, eyes, pumpkin candies, and chocolate rocks. If using green coconut “grass,” sprinkle it around a few candy tombstones for a graveyard vibe.
- Serve cold: Scoop into bowls with a big spoon.
Add extra worms for good measure.
Storage Instructions
- Refrigerate: Keep covered in the fridge for up to 3 days. The cookie layer will soften over time, which many people love.
- Make ahead: Assemble the base layers up to a day in advance. Add decorations within a few hours of serving to keep them fresh and colorful.
- Freezing: Not recommended.
The texture of pudding and whipped topping can turn icy and separate after thawing.
Benefits of This Recipe
- Fast and easy: Minimal prep, simple steps, and no bake time.
- Budget-friendly: Uses basic pantry items and affordable candy add-ins.
- Customizable: Switch cookies, candies, and flavors to match your crowd.
- Kid involvement: Safe, hands-on decorating that kids can do on their own.
- Great for parties: Scales up easily and looks impressive in a trifle dish or individual cups.
Common Mistakes to Avoid
- Not softening the cream cheese: Cold cream cheese leads to lumps. Let it come to room temp for a smooth base.
- Overmixing the whipped topping: Be gentle when folding. Overmixing deflates the mixture and makes it dense.
- Adding decorations too early: Gummy worms and candy can weep or fade if added too soon.
Decorate close to serving time.
- Skipping the chill: Chilling helps the layers set and the flavors meld. Rushing it can make the dessert loose and messy.
- Crushing cookies too finely: A bit of texture makes the “dirt” convincing and adds a satisfying crunch.
Recipe Variations
- Graveyard Edition: Use Milano cookies or rectangular vanilla wafers as “tombstones.” Write “RIP” with melted chocolate or black frosting and stand them in the top layer.
- Pumpkin Patch: Pipe green frosting vines and nestle candy pumpkin candies on top. Add crushed pretzels for a “field” look.
- Spider Web: Spread a thin layer of whipped topping on top and pipe chocolate syrup in circles.
Drag a toothpick from center to edges to create a web. Add a chocolate spider candy.
- Cups for a Crowd: Build mini dirt cakes in clear plastic cups. Perfect for parties and easy portioning.
- Flavor Twist: Swap chocolate pudding for cookies-and-cream or chocolate fudge pudding.
Add a splash of espresso to the pudding for a mocha vibe.
- Gluten-Free: Use certified gluten-free chocolate sandwich cookies and check pudding and candy labels for gluten-free status.
- Lighter Option: Use light whipped topping, reduced-fat cream cheese, and skim milk. The texture stays creamy, just a touch less rich.
- Homemade Whipped Cream: Substitute 3 cups of lightly sweetened whipped cream for the whipped topping if you prefer fewer processed ingredients.
FAQ
Can I use cook-and-serve pudding instead of instant?
Yes, but it takes longer and needs to fully cool before mixing with the cream layer. Instant pudding saves time and sets more reliably in this no-bake dessert.
What’s the best way to crush the cookies?
A food processor gives even crumbs fast.
If you don’t have one, use a zip-top bag and a rolling pin. Leave a few small pieces for texture.
Can I make this without cream cheese?
You can. Fold the whipped topping directly into the prepared pudding for a lighter, simpler version.
It won’t be as tangy or rich, but it still tastes great.
How do I prevent a runny dirt cake?
Use cold milk for the pudding, beat the cream cheese until smooth, and chill the finished dessert for at least 2 hours. Avoid overmixing once the whipped topping is added.
What size pan works best?
A 9×13-inch dish is standard and feeds a crowd. A trifle dish looks dramatic with visible layers.
For parties, use 8–10 clear cups for individual servings.
Can I reduce the sweetness?
Use fewer cookies, choose dark chocolate pudding, and cut the powdered sugar to 3/4 cup. You can also add a pinch of salt to the cream layer to balance flavors.
How far in advance can I assemble it?
Assemble up to 24 hours ahead without decorations. Add the candies and gummy worms a few hours before serving to keep colors bright and textures fresh.
What if my pudding doesn’t thicken?
Double-check you used instant pudding and the correct amount of cold milk.
If it’s still thin, refrigerate it for 10–15 minutes before folding it into the cream mixture.
In Conclusion
Halloween Dirt Cake is simple, nostalgic, and always a hit. It’s a low-stress dessert that still feels festive and fun, especially with playful toppings. Whether you make it family-style in a big pan or serve it in cute cups, it brings the spirit of Halloween to the table—no oven required.
Make it ahead, let the kids help decorate, and enjoy the creamy, chocolatey layers with every spooky bite.
Printable Recipe Card
Want just the essential recipe details without scrolling through the article? Get our printable recipe card with just the ingredients and instructions.