Red Velvet Brownie Bites – Rich, Fudgy, and Perfectly Portable
Red velvet feels special without trying too hard. These Red Velvet Brownie Bites pack that classic cocoa-kissed flavor into a fudgy, two-bite treat that’s easy to make and easy to love. They’re rich, tender, and topped with a touch of tangy cream cheese glaze if you like.
5 Irresistible Desserts, Completely Free
Get five easy dessert recipes you’ll want to save, share, and make again and again—delivered straight to your inbox.
Bring them to a party, tuck them into lunchboxes, or keep a stash in the freezer for emergency sweet cravings. This recipe is straightforward, reliable, and gives you that bakery look with minimal effort.
Ingredients
Method
- Prep the pan and oven: Heat oven to 350°F (175°C). Lightly grease a 24-cup mini muffin pan or line with mini paper liners. Greasing helps keep edges chewy, while liners make cleanup easy.
- Mix the wet ingredients: In a medium bowl, whisk the melted butter, granulated sugar, and brown sugar until glossy and combined. Add the eggs one at a time, whisking well after each. Stir in vanilla, buttermilk, vinegar, and food coloring.
- Whisk the dry ingredients: In a separate bowl, whisk flour, cocoa powder, baking soda, and salt. Break up any cocoa lumps for a smooth batter.
- Combine without overmixing: Add the dry mixture to the wet. Use a spatula to fold until just combined and no dry streaks remain. The batter will be thick but scoopable.
- Portion the batter: Fill each mini muffin cup about 3/4 full. A small cookie scoop makes this quick and tidy.
- Bake: Bake for 9–12 minutes, until the tops are set and a toothpick comes out with a few moist crumbs. Do not overbake or you’ll lose the fudgy center.
- Cool: Let the brownie bites cool in the pan for 5 minutes, then gently remove to a wire rack to cool completely.
- Make the glaze (optional): Beat cream cheese and butter until smooth. Add powdered sugar, vanilla, and a pinch of salt. Beat until fluffy, adding milk a teaspoon at a time until it’s drizzleable or pipeable.
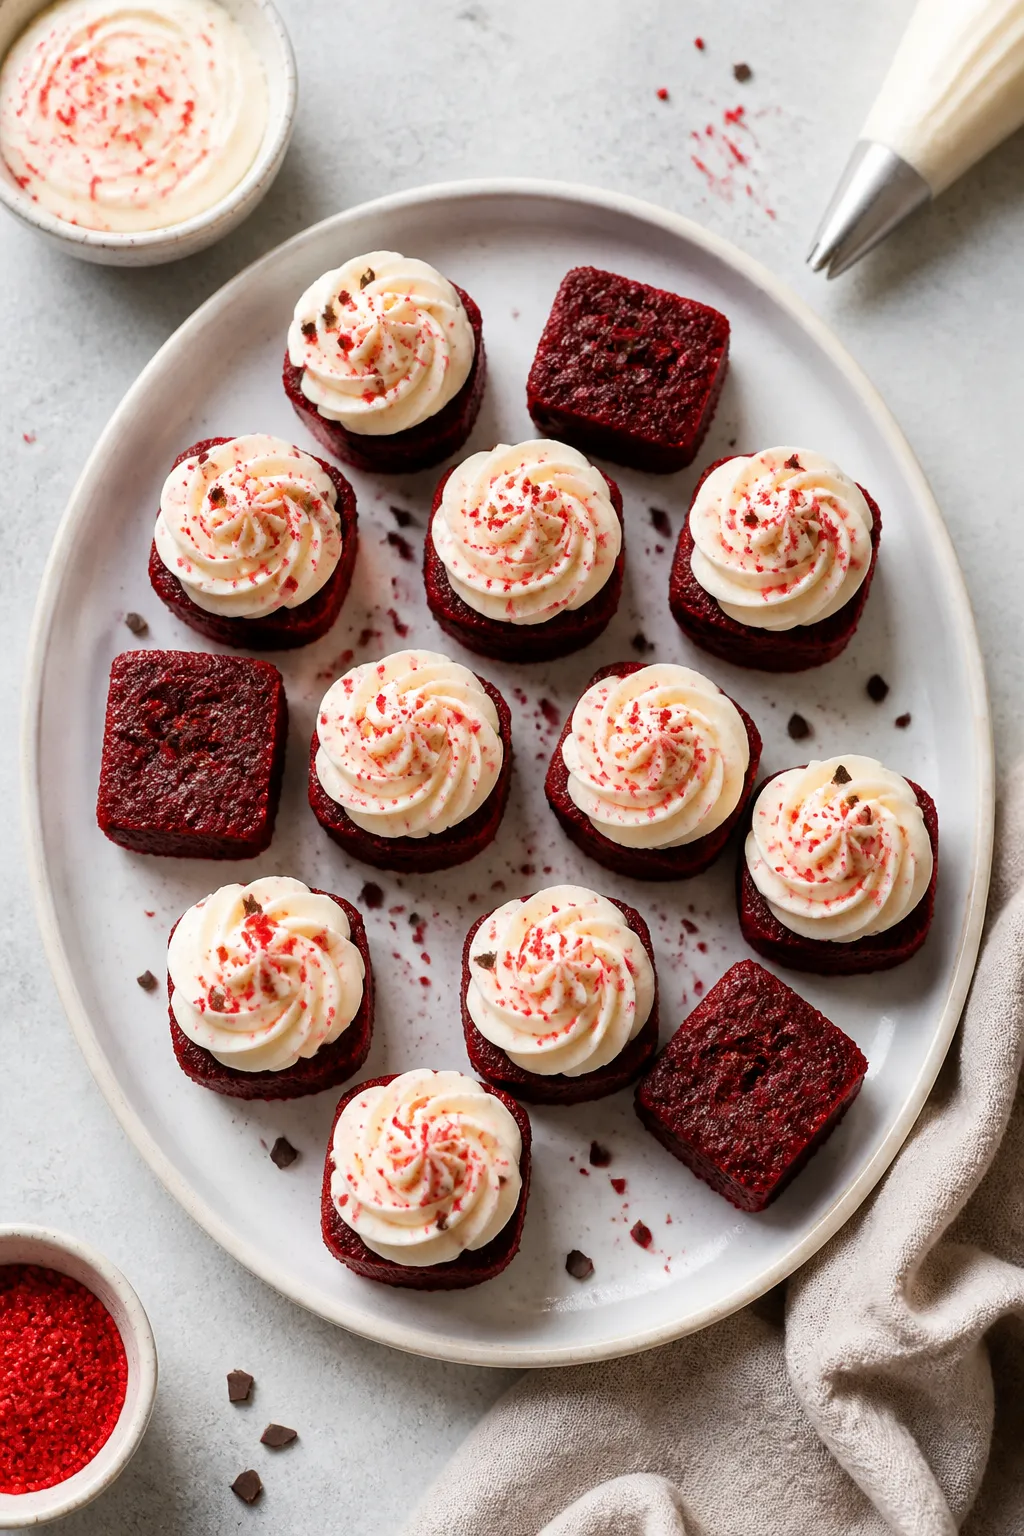
- Finish and serve: Pipe a small swirl on each bite or drizzle lightly. Add a few chocolate flakes or red sugar sprinkles if you want a little sparkle.
Why This Recipe Works
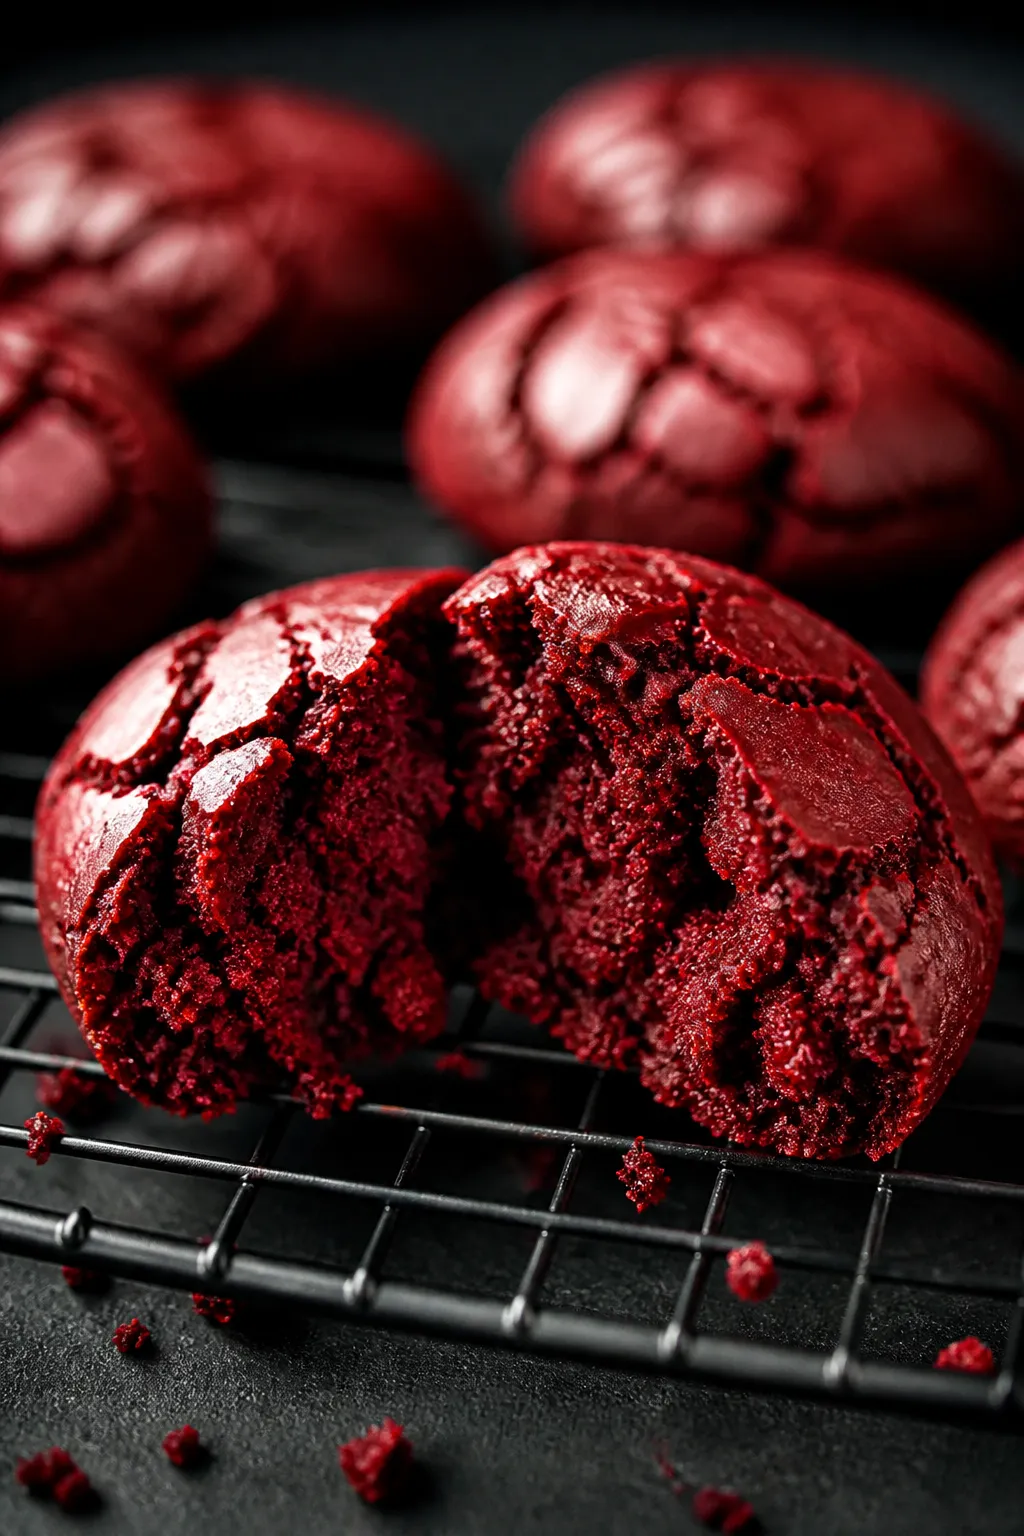
Red velvet should taste like chocolate with a hint of tang, not just red cake. This recipe balances natural cocoa with buttermilk and vanilla for a true red velvet profile.
A small amount of vinegar reacts with baking soda to create a tender crumb without turning the bites cakey. Using melted butter instead of oil keeps the center fudgy and the edges slightly chewy. Baking in a mini muffin pan delivers neat portions that bake evenly and hold their shape.
Ingredients
- For the brownie bites:
- 1/2 cup (113 g) unsalted butter, melted and slightly cooled
- 3/4 cup (150 g) granulated sugar
- 1/4 cup (50 g) light brown sugar, packed
- 2 large eggs, at room temperature
- 1 1/2 teaspoons vanilla extract
- 1 tablespoon buttermilk (or milk plus a few drops of vinegar)
- 1 teaspoon distilled white vinegar or apple cider vinegar
- 1 tablespoon red gel or liquid food coloring (adjust to preference)
- 3/4 cup (95 g) all-purpose flour, spooned and leveled
- 1/4 cup (20 g) unsweetened natural cocoa powder
- 1/4 teaspoon baking soda
- 1/4 teaspoon fine sea salt
- Optional cream cheese glaze:
- 3 ounces (85 g) cream cheese, softened
- 2 tablespoons unsalted butter, softened
- 1 cup (120 g) powdered sugar, sifted
- 1/2 teaspoon vanilla extract
- 1–2 teaspoons milk, as needed for consistency
- Pinch of salt
How to Make It
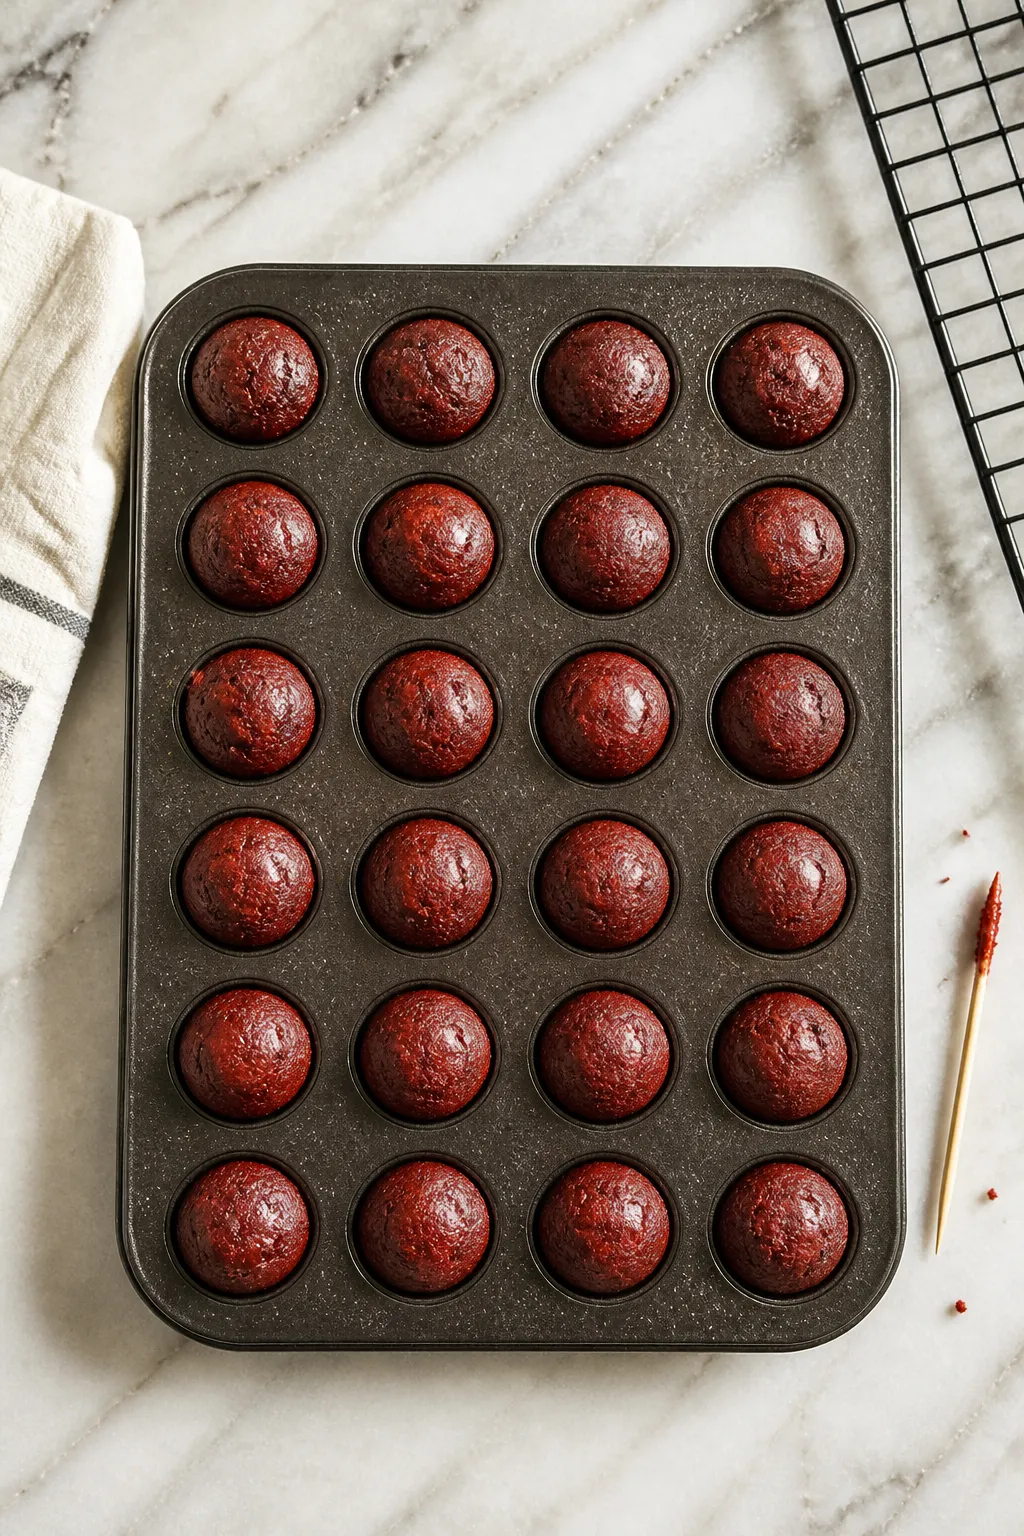
- Prep the pan and oven: Heat oven to 350°F (175°C).
Lightly grease a 24-cup mini muffin pan or line with mini paper liners. Greasing helps keep edges chewy, while liners make cleanup easy.
- Mix the wet ingredients: In a medium bowl, whisk the melted butter, granulated sugar, and brown sugar until glossy and combined. Add the eggs one at a time, whisking well after each.
Stir in vanilla, buttermilk, vinegar, and food coloring.
- Whisk the dry ingredients: In a separate bowl, whisk flour, cocoa powder, baking soda, and salt. Break up any cocoa lumps for a smooth batter.
- Combine without overmixing: Add the dry mixture to the wet. Use a spatula to fold until just combined and no dry streaks remain.
The batter will be thick but scoopable.
- Portion the batter: Fill each mini muffin cup about 3/4 full. A small cookie scoop makes this quick and tidy.
- Bake: Bake for 9–12 minutes, until the tops are set and a toothpick comes out with a few moist crumbs. Do not overbake or you’ll lose the fudgy center.
- Cool: Let the brownie bites cool in the pan for 5 minutes, then gently remove to a wire rack to cool completely.
- Make the glaze (optional): Beat cream cheese and butter until smooth.
Add powdered sugar, vanilla, and a pinch of salt. Beat until fluffy, adding milk a teaspoon at a time until it’s drizzleable or pipeable.
- Finish and serve: Pipe a small swirl on each bite or drizzle lightly. Add a few chocolate flakes or red sugar sprinkles if you want a little sparkle.
Keeping It Fresh
These keep well at room temperature for 2–3 days in an airtight container.
If you’ve added the cream cheese glaze, store covered in the fridge for up to 4–5 days. To keep the texture soft, tuck a small piece of bread or a damp (not wet) paper towel in the container to maintain humidity. For longer storage, freeze unfrosted bites in a single layer, then transfer to a freezer bag for up to 2 months.
Thaw at room temperature and glaze before serving.
Health Benefits
These are a treat, but you can still make smarter choices. Cocoa offers a bit of flavanols, which support circulation and add rich chocolate flavor so you don’t need huge amounts of chocolate. Using real butter gives satisfying richness, which helps with portion control since each bite is small.
If you’re watching sugar, you can slightly reduce the granulated sugar by 2–3 tablespoons without losing texture. For a lighter finish, skip the glaze or use a thin drizzle instead of a full swirl.
Common Mistakes to Avoid
- Overbaking: Mini brownies go from perfect to dry fast. Pull them when the centers still show moist crumbs on a toothpick.
- Overmixing the batter: Stir just until combined to keep the crumb tender and fudgy.
- Using too much food coloring: More isn’t always better.
Start with less, then adjust. Gel gives stronger color with less liquid.
- Swapping natural cocoa for Dutch-process: This recipe relies on baking soda and vinegar. Natural cocoa is slightly acidic and plays well here.
- Skipping the vinegar: That small splash boosts the signature red velvet tang and helps the texture.
Don’t leave it out.
- Glazing warm bites: Wait until they’re cool or the glaze will melt and slide off.
Recipe Variations
- Cheesecake center: Spoon a teaspoon of batter into each cup, add a 1/2 teaspoon dollop of sweetened cream cheese, then cover with more batter. Bake as directed.
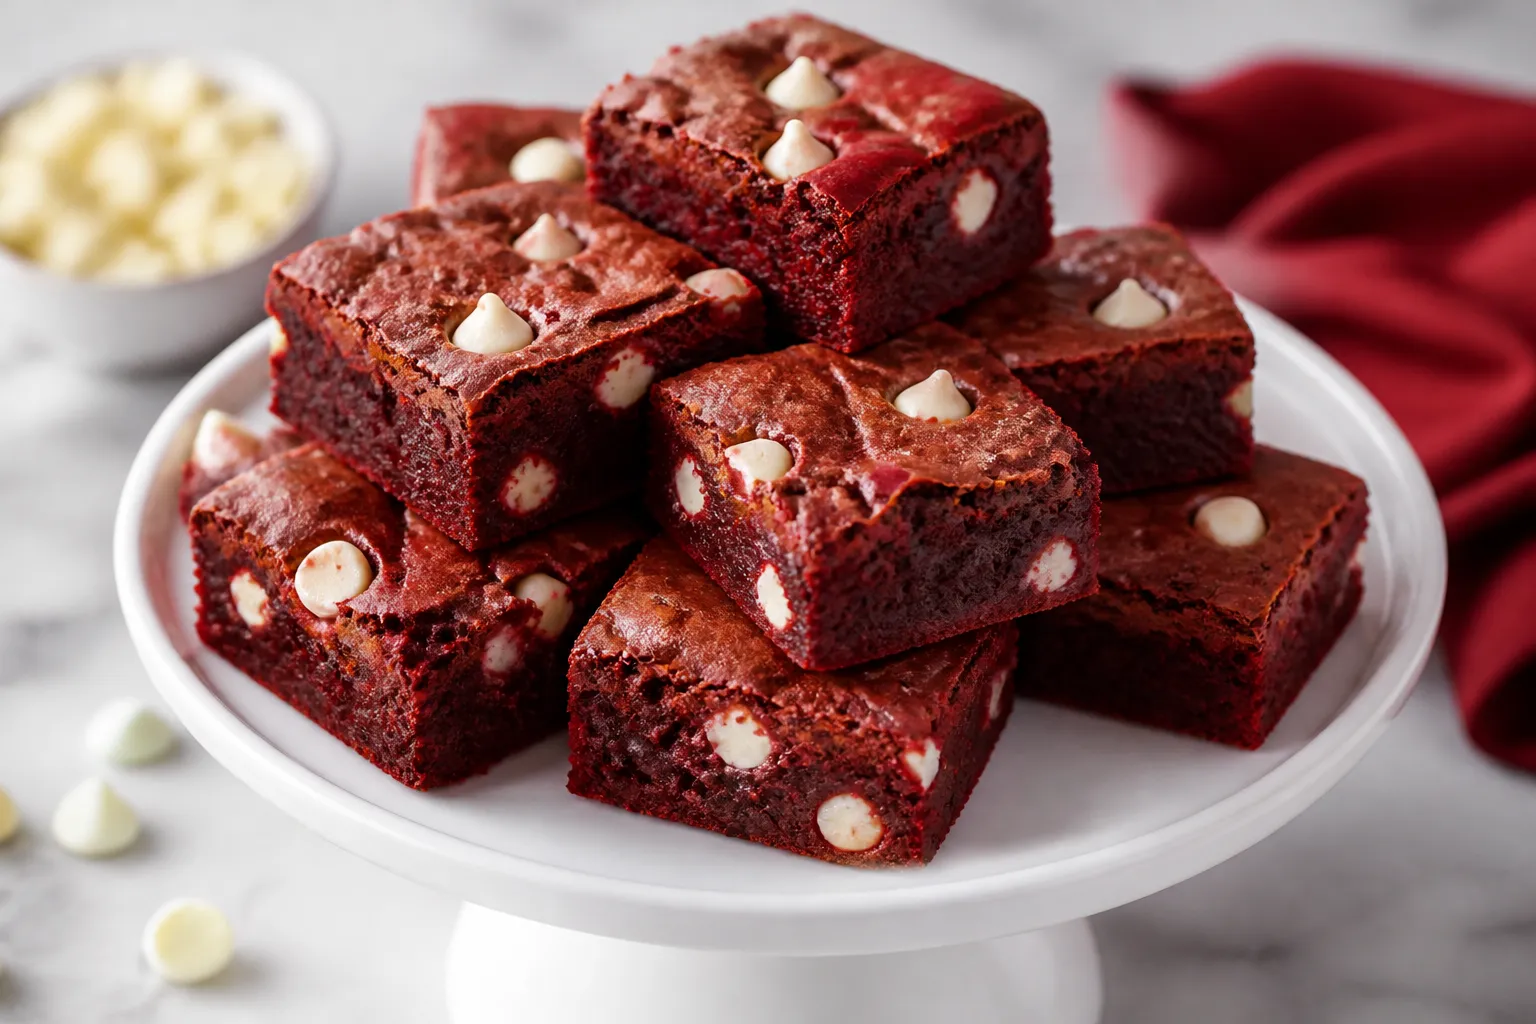
- Chocolate chip crunch: Fold 1/2 cup mini chocolate chips into the batter. Sprinkle a few on top before baking for a bakery-style look.
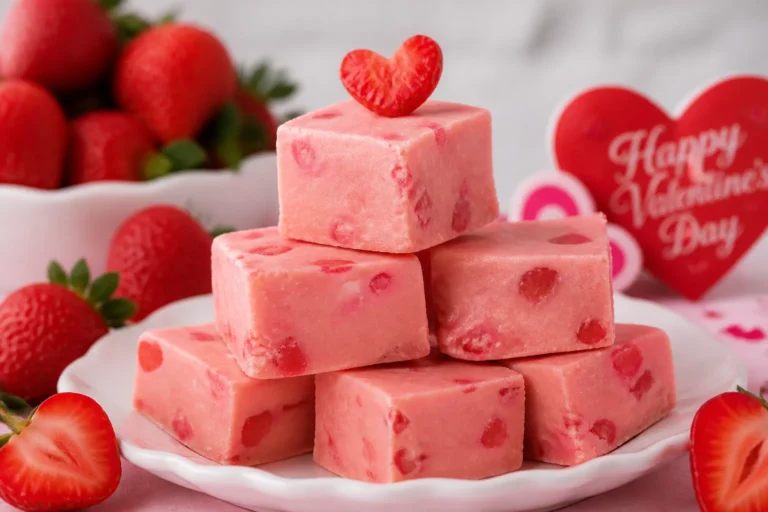
- Valentine finish: Top cooled bites with cream cheese glaze and heart sprinkles.
Simple and festive.
- Nutty twist: Add 1/2 cup chopped toasted pecans or walnuts for texture and a subtle savory note.
- Gluten-free: Use a 1:1 gluten-free all-purpose flour blend with xanthan gum. Keep an eye on bake time, as texture can set a touch faster.
- No-dye version: Skip the coloring for cocoa brownie bites with the same great tang. Flavor beats color every time.
Your Next Favorite Dessert Is Inside
SEND ME THE FREE DESSERTS
FAQ
Can I bake these in a regular muffin pan?
Yes.
Fill each cup about halfway and bake for 12–15 minutes. You’ll get fewer, larger bites with a slightly cakier edge and a fudgy center.
What if I don’t have buttermilk?
Mix 1 tablespoon milk with a few drops of vinegar or lemon juice and let it sit for 5 minutes. Use 1 tablespoon of that in the recipe.
It adds the right tang and helps with lift.
Can I make them without the cream cheese glaze?
Absolutely. They’re delicious plain. If you still want a finish, dust with powdered sugar or drizzle with melted white chocolate.
Why is my red color dull or brownish?
Too little coloring or Dutch-process cocoa can mute the hue.
Use natural cocoa and a gel food color for a brighter red. Also avoid overbaking, which darkens the color.
How do I know when they’re done?
Look for set edges and a domed, slightly shiny top. A toothpick should come out with moist crumbs, not wet batter.
Start checking at 9 minutes.
Can I double the recipe?
Yes. Double all ingredients and bake in batches, or use two mini muffin pans. Keep the same bake time but watch closely.
How can I make them more chocolatey?
Add 2 tablespoons extra cocoa and 2 tablespoons extra sugar to balance bitterness.
You can also fold in chocolate chips for bursts of chocolate in every bite.
Do they freeze well with the glaze?
They freeze best without it. If you need to freeze glazed bites, freeze uncovered until firm, then wrap. Thaw in the fridge to reduce condensation.
Wrapping Up
Red Velvet Brownie Bites hit the sweet spot between a brownie and a cupcake: fudgy, tender, and full of that signature red velvet flavor.
The batter comes together fast, the portions are tidy, and the optional cream cheese glaze adds a classic finish. Whether you’re baking for a party or stocking your freezer, this recipe is reliable, flexible, and flat-out delicious. Keep a batch on hand and you’ve got a little moment of celebration ready anytime.
Printable Recipe Card
Want just the essential recipe details without scrolling through the article? Get our printable recipe card with just the ingredients and instructions.
Save Room for Something Sweet
Before you go, grab five irresistible dessert recipes that are simple to follow, satisfying to make and perfect for sharing.