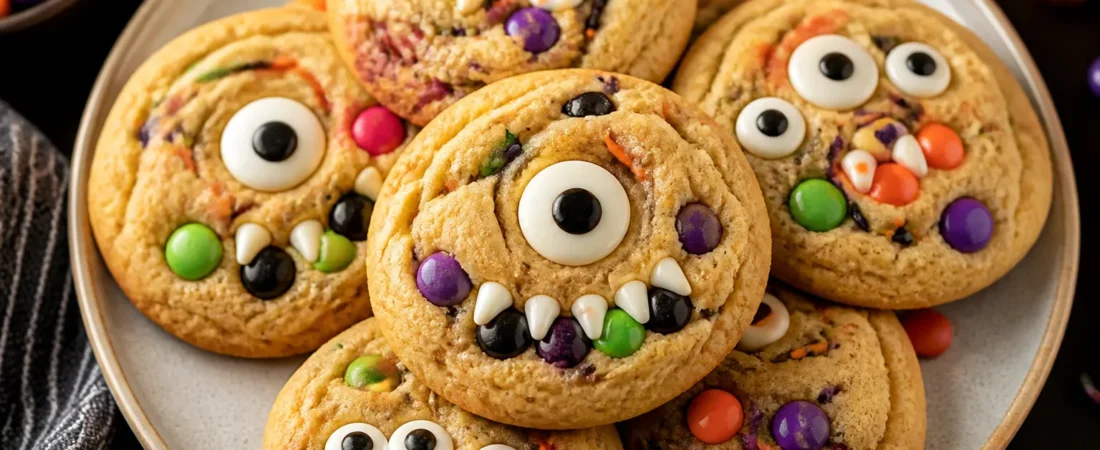
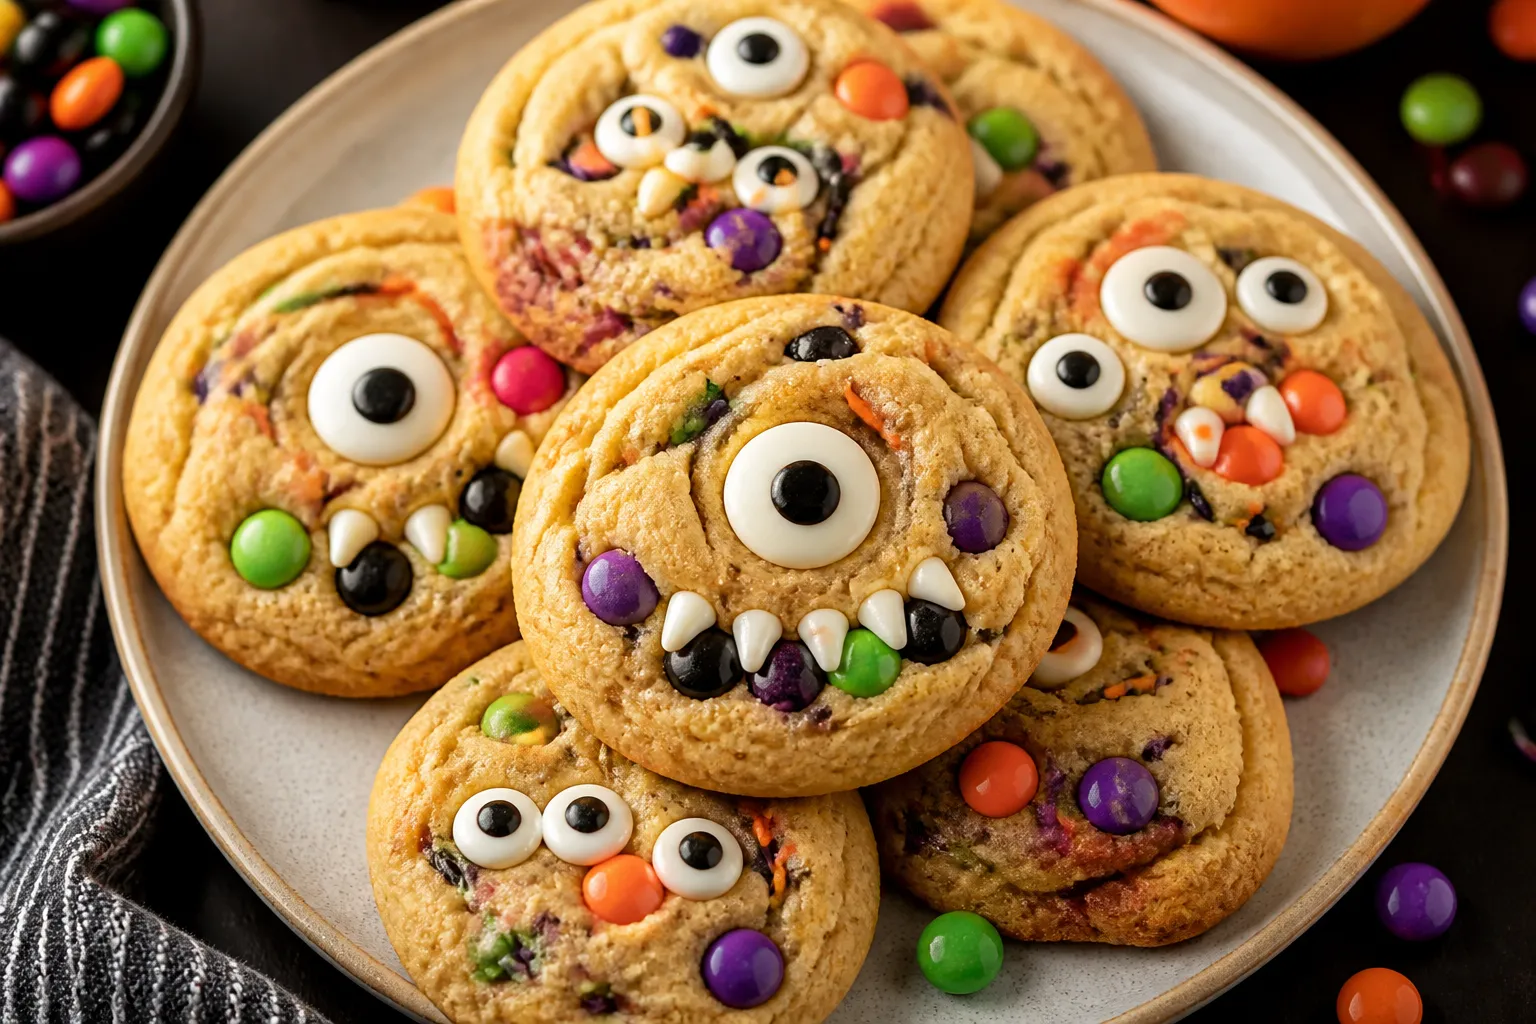
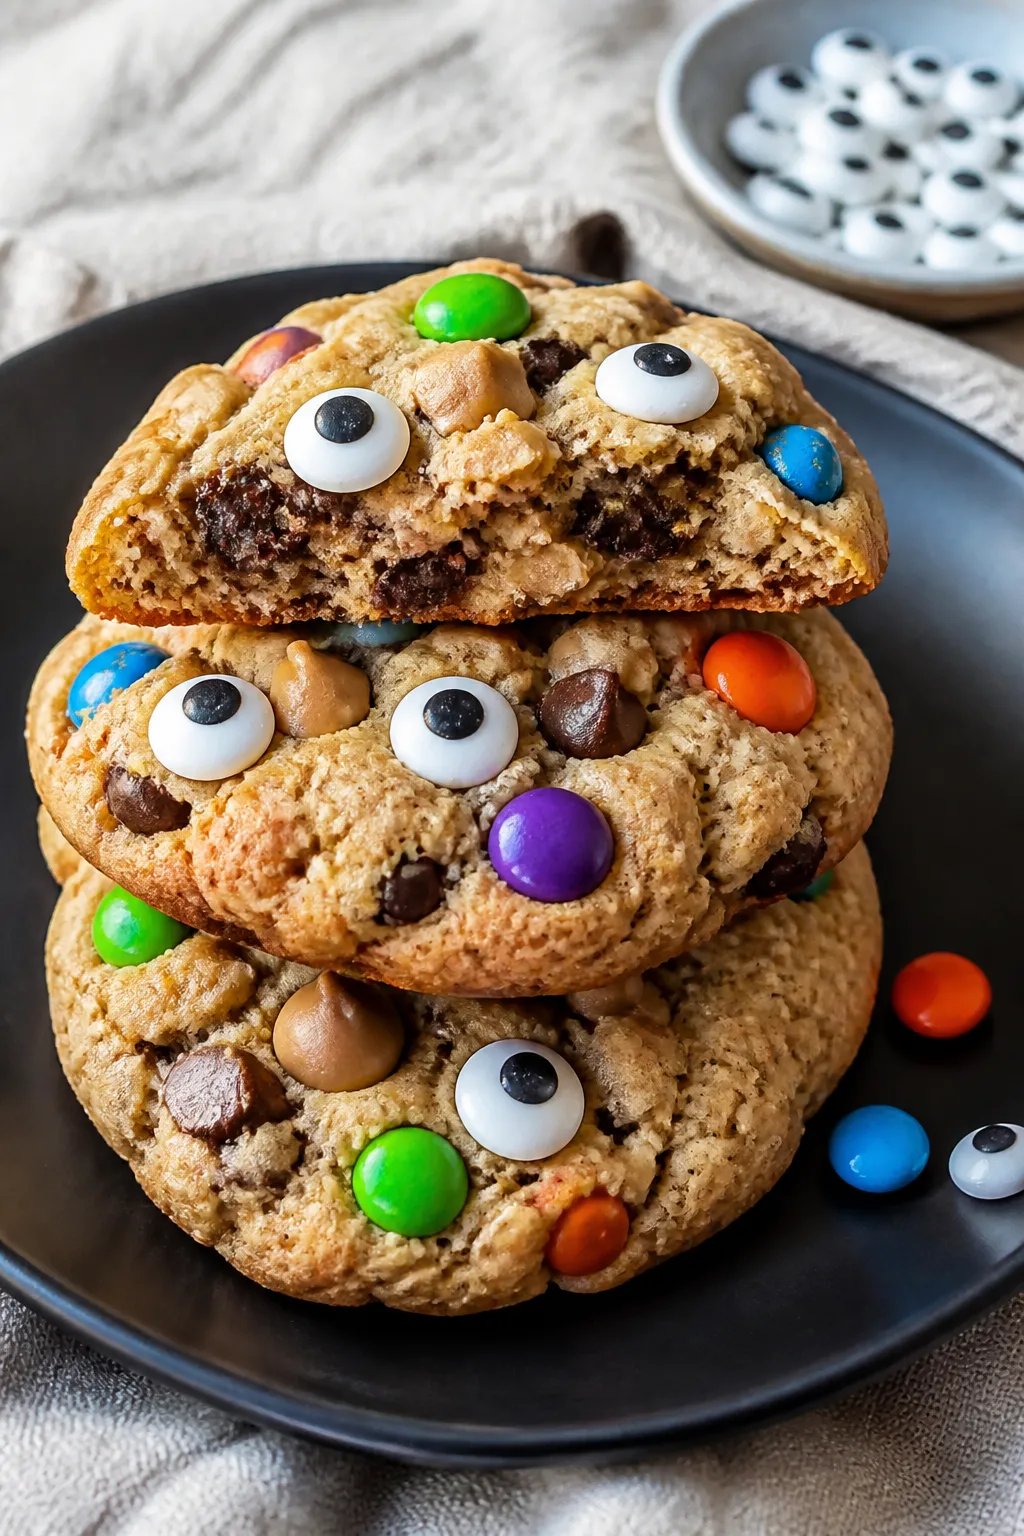
Halloween is the perfect excuse to bake something loud, colorful, and a little spooky. These Halloween Monster Cookies are chewy, peanut buttery, and stuffed with candies and chocolate. They’re easy to make, kid-friendly, and a guaranteed hit at any party or movie night.
You can customize them with your favorite Halloween colors and toppings, and they still turn out great. If you want a festive cookie that looks wild but tastes cozy and familiar, this is the one.
Ingredients
Method
- Preheat and prep: Heat the oven to 350°F (175°C). Line two baking sheets with parchment paper.
- Cream the fats and sugars: In a large bowl, beat the softened butter, peanut butter, granulated sugar, and brown sugar until light and fluffy, about 2–3 minutes.
- Add the egg and vanilla: Mix in the egg and vanilla until smooth. Scrape the bowl to make sure everything is combined.
- Combine dry ingredients: In a separate bowl, whisk the flour, baking soda, baking powder, and salt.
- Bring the dough together: Add the dry mix to the wet ingredients and stir just until no dry streaks remain. Fold in the oats.
- Stir in the treats: Gently fold in the M&M’s, chocolate chips, and peanut butter chips. Save a small handful of M&M’s for pressing on top.
- Portion: Scoop the dough into 2-tablespoon balls and place 2 inches apart on the baking sheets. Press a few extra M&M’s on the tops for a colorful finish.
- Bake: Bake for 10–12 minutes, until the edges are set and the centers still look slightly soft. Do not overbake—carryover heat will finish the job.
- Add the eyes: Immediately after baking, gently press candy eyeballs into the warm cookies. They’ll stick as the cookies cool.
- Cool: Let the cookies rest on the sheets for 5 minutes, then transfer to a wire rack to cool completely.
What Makes This Special
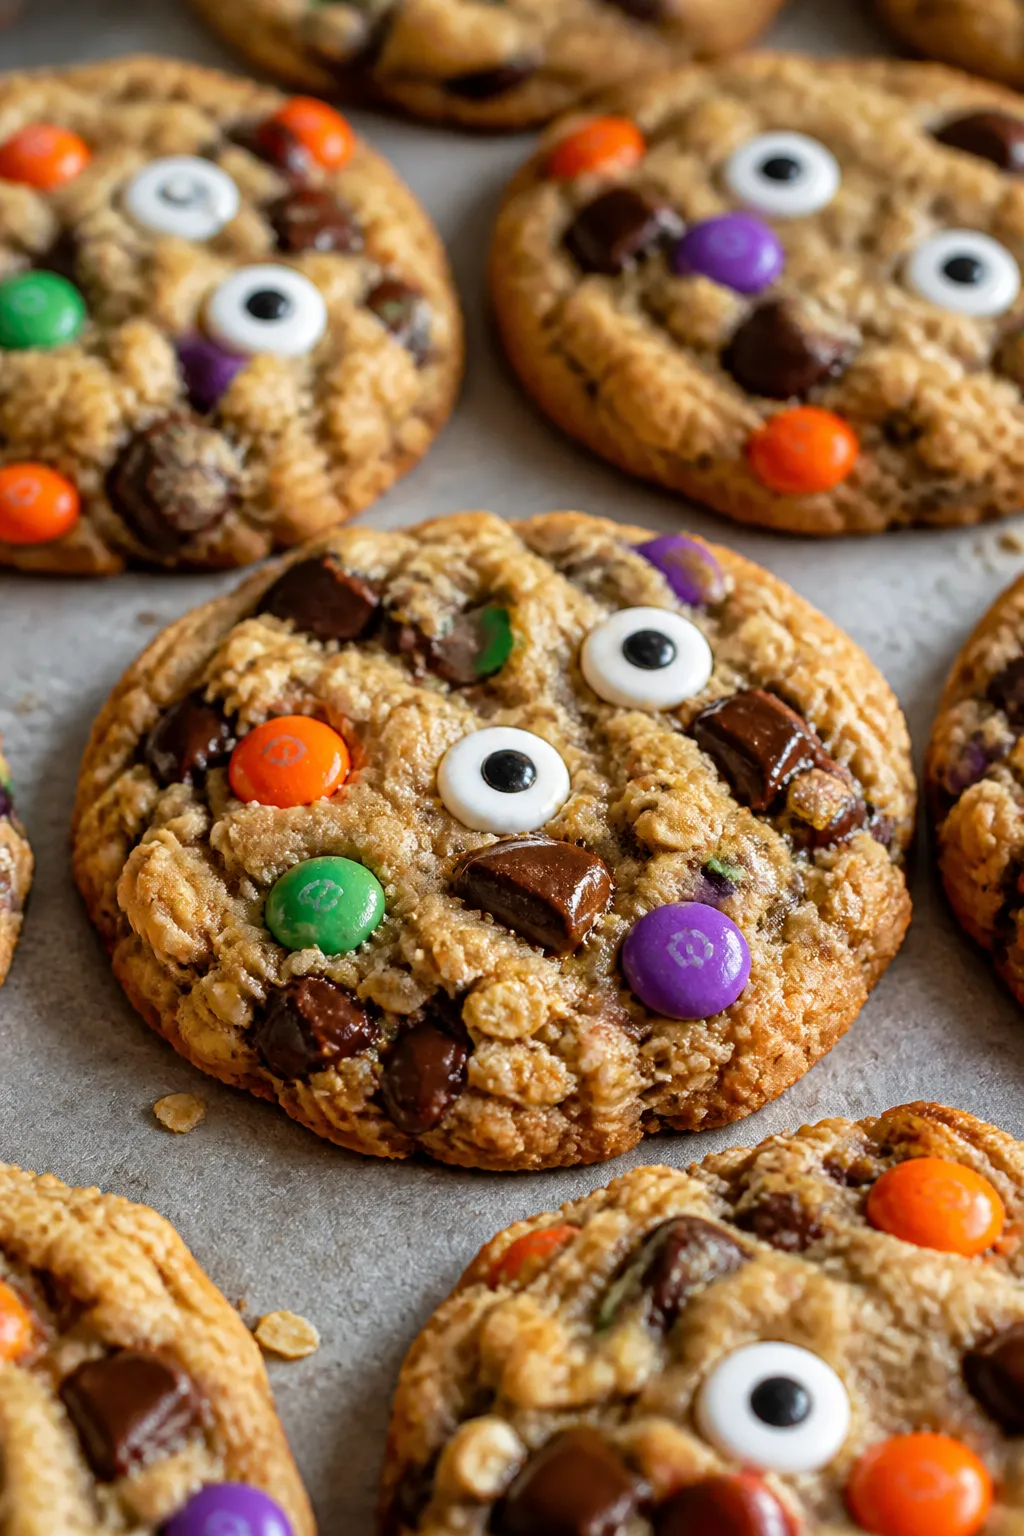
These cookies bring together the best of everything: oats for chew, peanut butter for richness, and chocolate candies for crunch and color. They’re thicker than a standard chocolate chip cookie, so they hold up well to heavy add-ins like M&M’s, candy eyes, and chopped chocolate.
The dough doesn’t require chilling unless your kitchen is very warm, which makes this a quick bake. Best of all, the decorations are forgiving—wonky candy eyes and mismatched colors just add to the monster charm.
Ingredients
- 1/2 cup (1 stick) unsalted butter, softened
- 1/2 cup creamy peanut butter (not natural, for best texture)
- 1/2 cup granulated sugar
- 1/2 cup packed light brown sugar
- 1 large egg, room temperature
- 1 teaspoon vanilla extract
- 1 cup all-purpose flour
- 1/2 teaspoon baking soda
- 1/2 teaspoon baking powder
- 1/4 teaspoon salt (skip if your peanut butter is very salty)
- 1 cup old-fashioned rolled oats
- 3/4 cup Halloween-colored M&M’s or candy-coated chocolates, plus more for topping
- 1/2 cup semisweet chocolate chips
- 1/3 cup mini peanut butter chips (optional)
- Candy eyeballs for decorating (as many as you like)
Step-by-Step Instructions
- Preheat and prep: Heat the oven to 350°F (175°C). Line two baking sheets with parchment paper.
- Cream the fats and sugars: In a large bowl, beat the softened butter, peanut butter, granulated sugar, and brown sugar until light and fluffy, about 2–3 minutes.
- Add the egg and vanilla: Mix in the egg and vanilla until smooth.
Scrape the bowl to make sure everything is combined.
- Combine dry ingredients: In a separate bowl, whisk the flour, baking soda, baking powder, and salt.
- Bring the dough together: Add the dry mix to the wet ingredients and stir just until no dry streaks remain. Fold in the oats.
- Stir in the treats: Gently fold in the M&M’s, chocolate chips, and peanut butter chips. Save a small handful of M&M’s for pressing on top.
- Portion: Scoop the dough into 2-tablespoon balls and place 2 inches apart on the baking sheets.
Press a few extra M&M’s on the tops for a colorful finish.
- Bake: Bake for 10–12 minutes, until the edges are set and the centers still look slightly soft. Do not overbake—carryover heat will finish the job.
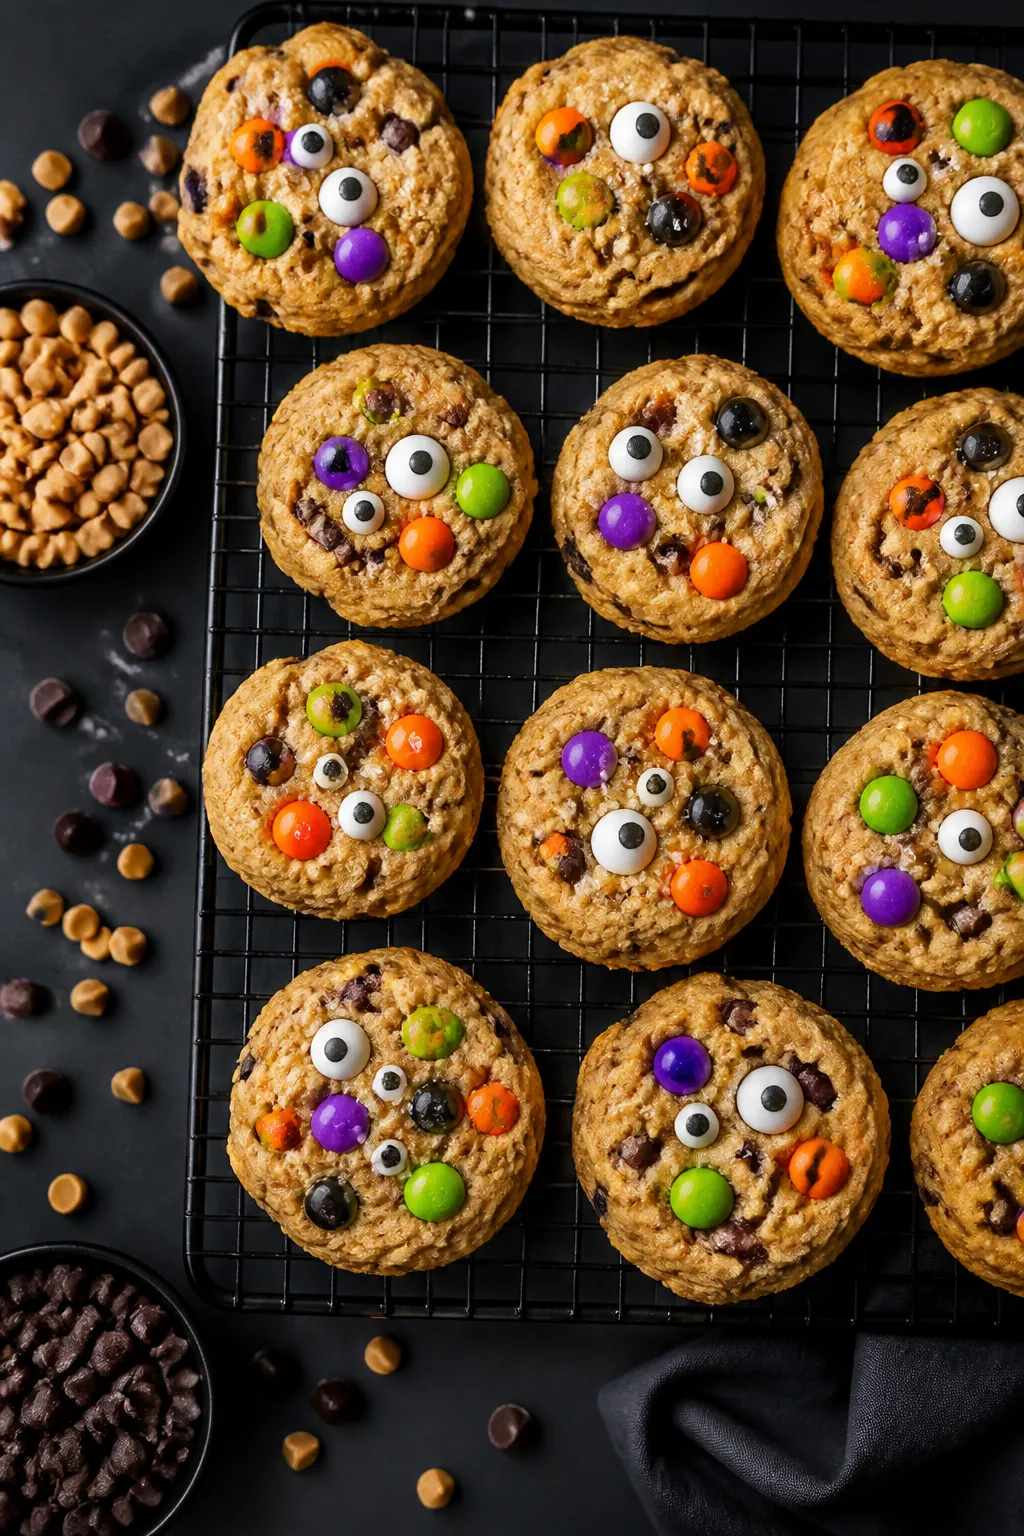
- Add the eyes: Immediately after baking, gently press candy eyeballs into the warm cookies. They’ll stick as the cookies cool.
- Cool: Let the cookies rest on the sheets for 5 minutes, then transfer to a wire rack to cool completely.
How to Store
- Room temperature: Store in an airtight container for 4–5 days.
Add a slice of bread to the container to keep cookies soft.
- Freezer: Freeze baked cookies for up to 2 months in a zip-top bag. Thaw at room temperature.
- Freeze the dough: Scoop dough balls onto a tray, freeze until solid, then store in a bag. Bake from frozen, adding 1–2 minutes to the time.
Benefits of This Recipe
- Kid-approved and party-ready: The colors and candy eyes make these an instant hit at school events and Halloween gatherings.
- Flexible add-ins: Use what you have—chocolate chunks, pretzel pieces, or leftover candy bars all work.
- No-chill dough: You can go from mixing to baking in minutes, perfect for last-minute plans.
- Great texture: Oats add chew without making the cookie dry, while peanut butter keeps it tender.
- Make-ahead friendly: Both dough and baked cookies freeze well.
Common Mistakes to Avoid
- Overbaking: Pull them when the centers still look soft.
Overbaking leads to dry, crumbly cookies.
- Using natural peanut butter: Stirred natural peanut butter can cause greasy or crumbly dough. Use a stabilized creamy peanut butter.
- Too many mix-ins: It’s tempting to load up, but too many add-ins make the cookies fall apart. Stick close to the amounts listed.
- Skipping the salt: A little salt sharpens the sweetness.
If your peanut butter is unsalted, don’t skip it.
- Adding candy eyes before baking: They can melt or bleed. Press them into the cookies right after baking.
Recipe Variations
- Gluten-free: Use a cup-for-cup gluten-free flour blend and certified gluten-free oats. Check candy labels for gluten warnings.
- Nut-free: Swap peanut butter for sunflower seed butter.
Flavor will change slightly but still delicious.
- Extra spooky: Add a few drops of black gel food coloring to the dough or use black cocoa for a darker cookie.
- Salty-sweet: Sprinkle warm cookies with flaky sea salt before adding the candy eyes.
- Leftover candy cleanout: Chop mini peanut butter cups, caramel-filled chocolates, or candy bars and fold them in.
- Oatless version: Replace oats with 1/2 cup additional flour for a smoother texture. Bake time may shorten slightly.
FAQ
Can I make these without peanut butter?
Yes. Replace the peanut butter with the same amount of unsalted butter or use sunflower seed butter for a nut-free option.
Expect a slightly different flavor and a bit less chew.
Why did my cookies spread too much?
Warm dough or too-soft butter can cause spreading. Chill the dough for 20–30 minutes, or add 1–2 tablespoons more flour. Also make sure your baking sheets are cool before each batch.
How do I keep the cookies soft for days?
Store them in an airtight container with a slice of sandwich bread or a brown sugar saver.
The bread adds moisture to the air in the container and keeps cookies soft.
Can I use quick oats instead of old-fashioned oats?
Quick oats work in a pinch, but the texture will be slightly less chewy. Avoid steel-cut oats—they won’t soften properly.
When should I add the candy eyes?
Right after baking while the cookies are still warm. Press them in gently so they stick as the cookies cool.
Don’t bake them on the cookies, or they may melt or discolor.
Do I need to chill the dough?
Usually no. If your kitchen is hot or the dough looks glossy and loose, a short chill helps the cookies hold shape. Otherwise, bake right away.
Can I reduce the sugar?
You can reduce total sugar by 2–3 tablespoons without much impact.
Reducing more may change the texture and spread, and the cookies might taste less rich.
What if I don’t have M&M’s?
Use chopped chocolate, candy-coated sunflower seeds, or crushed pretzels for crunch. Keep total mix-ins to about 1.5–1.75 cups.
Final Thoughts
Halloween Monster Cookies deliver big personality with very little fuss. They’re colorful, chewy, and easy to tweak with whatever treats you have on hand.
Whether you’re baking with kids, prepping for a party, or just getting into the spirit, these cookies bring the fun without sacrificing flavor. Make a batch, press on some goofy eyes, and watch them disappear faster than a ghost at midnight.
Printable Recipe Card
Want just the essential recipe details without scrolling through the article? Get our printable recipe card with just the ingredients and instructions.