Red Velvet Cheesecake Brownies – Rich, Swirled, and Crowd-Pleasing
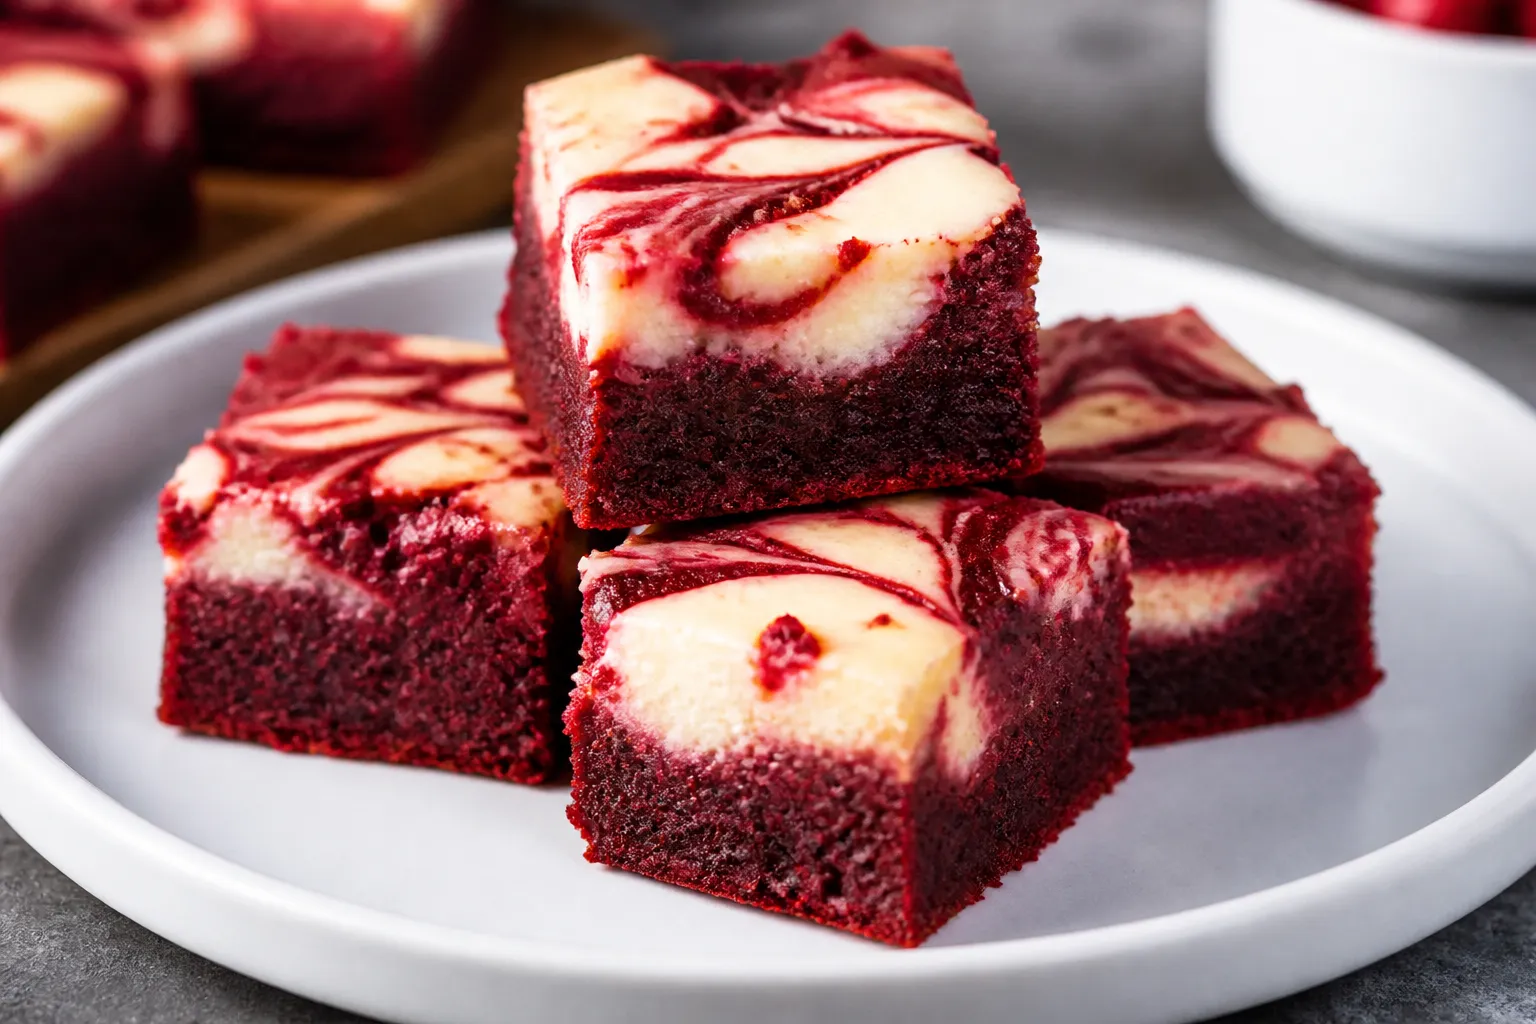
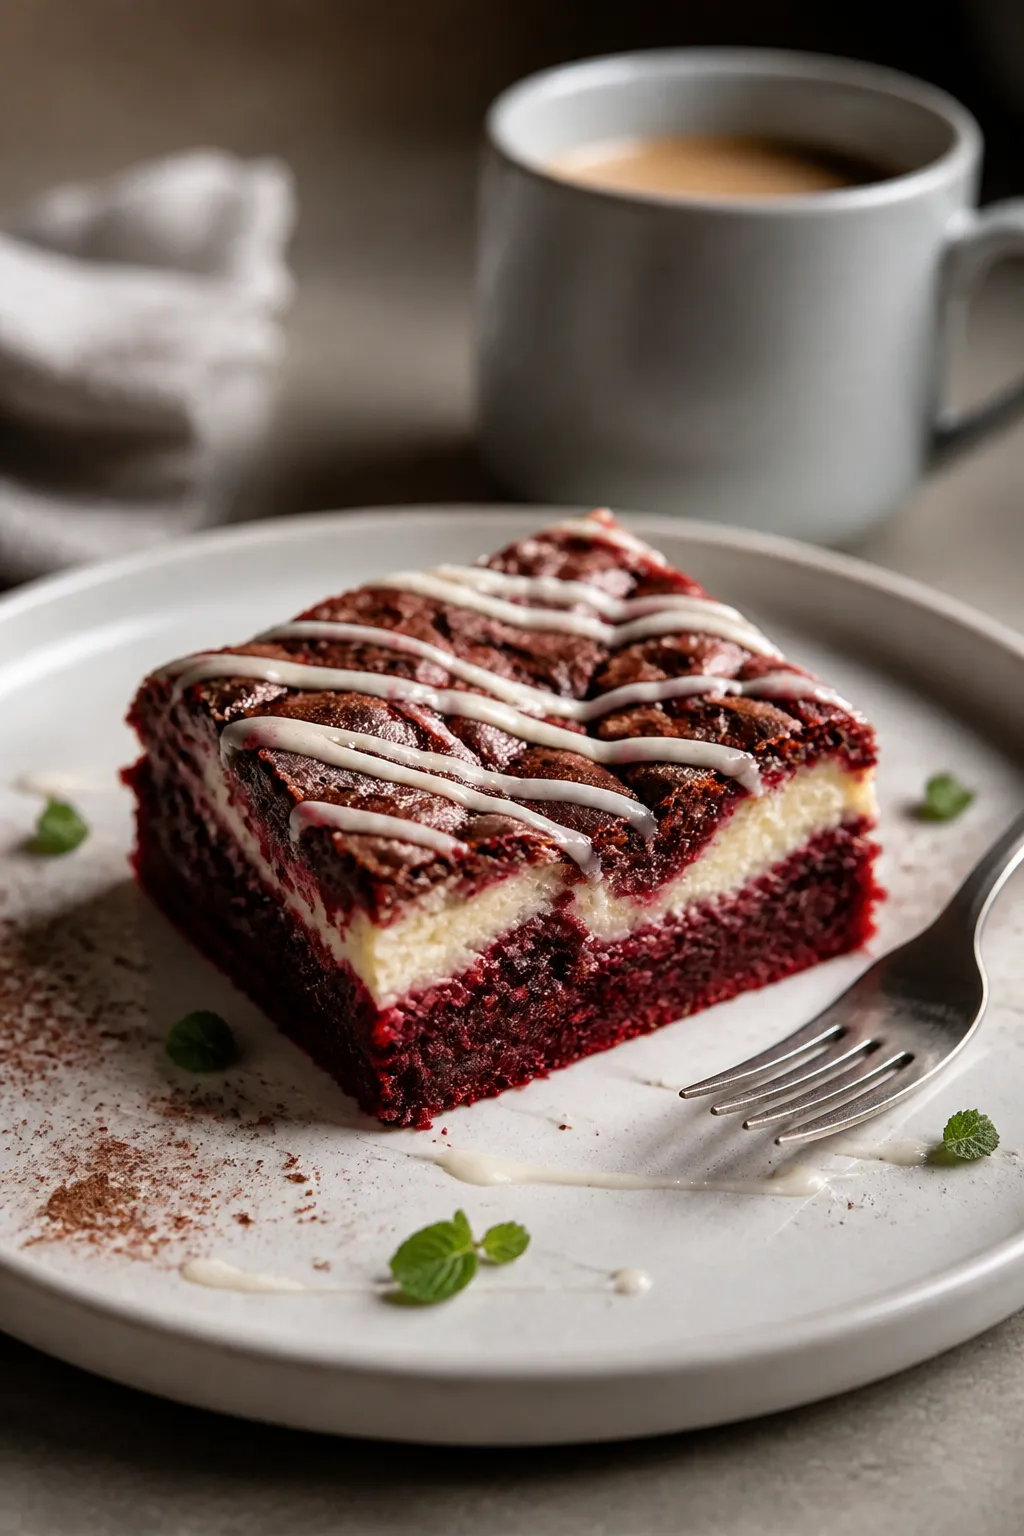
These Red Velvet Cheesecake Brownies are the kind of treat that makes people stop mid-bite and ask for the recipe. You get the classic cocoa-kissed flavor and vibrant color of red velvet, layered with a creamy cheesecake swirl that bakes up tangy and smooth. The texture lands between fudgy brownie and soft cake, with a beautiful marbled top that looks bakery-level.
5 Irresistible Desserts, Completely Free
Get five easy dessert recipes you’ll want to save, share, and make again and again—delivered straight to your inbox.
They’re easy enough for a weeknight, but special enough for birthdays, holidays, and potlucks. If you love red velvet and cheesecake, this is your sweet spot.
Ingredients
Method
- Prep the pan and oven: Preheat the oven to 350°F (175°C). Line an 8-inch square baking pan with parchment, leaving overhang for easy lifting. Lightly grease the parchment.
- Make the cheesecake mixture: In a bowl, beat the cream cheese, sugar, egg yolk, vanilla, and a pinch of salt until smooth and creamy. Set aside.
- Whisk the wet ingredients: In a separate bowl, whisk the melted butter, granulated sugar, and brown sugar until glossy. Add the eggs and vanilla and whisk until well combined.
- Add color and cocoa: Stir in the red food coloring and cocoa powder until evenly tinted. Adjust color as needed to achieve a deep red.
- Finish the dry ingredients: In a small bowl, mix flour, baking powder, and salt. Sift if lumpy. Add to the red batter and fold gently until just combined. Stir in the vinegar at the end. Do not overmix.
- Assemble layers: Pour about 2/3 of the red batter into the prepared pan and spread evenly. Dollop the cheesecake mixture over the top in large spoonfuls. Spoon the remaining red batter in between the cheesecake dollops.
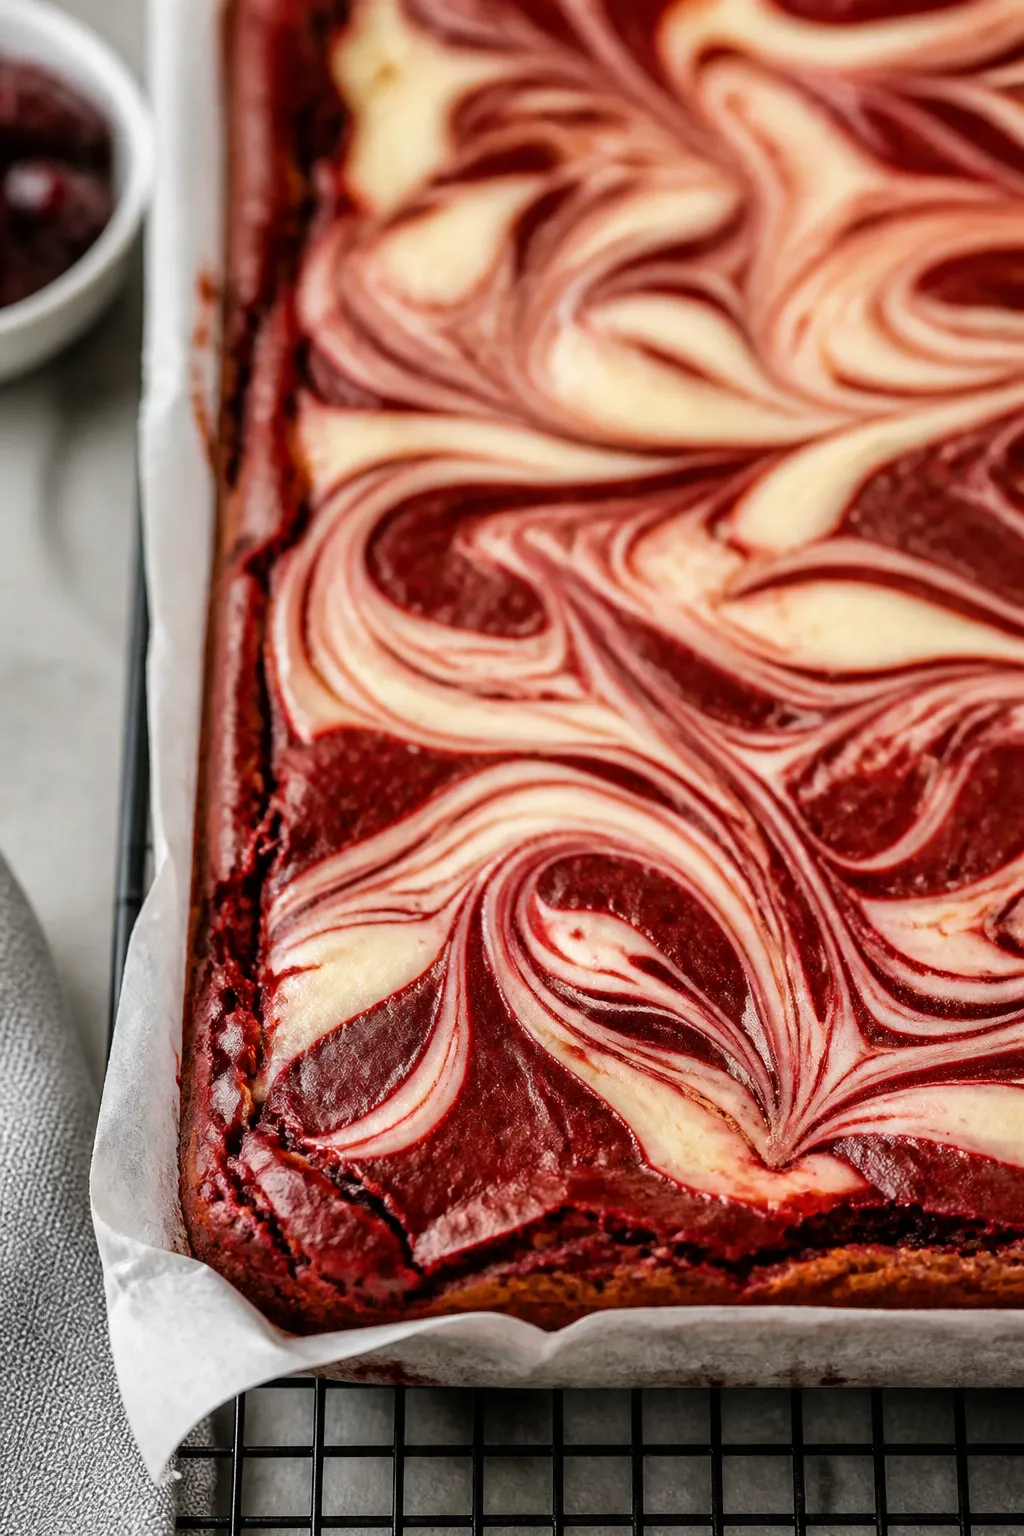
- Create the swirl: Use a butter knife or skewer to gently swirl the mixtures together. Aim for figure-eight motions and avoid over-swirling to keep distinct ribbons.
- Bake: Bake for 28–35 minutes, until the edges are set and a toothpick inserted 2 inches from the edge comes out with a few moist crumbs. The center should have a slight jiggle from the cheesecake but not be soupy.
- Cool and set: Let the pan cool on a rack for 1 hour. For clean slices and best texture, chill for at least another 1–2 hours before cutting.
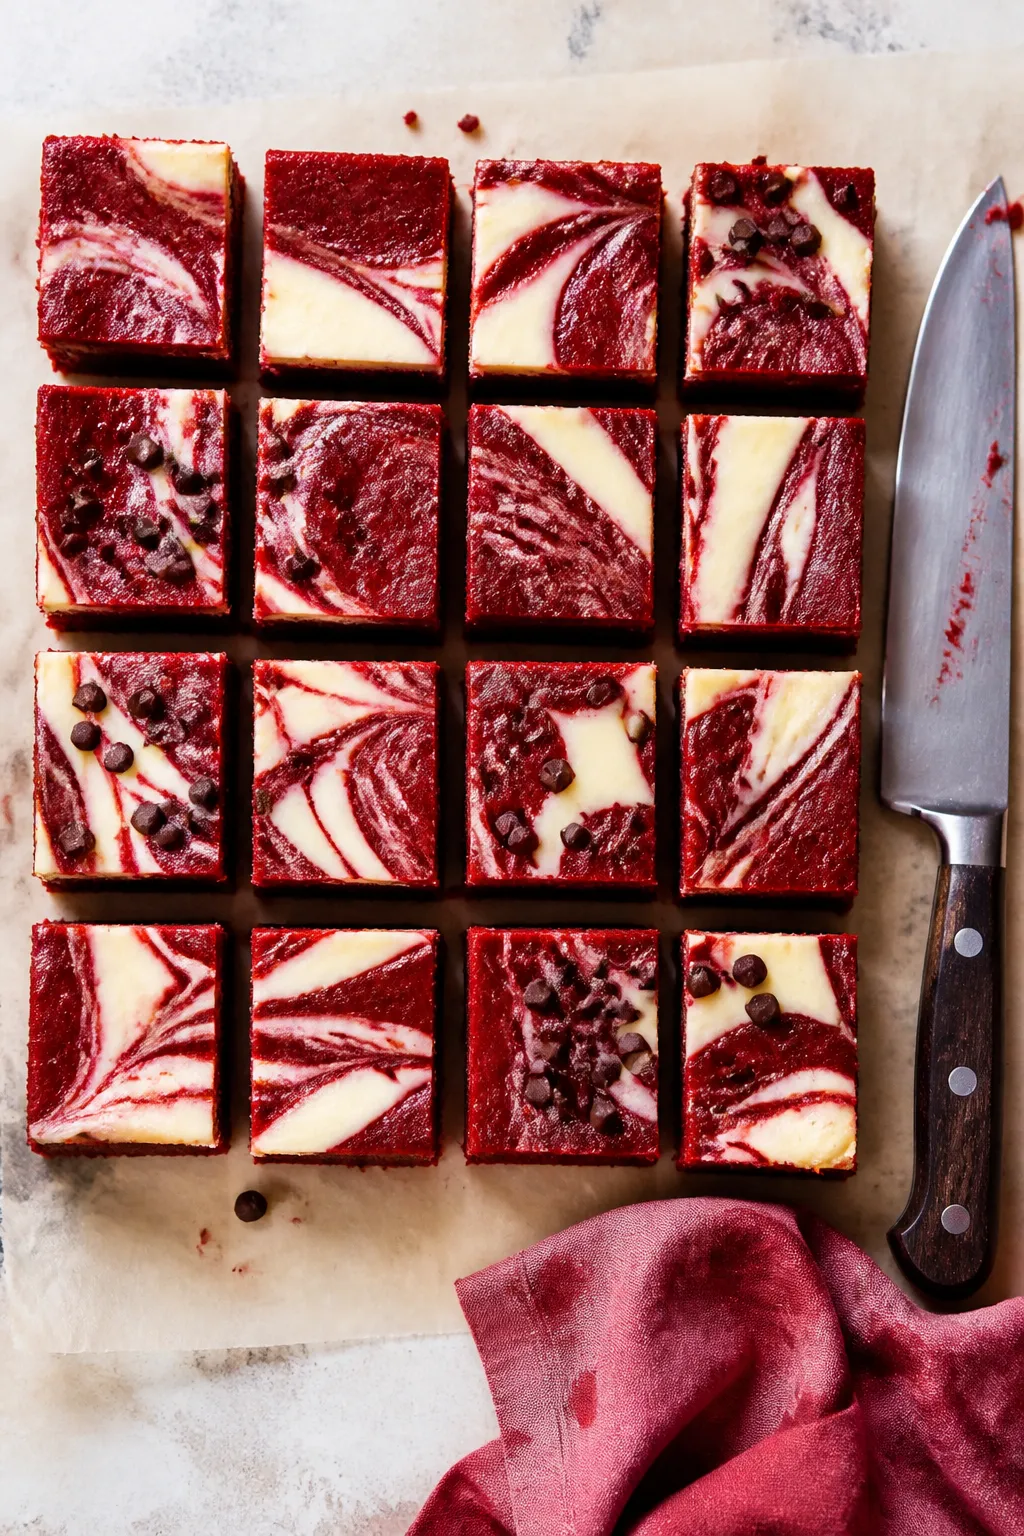
- Slice and serve: Lift out using the parchment and cut into squares with a sharp knife, wiping the blade between cuts for neat edges.
What Makes This Recipe So Good
- Two desserts in one: Fudgy red velvet base and a silky cheesecake swirl give you big flavor and contrast in every bite.
- Balanced sweetness: A touch of cocoa and a hint of tang from cream cheese keep these brownies from being cloying.
- Eye-catching presentation: The red and cream swirl looks stunning with hardly any effort.
- Simple pantry ingredients: No fancy tools or hard-to-find items needed.
- Great make-ahead dessert: They taste even better after chilling, which makes planning easier.
Ingredients
- For the Red Velvet Brownie Batter:
- 1/2 cup (1 stick) unsalted butter, melted and slightly cooled
- 3/4 cup granulated sugar
- 1/4 cup light brown sugar, packed
- 2 large eggs, at room temperature
- 1 teaspoon vanilla extract
- 1 tablespoon red food coloring (liquid) or 2–3 teaspoons gel, as needed
- 1 tablespoon unsweetened cocoa powder
- 3/4 cup all-purpose flour
- 1/4 teaspoon baking powder
- 1/4 teaspoon fine salt
- 1 teaspoon white vinegar or apple cider vinegar (classic red velvet touch)
- For the Cheesecake Swirl:
- 8 ounces cream cheese, softened
- 1/3 cup granulated sugar
- 1 large egg yolk, at room temperature
- 1/2 teaspoon vanilla extract
- Pinch of salt
- To Finish:
- Nonstick spray or butter, for the pan
- Optional: chocolate chips (1/3 cup) folded into the brownie batter for extra richness
Instructions
- Prep the pan and oven: Preheat the oven to 350°F (175°C). Line an 8-inch square baking pan with parchment, leaving overhang for easy lifting.
Lightly grease the parchment.
- Make the cheesecake mixture: In a bowl, beat the cream cheese, sugar, egg yolk, vanilla, and a pinch of salt until smooth and creamy. Set aside.
- Whisk the wet ingredients: In a separate bowl, whisk the melted butter, granulated sugar, and brown sugar until glossy. Add the eggs and vanilla and whisk until well combined.
- Add color and cocoa: Stir in the red food coloring and cocoa powder until evenly tinted.
Adjust color as needed to achieve a deep red.
- Finish the dry ingredients: In a small bowl, mix flour, baking powder, and salt. Sift if lumpy. Add to the red batter and fold gently until just combined.
Stir in the vinegar at the end. Do not overmix.
- Assemble layers: Pour about 2/3 of the red batter into the prepared pan and spread evenly. Dollop the cheesecake mixture over the top in large spoonfuls.
Spoon the remaining red batter in between the cheesecake dollops.
- Create the swirl: Use a butter knife or skewer to gently swirl the mixtures together. Aim for figure-eight motions and avoid over-swirling to keep distinct ribbons.
- Bake: Bake for 28–35 minutes, until the edges are set and a toothpick inserted 2 inches from the edge comes out with a few moist crumbs. The center should have a slight jiggle from the cheesecake but not be soupy.
- Cool and set: Let the pan cool on a rack for 1 hour.
For clean slices and best texture, chill for at least another 1–2 hours before cutting.
- Slice and serve: Lift out using the parchment and cut into squares with a sharp knife, wiping the blade between cuts for neat edges.
How to Store
- Refrigerator: Store in an airtight container for up to 5 days. The cheesecake layer requires chilling.
- Freezer: Wrap individual squares tightly in plastic, then place in a freezer bag. Freeze up to 2 months.
Thaw in the fridge overnight.
- Serving tip: For best flavor and texture, serve slightly chilled or let sit at room temperature for 15–20 minutes after refrigeration.
Benefits of This Recipe
- Reliable texture: The vinegar and cocoa help create that signature red velvet tenderness while staying fudgy.
- Make-ahead friendly: The flavor deepens after a night in the fridge, making it perfect for parties.
- Customizable sweetness: You can lean darker and richer with extra cocoa or lighter and creamier with more swirl.
- Great presentation with minimal effort: The marble effect looks impressive without special skills.
Common Mistakes to Avoid
- Overmixing the batter: This can make the brownies tough. Fold just until the flour disappears.
- Overbaking: Dry brownies and curdled cheesecake happen when baked too long. Pull them when the edges are set and the center still looks slightly soft.
- Skipping the chill: Cutting while warm leads to messy slices.
Cooling and chilling give clean edges and better flavor.
- Using cold cream cheese: It won’t blend smoothly and can create lumps. Soften it first for a silky swirl.
- Heavy-handed swirling: Too much swirling blends the layers and mutes the contrast. A few gentle passes are enough.
Variations You Can Try
- Chocolate chip boost: Fold 1/3–1/2 cup mini chocolate chips into the red batter for extra richness.
- Raspberry ripple: Add small dollops of seedless raspberry jam on top before swirling for a fruity tang.
- Cookies and cream: Sprinkle crushed chocolate sandwich cookies over the cheesecake layer before baking.
- Gluten-free: Use a 1:1 gluten-free all-purpose flour blend.
Bake times may vary by a minute or two.
- Valentine finish: Drizzle with melted white chocolate after cooling and add festive sprinkles.
FAQ
Your Next Favorite Dessert Is Inside
SEND ME THE FREE DESSERTS
Can I use less food coloring?
Yes. The color won’t be as vibrant, but the flavor will be the same. You can also use gel food coloring, which is more concentrated, so you’ll need less.
How do I know when the brownies are done?
Look for set edges and a center that’s no longer liquid but still slightly soft.
A toothpick inserted near the edge should come out with moist crumbs, not wet batter. The cheesecake should not be browned deeply on top.
Can I double the recipe?
Yes. Bake in a 9×13-inch pan and extend the baking time to 32–40 minutes, checking early.
The center may take a little longer to set due to the thicker layer.
What if I don’t have vinegar?
Use lemon juice instead. The acidity helps with the classic red velvet texture and brightens the flavor.
Can I make these without cocoa powder?
It’s not recommended. Even the small amount of cocoa is key to the red velvet taste.
If you’re out, substitute with Dutch-process cocoa for a slightly deeper chocolate note.
Why is my cheesecake layer lumpy?
The cream cheese was likely too cold or under-beaten. Next time, fully soften it at room temperature and beat until smooth before adding the egg yolk and sugar.
How do I get clean slices?
Chill the brownies thoroughly, then use a sharp knife. Wipe the blade with a warm, damp cloth between cuts to keep the edges neat.
Can I make them less sweet?
Reduce the granulated sugar in the brownie batter by 2–3 tablespoons and in the cheesecake mixture by 1 tablespoon.
Keep in mind the texture may be slightly less fudgy.
In Conclusion
Red Velvet Cheesecake Brownies bring together rich cocoa notes, a gentle tang, and a creamy swirl in one gorgeous square. They’re simple to make, slice beautifully, and taste even better the next day. Whether you’re baking for a celebration or just a cozy weekend treat, this recipe delivers dependable results and big smiles.
Keep a batch chilled and watch them disappear.
Printable Recipe Card
Want just the essential recipe details without scrolling through the article? Get our printable recipe card with just the ingredients and instructions.
Save Room for Something Sweet
Before you go, grab five irresistible dessert recipes that are simple to follow, satisfying to make and perfect for sharing.