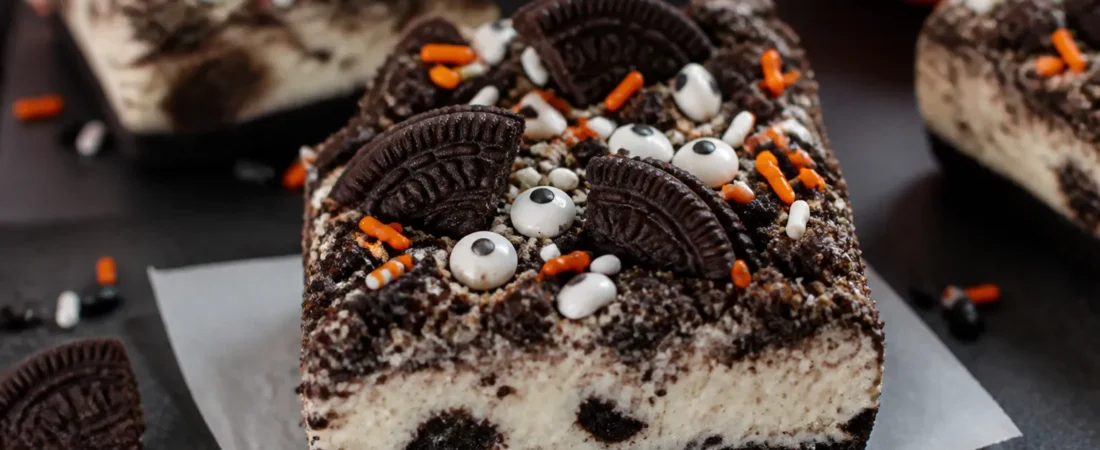
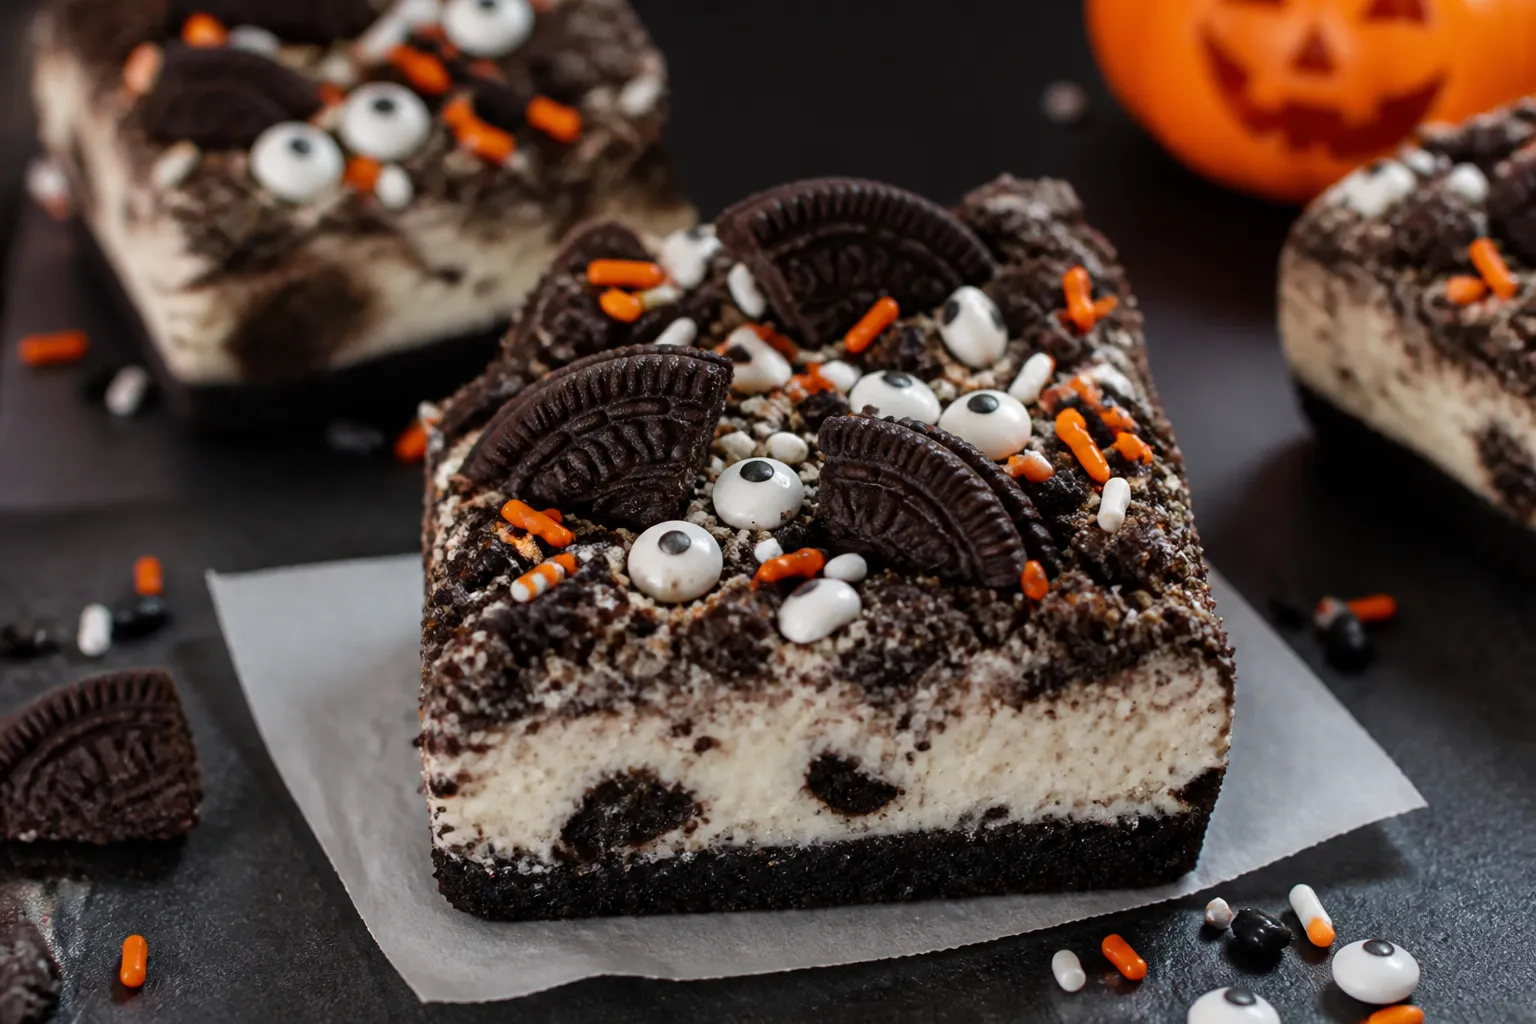
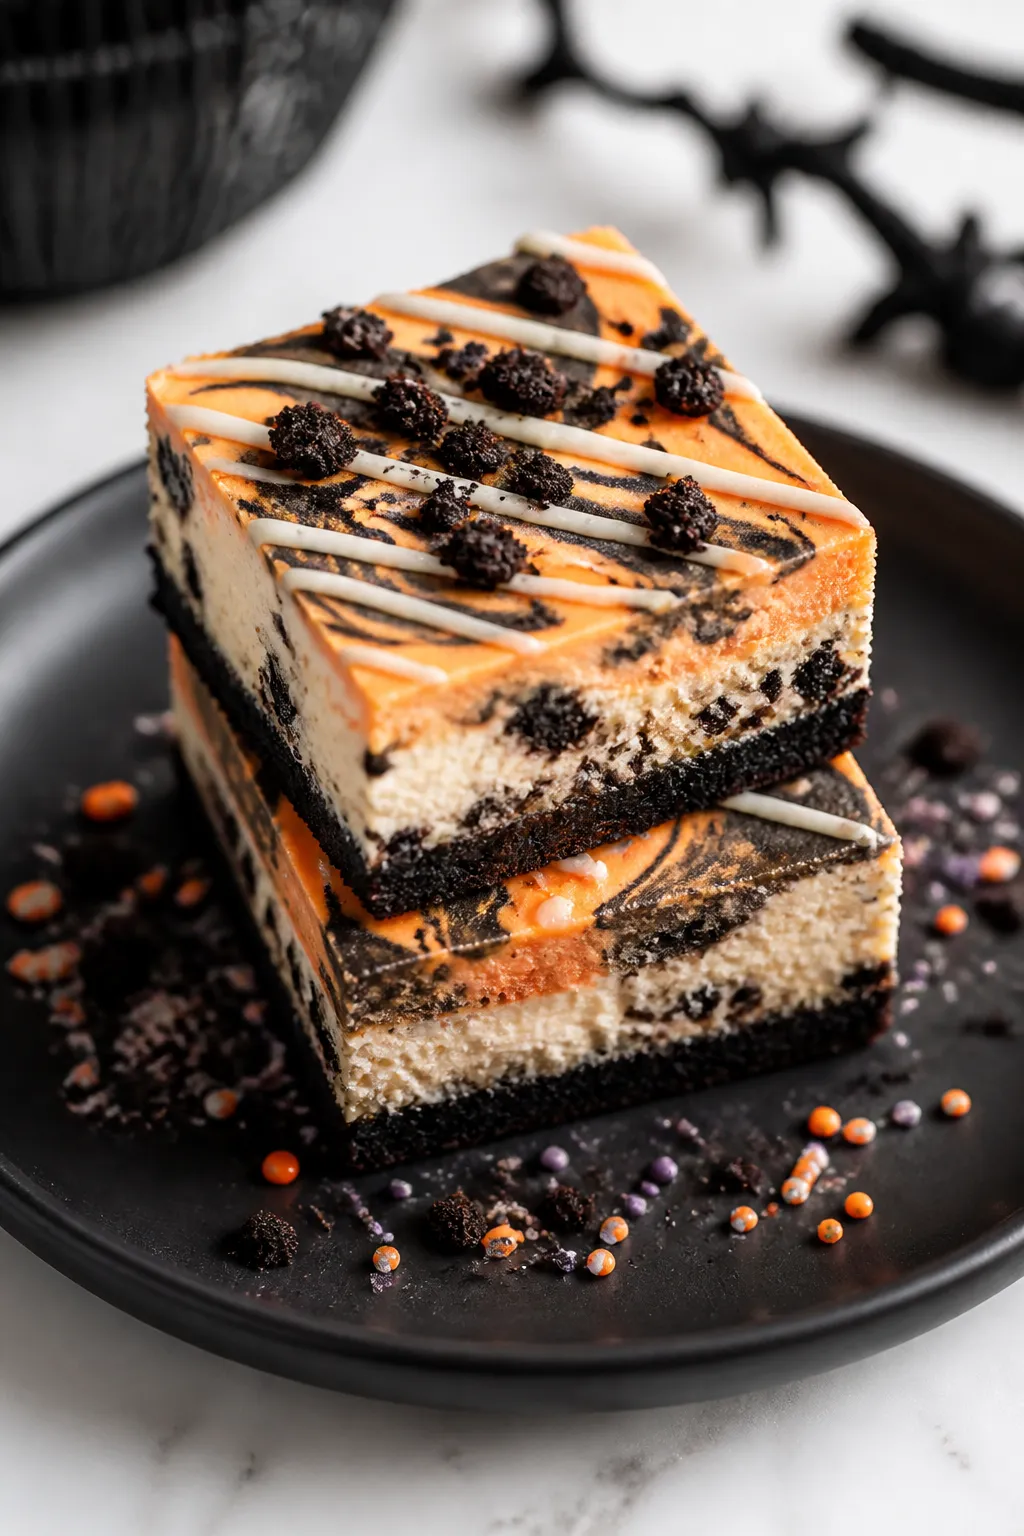
These Halloween Oreo Cheesecake Bars check all the boxes: creamy, crunchy, chocolatey, and just spooky enough to make your dessert table pop. They’re easy to make, slice beautifully, and hold up well at parties. You’ll get a buttery Oreo crust, a silky cheesecake filling, and pops of orange and black for that Halloween flair.
No water bath, no stress—just simple steps and big flavor. Whether you’re hosting a party or bringing a treat to school or work, these bars steal the show.
Ingredients
Method
- Prep the pan: Line a 9×9-inch baking pan with parchment paper, leaving an overhang on two sides for easy lifting. Preheat the oven to 325°F (163°C).
- Make the crust: Pulse 24 Oreos in a food processor to fine crumbs. Stir in melted butter, sugar, and a pinch of salt until the mixture looks like wet sand. Press firmly into the bottom of the pan, packing it tight and even. Bake for 10 minutes, then set aside to cool slightly.
- Beat the cream cheese: In a large bowl, beat cream cheese on medium speed until completely smooth and creamy, about 1–2 minutes. Scrape down the bowl.
- Add sugar and dry ingredients: Beat in granulated sugar, cornstarch, and salt until combined and silky. Scrape down the bowl again.
- Add eggs: Beat in eggs one at a time on low speed just until incorporated. Don’t overmix—this helps prevent cracks.
- Finish the batter: Mix in sour cream, vanilla, and heavy cream until smooth. Fold in the chopped Oreos gently with a spatula.
- Create the Halloween swirl: Scoop out about 3/4 cup of the batter into a small bowl. Tint it with a few drops of orange gel food coloring. Spread the plain batter over the crust. Dollop the orange batter on top in several spots and use a butter knife or skewer to gently swirl. Don’t overdo it, or the colors will muddy.
- Bake: Place the pan on the middle rack and bake for 28–34 minutes, or until the edges are set and the center has a slight jiggle about the size of a quarter. Avoid browning on top.
- Cool gradually: Turn off the oven, crack the door, and let the bars sit inside for 10 minutes. Move to a wire rack and cool to room temperature.
- Chill: Cover and refrigerate for at least 4 hours (overnight is best) to set completely.
- Slice and serve: Lift the bars out using the parchment overhang. Warm a sharp knife under hot water, wipe it dry, and slice into squares, cleaning the blade between cuts. Add sprinkles, melted chocolate, or extra Oreo crumbs if you like.
What Makes This Special
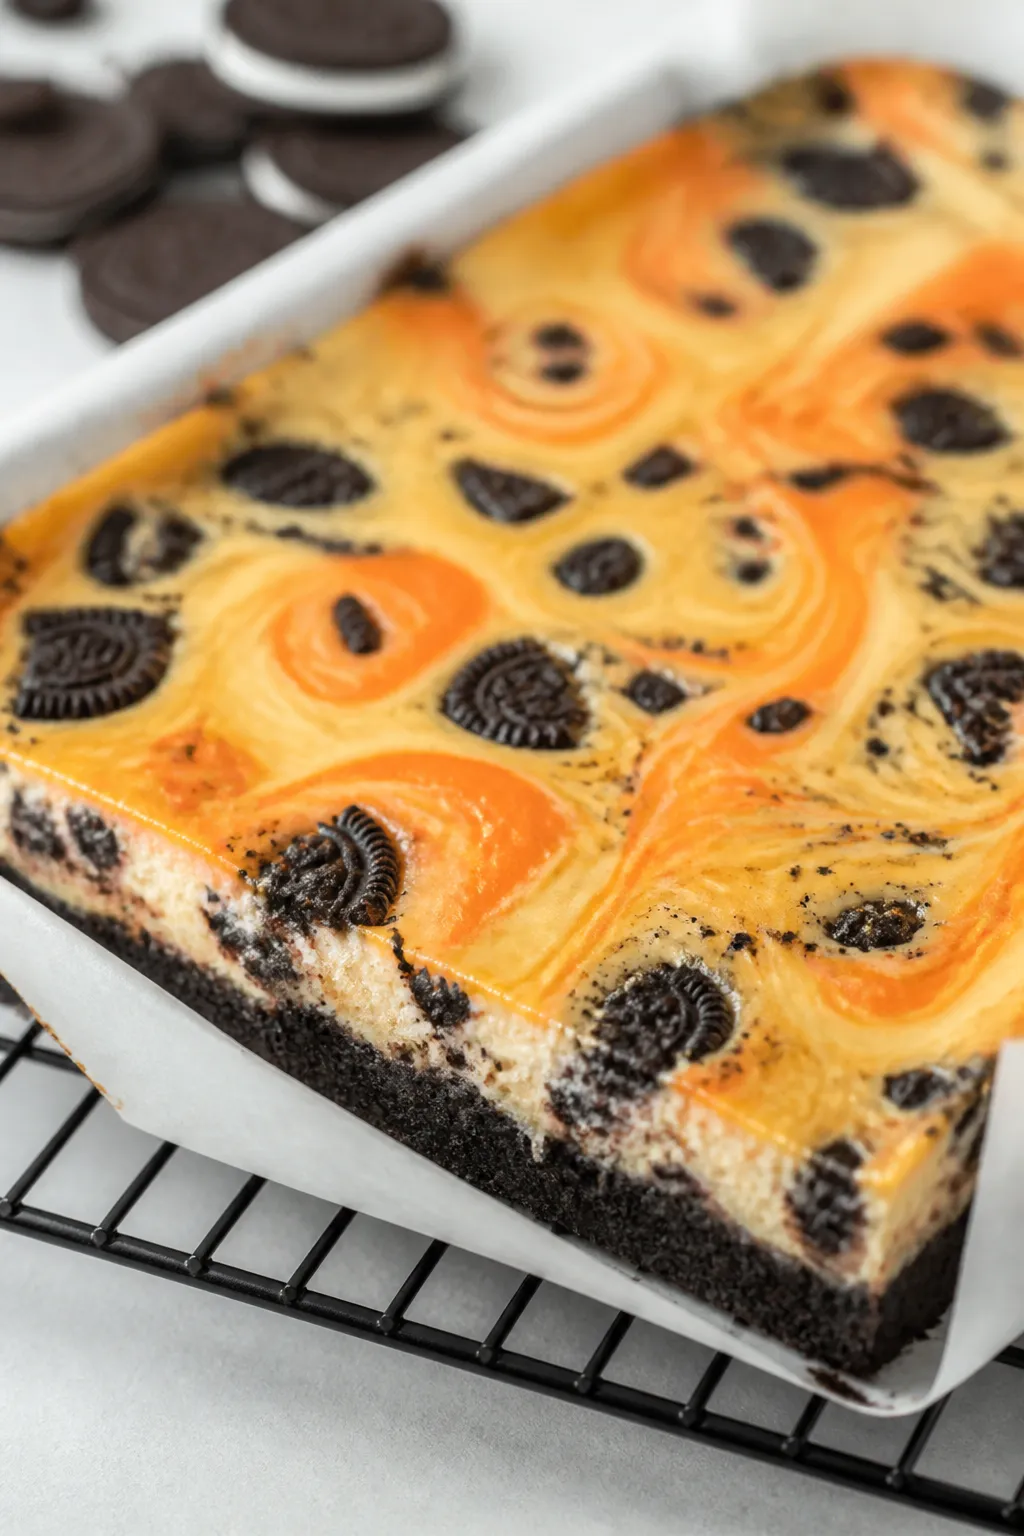
These bars are built for both taste and fun. The base is a simple Oreo cookie crust with melted butter that bakes into a sturdy, chocolatey foundation.
The filling is a smooth vanilla cheesecake studded with chopped Oreos and swirls of orange-tinted batter for a festive look. You can top them with Halloween sprinkles or a drizzle of chocolate to match your vibe. Best of all, they’re baked in a square pan, so no springform or water bath needed.
Ingredients
- For the crust:
- 24 Oreo cookies (regular, not Double Stuf)
- 5 tablespoons unsalted butter, melted
- 1 tablespoon granulated sugar (optional, for extra crunch)
- Pinch of salt
- For the cheesecake filling:
- 16 ounces cream cheese, softened to room temperature
- 2/3 cup granulated sugar
- 2 large eggs, at room temperature
- 1/3 cup sour cream, at room temperature
- 1 teaspoon pure vanilla extract
- 1 tablespoon cornstarch (or 2 teaspoons all-purpose flour)
- 1/8 teaspoon fine salt
- 1/3 cup heavy cream
- 10–12 Oreo cookies, roughly chopped
- Orange gel food coloring (a few drops)
- For topping (optional):
- Halloween sprinkles
- Melted dark or white chocolate for drizzling
- Crushed Oreos for garnish
Instructions
- Prep the pan: Line a 9×9-inch baking pan with parchment paper, leaving an overhang on two sides for easy lifting.
Preheat the oven to 325°F (163°C).
- Make the crust: Pulse 24 Oreos in a food processor to fine crumbs. Stir in melted butter, sugar, and a pinch of salt until the mixture looks like wet sand. Press firmly into the bottom of the pan, packing it tight and even.
Bake for 10 minutes, then set aside to cool slightly.
- Beat the cream cheese: In a large bowl, beat cream cheese on medium speed until completely smooth and creamy, about 1–2 minutes. Scrape down the bowl.
- Add sugar and dry ingredients: Beat in granulated sugar, cornstarch, and salt until combined and silky. Scrape down the bowl again.
- Add eggs: Beat in eggs one at a time on low speed just until incorporated.
Don’t overmix—this helps prevent cracks.
- Finish the batter: Mix in sour cream, vanilla, and heavy cream until smooth. Fold in the chopped Oreos gently with a spatula.
- Create the Halloween swirl: Scoop out about 3/4 cup of the batter into a small bowl. Tint it with a few drops of orange gel food coloring.
Spread the plain batter over the crust. Dollop the orange batter on top in several spots and use a butter knife or skewer to gently swirl. Don’t overdo it, or the colors will muddy.
- Bake: Place the pan on the middle rack and bake for 28–34 minutes, or until the edges are set and the center has a slight jiggle about the size of a quarter.
Avoid browning on top.
- Cool gradually: Turn off the oven, crack the door, and let the bars sit inside for 10 minutes. Move to a wire rack and cool to room temperature.
- Chill: Cover and refrigerate for at least 4 hours (overnight is best) to set completely.
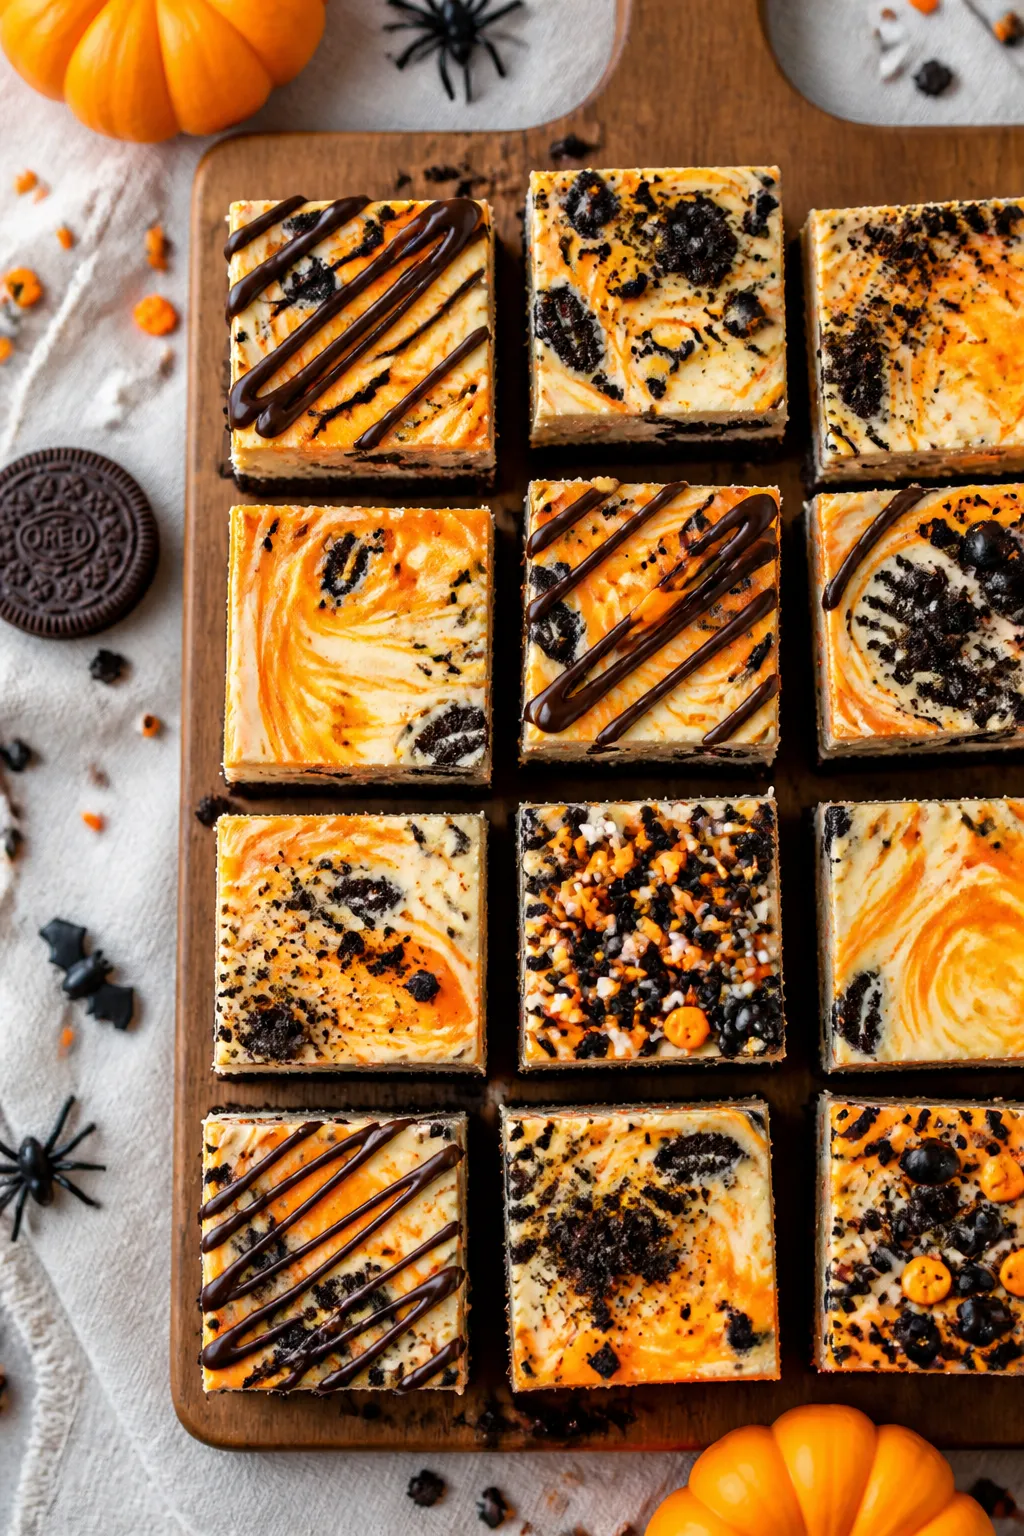
- Slice and serve: Lift the bars out using the parchment overhang. Warm a sharp knife under hot water, wipe it dry, and slice into squares, cleaning the blade between cuts.
Add sprinkles, melted chocolate, or extra Oreo crumbs if you like.
How to Store
Keep the bars covered in the fridge for up to 5 days. For clean edges, slice only what you need and keep the rest chilled. To freeze, wrap the slab or individual bars tightly in plastic and then foil, or place in an airtight container.
Freeze for up to 2 months. Thaw in the fridge overnight, not at room temperature, to maintain the texture.
Health Benefits
While this is a dessert, there are a few small perks. Cream cheese and eggs provide protein and some fat-soluble vitamins. The portion-controlled bar format helps you enjoy a treat without going overboard.
A homemade version also means you know exactly what’s in it—no mystery ingredients or artificial flavors beyond optional coloring.
That said, these bars are rich and sweet. Enjoy them mindfully, pair with water or tea, and balance your day with lighter meals and some movement.
What Not to Do
- Don’t use cold ingredients. Cold cream cheese and eggs lead to lumps and overmixing. Room temperature is key for a smooth batter.
- Don’t overmix after adding eggs. Too much air in the batter can cause cracks and a puffy, uneven surface.
- Don’t skip the chill time. The bars need several hours to set or they’ll be soft and messy to slice.
- Don’t use too much food coloring. Gel is potent; too much can taste bitter and stain.
- Don’t overbake. Pull them when the center still has a slight wiggle.
Overbaking makes them dry and grainy.
Variations You Can Try
- Triple Chocolate: Add 2 tablespoons cocoa powder to the filling and drizzle with melted dark chocolate after chilling.
- Minty Midnight: Swap vanilla for 1/2 teaspoon peppermint extract and use Mint Oreos. Keep the orange swirl or go for green for a “witchy” look.
- Spiderweb Top: After baking and cooling, spread a thin layer of melted white chocolate. Pipe circles of dark chocolate and drag a toothpick from center out to create webs.
- Gluten-Friendly: Use gluten-free sandwich cookies and confirm your cornstarch is labeled gluten-free.
- Pumpkin Patch: Replace sour cream with 1/3 cup pumpkin puree and add 1 teaspoon pumpkin pie spice.
Keep the Oreos for crunch.
- Bite-Size Minis: Line a mini muffin pan with liners, press in a teaspoon of crust, and bake 6–7 minutes. Add filling and bake 10–12 minutes.
FAQ
Can I use Double Stuf Oreos?
You can, but the extra cream can make the crust greasy and soft. For best results, use regular Oreos for the crust.
Double Stuf is fine for mixing into the batter or as a garnish.
What if I don’t have a 9×9-inch pan?
A 8×8-inch pan works; increase the bake time by a couple of minutes. A 9×13-inch pan will make thinner bars; reduce bake time and keep a close eye on the jiggle test.
Do I need a water bath?
No. These are bars, not a tall cheesecake, so a water bath isn’t necessary.
Gentle baking at 325°F and not overmixing the eggs will keep them creamy.
How do I get super clean slices?
Chill fully, then use a hot, dry knife. Wipe between each cut. You can also partially freeze the slab for 20–30 minutes before slicing for razor-sharp edges.
Can I make this ahead?
Yes.
Bake the day before and chill overnight. Wait to add sprinkles or chocolate drizzle until just before serving so colors stay bright and crisp.
Can I reduce the sugar?
You can drop the sugar in the filling to 1/2 cup without major texture changes. Keep in mind the Oreos add sweetness too, so adjust to taste.
How do I prevent cracks?
Use room-temperature ingredients, avoid overmixing after adding the eggs, bake at a moderate temperature, and cool gradually.
A slight jiggle in the center means you nailed it.
In Conclusion
Halloween Oreo Cheesecake Bars deliver everything you want in a party dessert: bold look, creamy texture, and a familiar cookies-and-cream flavor. They’re easy to assemble, forgiving for beginners, and fun to decorate. Make a batch the night before, chill, slice, and watch them disappear faster than a ghost at midnight.
If you love Oreos and cheesecake, this is your new October tradition.
Printable Recipe Card
Want just the essential recipe details without scrolling through the article? Get our printable recipe card with just the ingredients and instructions.