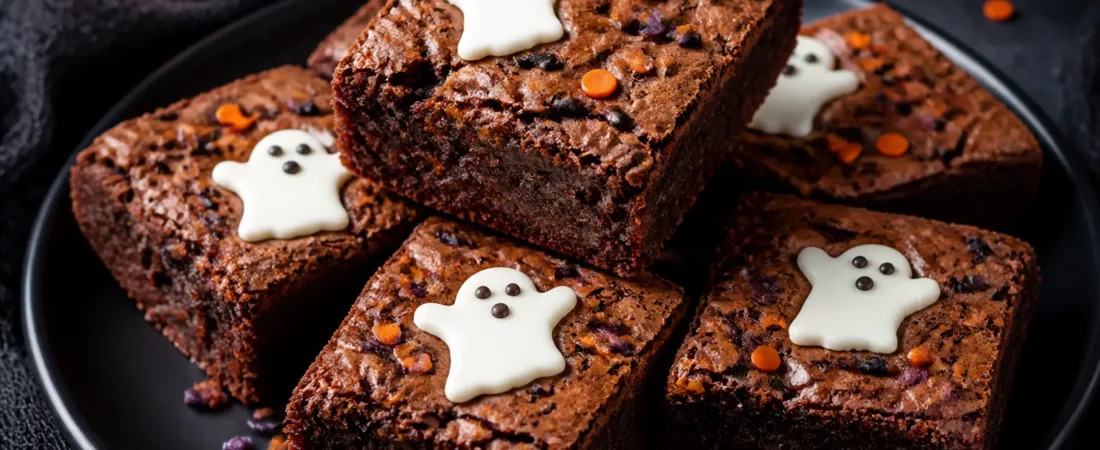
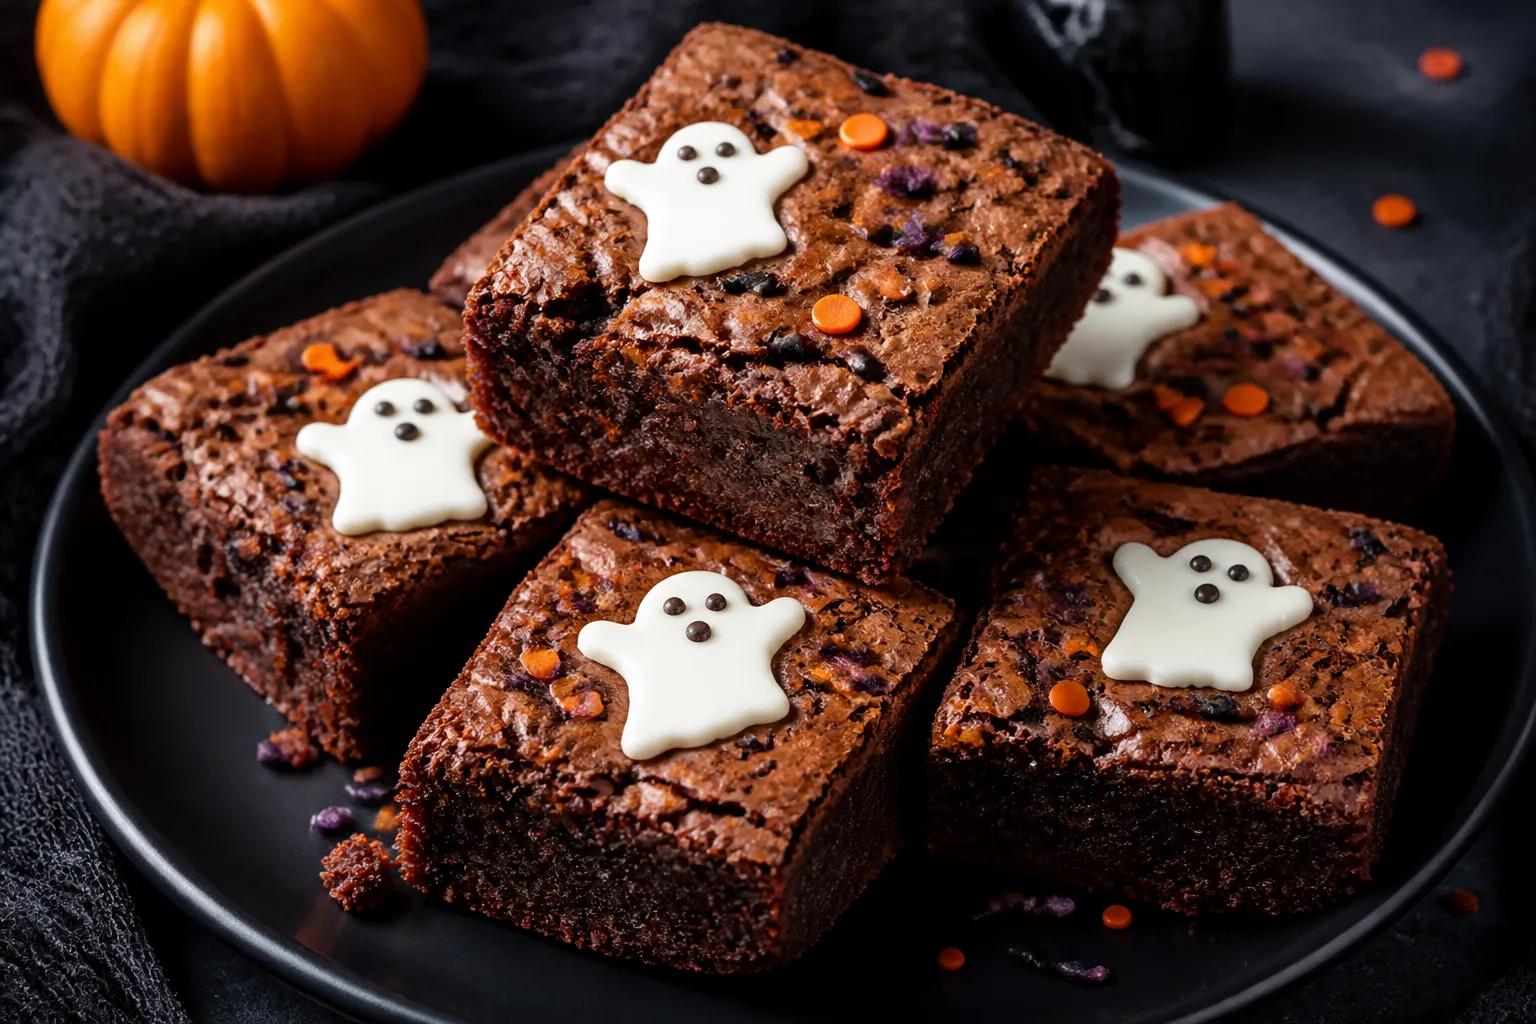
These Halloween Brownies bring rich, fudgy chocolate together with playful seasonal decorations. They’re easy enough for a weeknight bake but festive enough for a party table. Think shiny crackly tops, deep cocoa flavor, and a soft center that holds up under candy eyes and orange-and-black sprinkles.
Kids can help decorate, and adults will appreciate the not-too-sweet balance. If you’re looking for a crowd-pleaser that feels on-theme without being fussy, this is it.
Ingredients
Method
- Prep the pan. Heat the oven to 350°F (175°C). Line an 8-inch square pan with parchment, leaving overhang for easy lifting. Lightly grease the sides.
- Melt the butter. In a heatproof bowl, melt the butter until fully liquid. Stir in the oil. Let cool slightly so it’s warm, not hot.
- Whisk sugars and eggs. In a separate bowl, whisk granulated sugar, brown sugar, eggs, and egg yolk for 1–2 minutes until slightly thickened and glossy. This helps create that shiny top.
- Add vanilla and cocoa. Whisk in vanilla, then sift in cocoa powder and espresso powder. Mix until smooth and dark.
- Combine with butter mixture. Pour the warm butter-oil mixture into the cocoa batter and whisk until fully incorporated.
- Fold in dry ingredients. Sift in flour and salt. Switch to a spatula and fold gently until no dry streaks remain. Do not overmix. Fold in chocolate chips.
- Spread and bake. Transfer batter to the prepared pan and smooth the top. Bake 22–28 minutes, until the edges are set and a toothpick inserted 2 inches from the edge comes out with moist crumbs, not wet batter.
- Cool completely. Set the pan on a rack and cool fully. This sets the fudgy texture and makes clean slices.
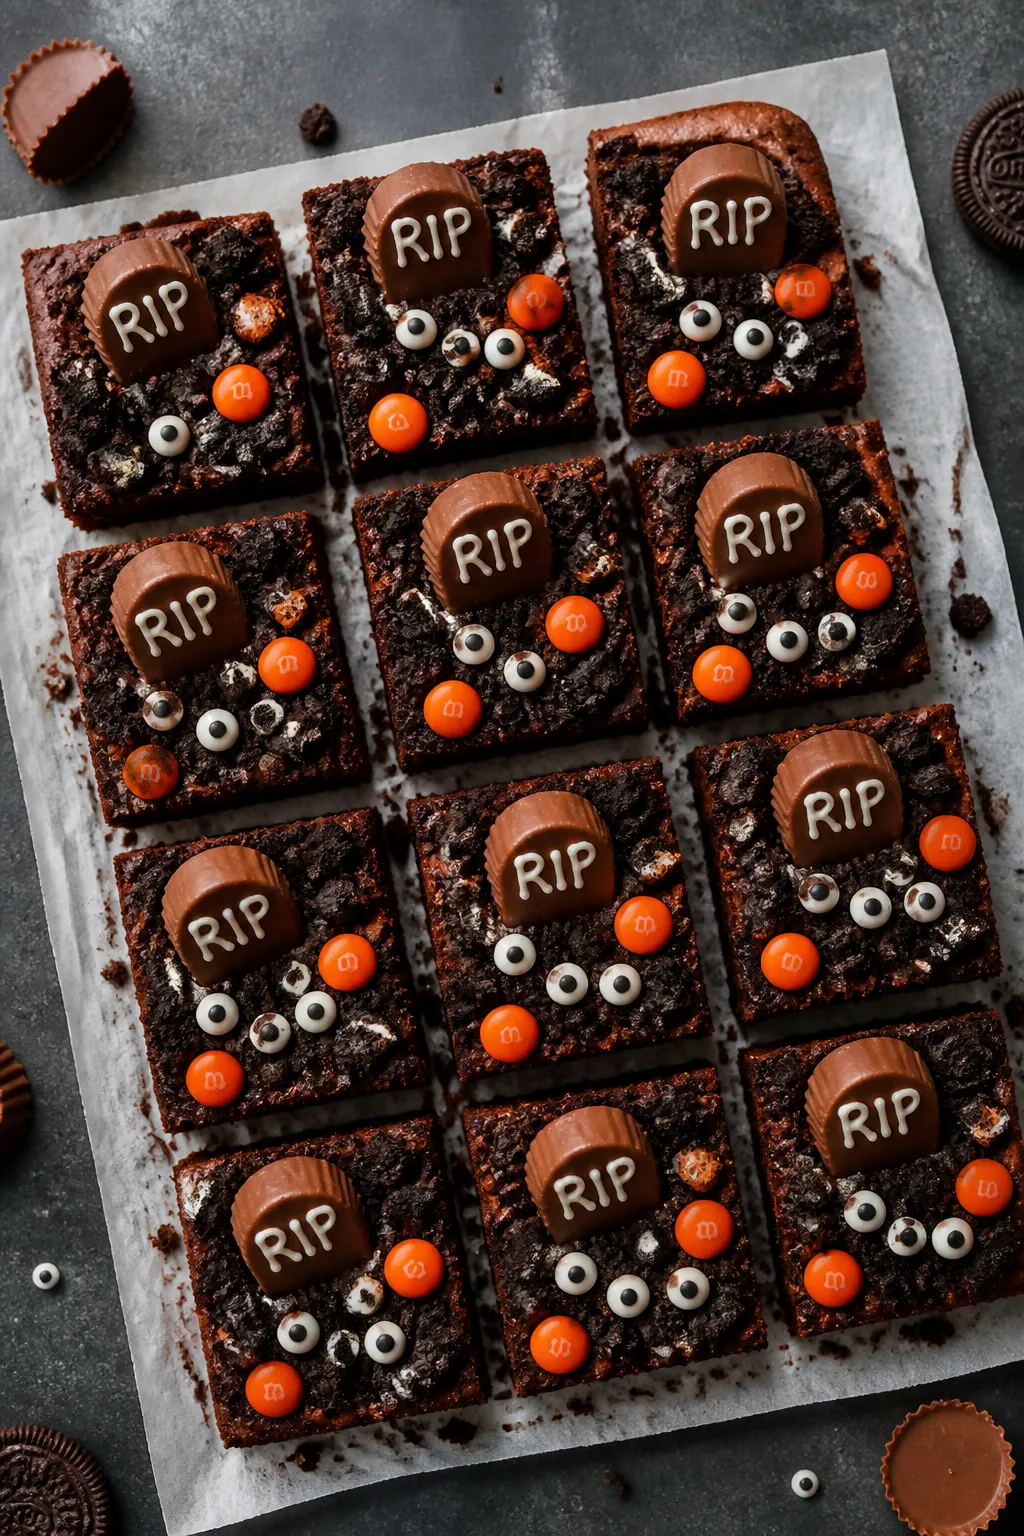
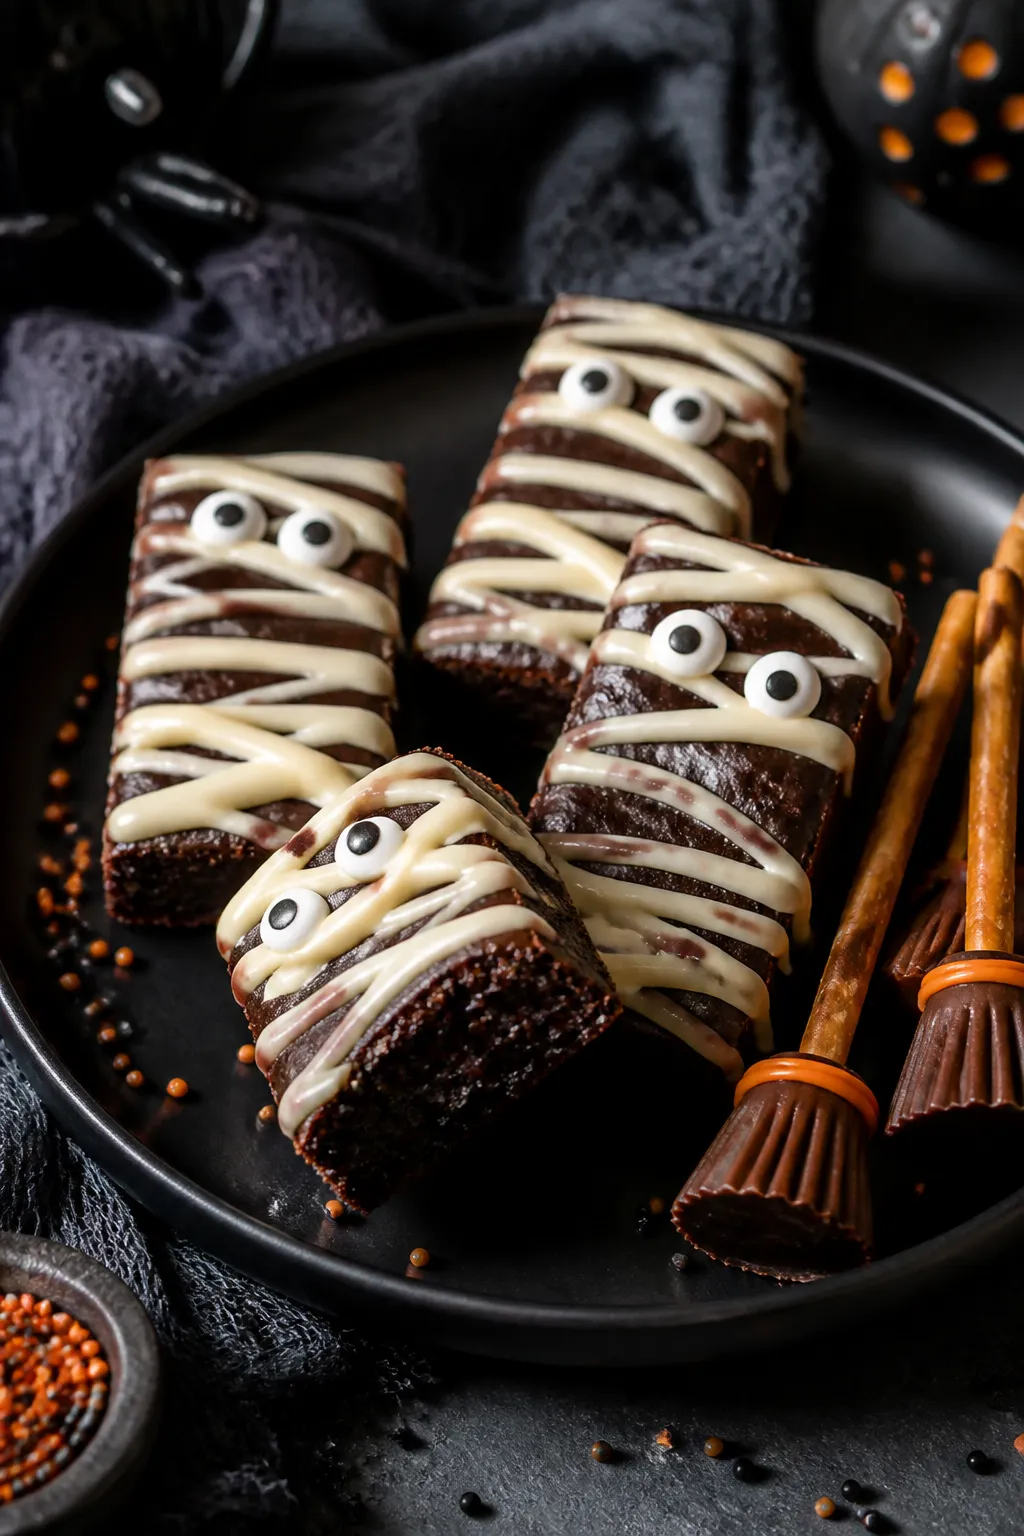
- Decorate. Lift brownies from the pan. For a quick “mummy” effect, melt white chocolate with a splash of milk or cream and drizzle in zigzags. Add candy eyes so they stick while the drizzle is soft. Press in sprinkles, cookie crumbs, M&M’s, or peanut butter cup “gravestones.” For “witch brooms,” poke pretzel sticks into mini peanut butter cups and place them on top of cut squares.
- Slice smart. Use a warm knife (wipe between cuts) for neat edges. Cut into 12–16 squares.
What Makes This Special
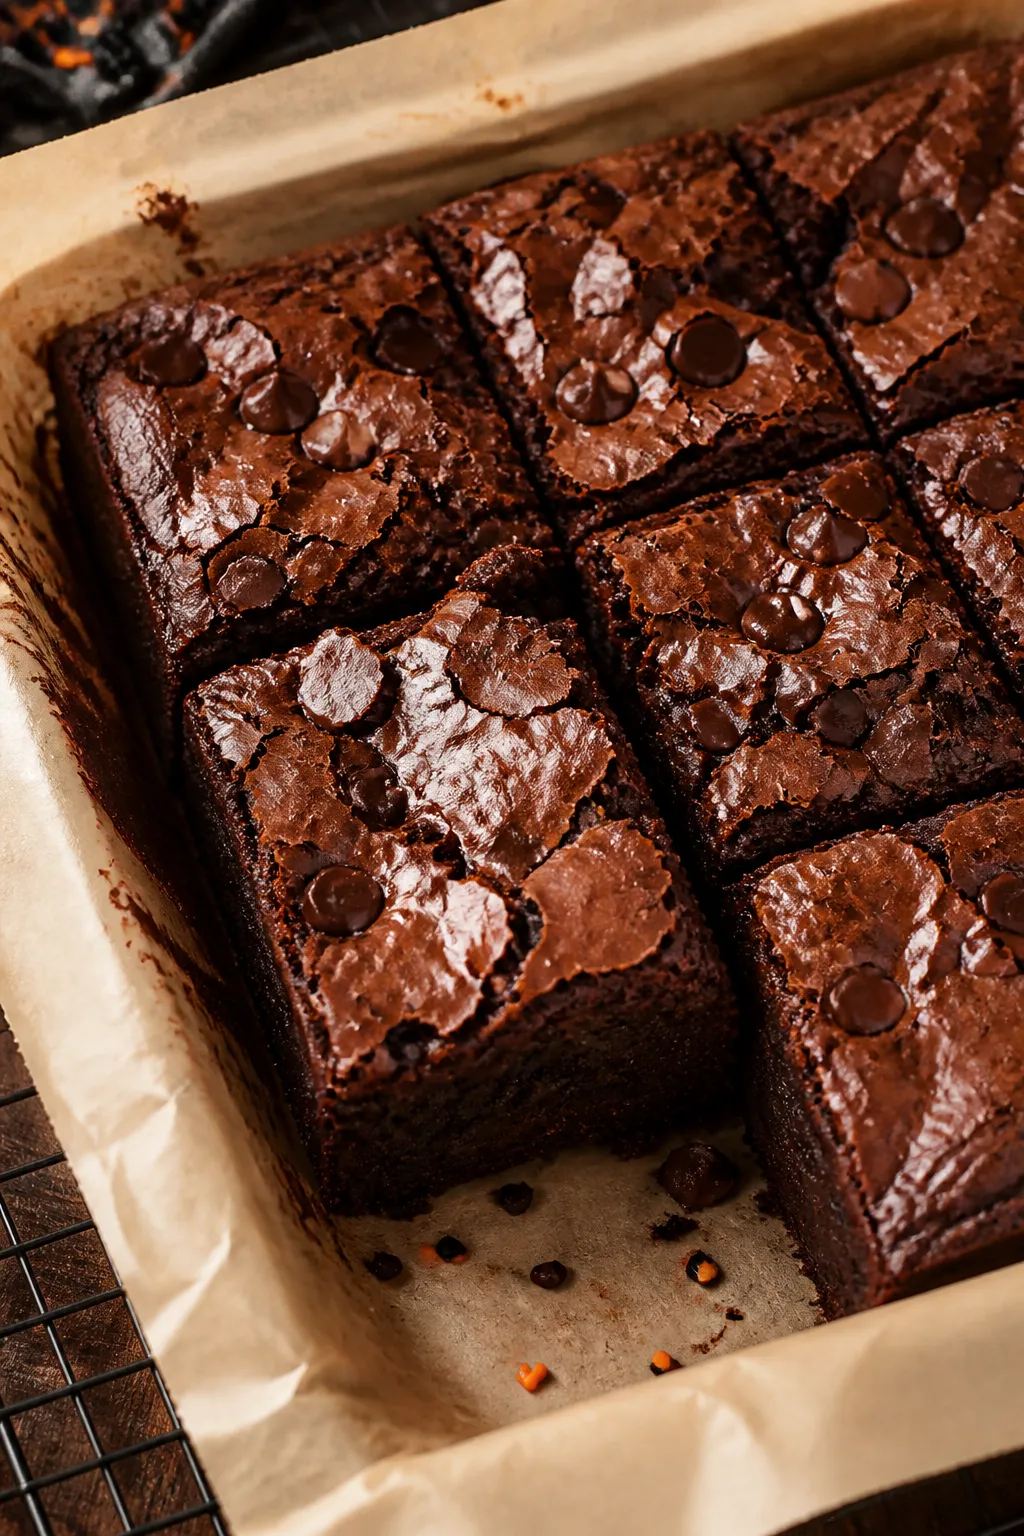
These brownies are fudgy, not cakey, thanks to melted butter, a touch of oil, and just the right ratio of sugar to flour. You get a glossy top from beating the eggs and sugar well, but no complicated steps.
The Halloween twist is simple: spooky toppings like candy eyes, crushed chocolate sandwich cookies (for “graveyard dirt”), pretzel “broomsticks,” and orange M&M’s. Everything bakes in one pan, and the decorations go on after the bake, so there’s no need for piping skills or fondant. The result is a fun, seasonal dessert that still tastes like a classic brownie.
What You’ll Need
- 1/2 cup (115 g) unsalted butter, melted
- 2 tablespoons neutral oil (canola or vegetable)
- 1 cup (200 g) granulated sugar
- 1/2 cup (100 g) packed brown sugar
- 2 large eggs + 1 egg yolk, room temperature
- 2 teaspoons vanilla extract
- 3/4 cup (75 g) unsweetened cocoa powder (natural or Dutch-process)
- 1/2 cup (65 g) all-purpose flour
- 1/2 teaspoon fine salt
- 1/2 teaspoon instant espresso powder (optional, boosts chocolate flavor)
- 3/4 cup (130 g) chocolate chips or chopped chocolate
- 2 tablespoons milk or heavy cream (for softening chocolate if making a quick drizzle, optional)
Halloween Decorations (choose your favorites):
- Candy eyes
- Orange and black sprinkles or nonpareils
- Mini peanut butter cups (halved)
- Crushed chocolate sandwich cookies (for “dirt”)
- Orange and brown M&M’s or chocolate candies
- Thin pretzel sticks and mini peanut butter cups (for “witch brooms”)
- Melted white chocolate for “mummy” drizzles
How to Make It
- Prep the pan. Heat the oven to 350°F (175°C).
Line an 8-inch square pan with parchment, leaving overhang for easy lifting. Lightly grease the sides.
- Melt the butter. In a heatproof bowl, melt the butter until fully liquid. Stir in the oil.
Let cool slightly so it’s warm, not hot.
- Whisk sugars and eggs. In a separate bowl, whisk granulated sugar, brown sugar, eggs, and egg yolk for 1–2 minutes until slightly thickened and glossy. This helps create that shiny top.
- Add vanilla and cocoa. Whisk in vanilla, then sift in cocoa powder and espresso powder. Mix until smooth and dark.
- Combine with butter mixture. Pour the warm butter-oil mixture into the cocoa batter and whisk until fully incorporated.
- Fold in dry ingredients. Sift in flour and salt.
Switch to a spatula and fold gently until no dry streaks remain. Do not overmix. Fold in chocolate chips.
- Spread and bake. Transfer batter to the prepared pan and smooth the top.
Bake 22–28 minutes, until the edges are set and a toothpick inserted 2 inches from the edge comes out with moist crumbs, not wet batter.
- Cool completely. Set the pan on a rack and cool fully. This sets the fudgy texture and makes clean slices.
- Decorate. Lift brownies from the pan. For a quick “mummy” effect, melt white chocolate with a splash of milk or cream and drizzle in zigzags.
Add candy eyes so they stick while the drizzle is soft. Press in sprinkles, cookie crumbs, M&M’s, or peanut butter cup “gravestones.” For “witch brooms,” poke pretzel sticks into mini peanut butter cups and place them on top of cut squares.
- Slice smart. Use a warm knife (wipe between cuts) for neat edges. Cut into 12–16 squares.
Storage Instructions
- Room temperature: Store in an airtight container for 3–4 days.
Add a piece of parchment between layers to prevent sticking.
- Refrigerator: Keeps up to 1 week, tightly covered. The chill firms them up; let sit 10–15 minutes before serving for best texture.
- Freezer: Wrap individual brownies in plastic, then place in a freezer bag. Freeze up to 2 months.
Thaw at room temperature or warm briefly in the microwave.
- Decorations note: Add delicate candies after thawing so colors don’t bleed and textures stay crisp.
Health Benefits
Brownies are a treat, but you can still find a few upsides. Cocoa contains flavanols, which offer antioxidant properties. Using some brown sugar adds moisture, so you can keep the brownies fudgy without extra frosting.
If you choose dark chocolate chips and limit overly sugary decorations, you’ll keep the sweetness in check. You can also swap part of the flour for almond flour to add a bit of protein and healthy fats, though the texture will be softer.
Common Mistakes to Avoid
- Overbaking: The difference between fudgy and dry is a few minutes. Pull them when the center is slightly soft and a toothpick shows moist crumbs.
- Skipping the whisk: Not beating the eggs and sugar enough can cost you that shiny top.
Give it at least a minute of whisking.
- Using too much flour: Spoon and level your flour. Extra flour makes cakey brownies.
- Overmixing after flour: Stir only until combined. Overmixing develops gluten and toughens the crumb.
- Decorating too early: If the brownies are hot, chocolate melts and sprinkles bleed.
Cool completely first.
Variations You Can Try
- Gluten-free: Use a 1:1 gluten-free all-purpose blend. Let the batter rest 10 minutes to hydrate before baking.
- Pumpkin swirl: Mix 1/3 cup pumpkin puree with 2 tablespoons brown sugar, 1/2 teaspoon pumpkin spice, and 1 tablespoon cream cheese. Dollop and swirl into the batter before baking for a seasonal twist.
- Salted caramel: Swirl 1/4 cup thick caramel into the top of the batter, then finish with a pinch of flaky salt after baking.
- Cookies-and-cream graveyard: Press crushed chocolate sandwich cookies on top after baking, add candy eyes, and tuck in mini cookie “headstones.”
- Mocha kick: Double the espresso powder and add a coffee drizzle (powdered sugar + cooled strong coffee) for grown-up flavor.
- Nutty crunch: Fold in 1/2 cup toasted walnuts or pecans for texture that balances the sweetness of Halloween candy.
FAQ
How do I get a shiny, crackly top on brownies?
Whisk the eggs and sugars until slightly thick and glossy, then fold in the rest.
The dissolved sugar forms a thin meringue-like layer that bakes into a shiny crust. Avoid overmixing after adding flour.
Can I use boxed brownie mix and just decorate?
Yes. Bake according to the package and use the decorating ideas here.
For a richer result, add an extra egg yolk or replace the water with milk.
What pan size works best?
An 8-inch square pan yields thicker, fudgier brownies. A 9-inch pan works too but shortens bake time by a few minutes and produces thinner squares.
How do I prevent dry edges and gooey centers?
Check early, rotate the pan once, and test 2 inches from the edge. Pull when crumbs cling to the toothpick, not wet batter.
Cooling in the pan finishes the bake gently.
Can I make these dairy-free?
Use a good plant-based butter and dairy-free chocolate chips. The texture stays fudgy, though the flavor may be slightly different depending on the brand.
Do I have to include espresso powder?
No, it’s optional. It doesn’t make the brownies taste like coffee; it just amplifies chocolate.
Skip it if you prefer.
How far ahead can I bake them?
Up to two days ahead is ideal. Store tightly covered at room temperature and decorate the day you serve for the freshest look.
In Conclusion
Halloween Brownies strike that sweet spot between classic and festive. You get a deep, fudgy chocolate base that stands up to playful toppings, without extra fuss or complicated techniques.
Bake a pan, lay out some candies, and let everyone have fun decorating. It’s an easy, crowd-pleasing way to bring a little spooky spirit to your table.
Printable Recipe Card
Want just the essential recipe details without scrolling through the article? Get our printable recipe card with just the ingredients and instructions.