Caramel Apple Blondies – Soft, Chewy, and Perfectly Spiced
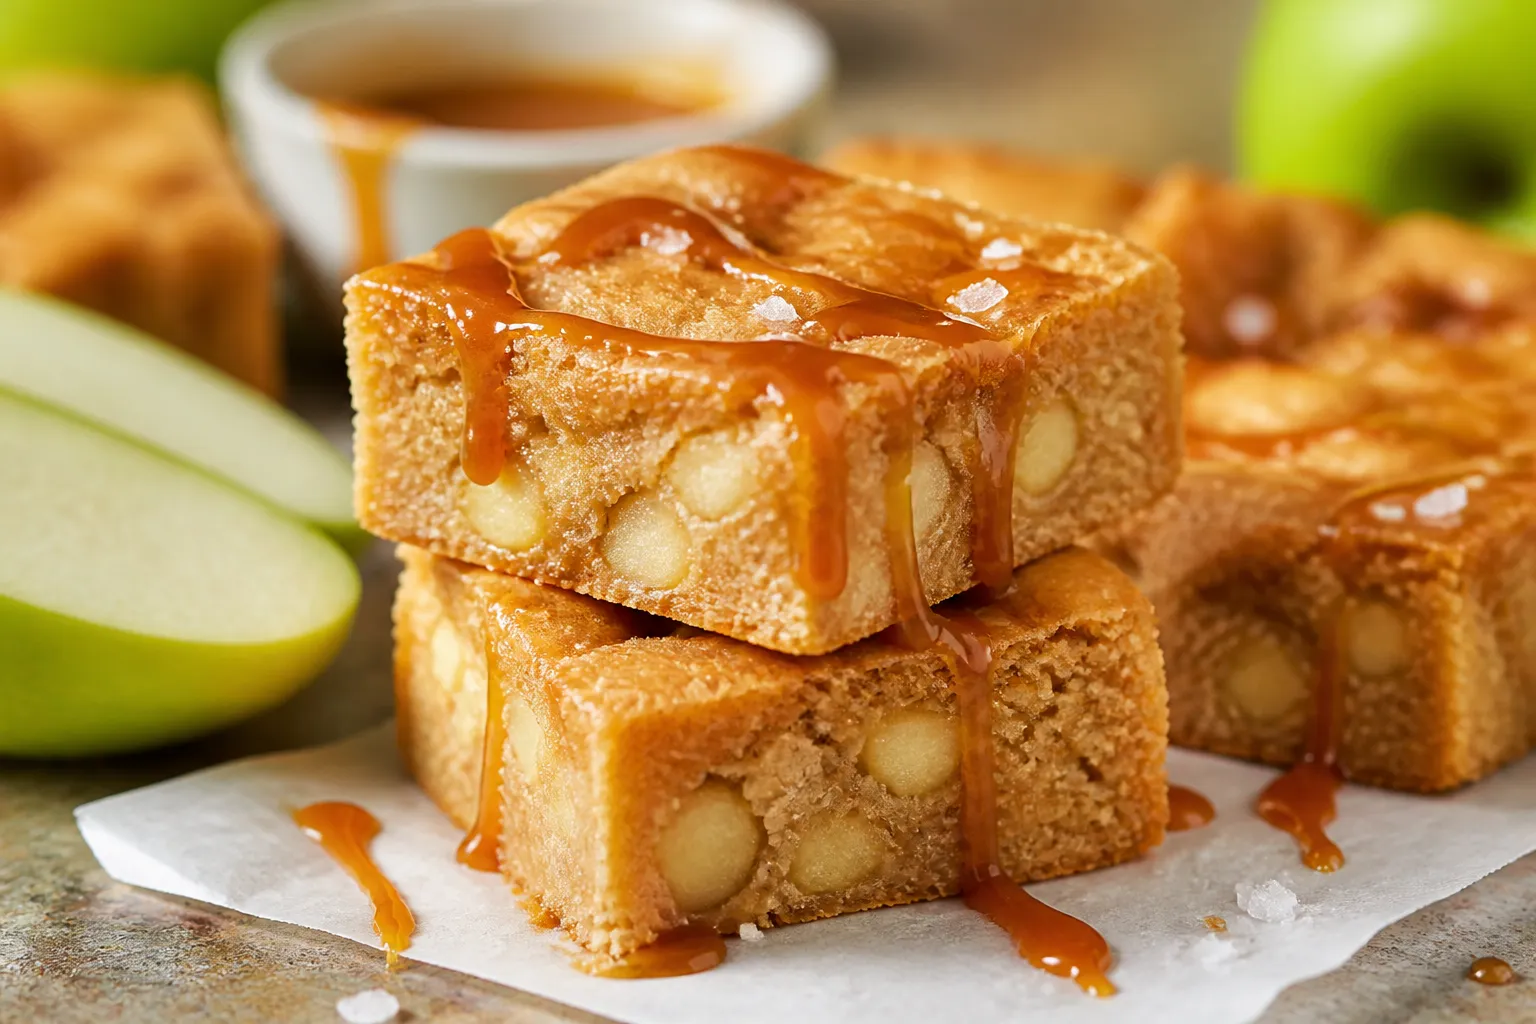
These Caramel Apple Blondies taste like a cozy fall afternoon baked into a pan. They’re soft and chewy, packed with warm cinnamon and brown sugar, and loaded with tender apple pieces. A glossy swirl of caramel on top seals the deal.
5 Irresistible Desserts, Completely Free
Get five easy dessert recipes you’ll want to save, share, and make again and again—delivered straight to your inbox.
They’re simple to make, easy to slice, and perfect for sharing. Whether you’re baking for a gathering or craving a sweet afternoon treat, this recipe hits all the right notes.
Ingredients
Method
- Prep the pan. Heat the oven to 350°F (175°C). Line a 9x13-inch baking pan with parchment, leaving overhang for easy lifting. Grease lightly.
- Melt the butter. In a large bowl, whisk the melted, slightly cooled butter with the brown sugar until glossy and well combined.
- Add eggs and vanilla. Whisk in the eggs, one at a time, until the mixture looks smooth and thick. Stir in the vanilla.
- Mix dry ingredients. In a separate bowl, whisk the flour, baking powder, baking soda, salt, cinnamon, and nutmeg.
- Combine wet and dry. Add the dry ingredients to the wet mixture. Stir with a spatula just until no dry streaks remain. Do not overmix.
- Fold in apples. Gently fold in the chopped apples (and nuts, if using). The batter will be thick—this is right.
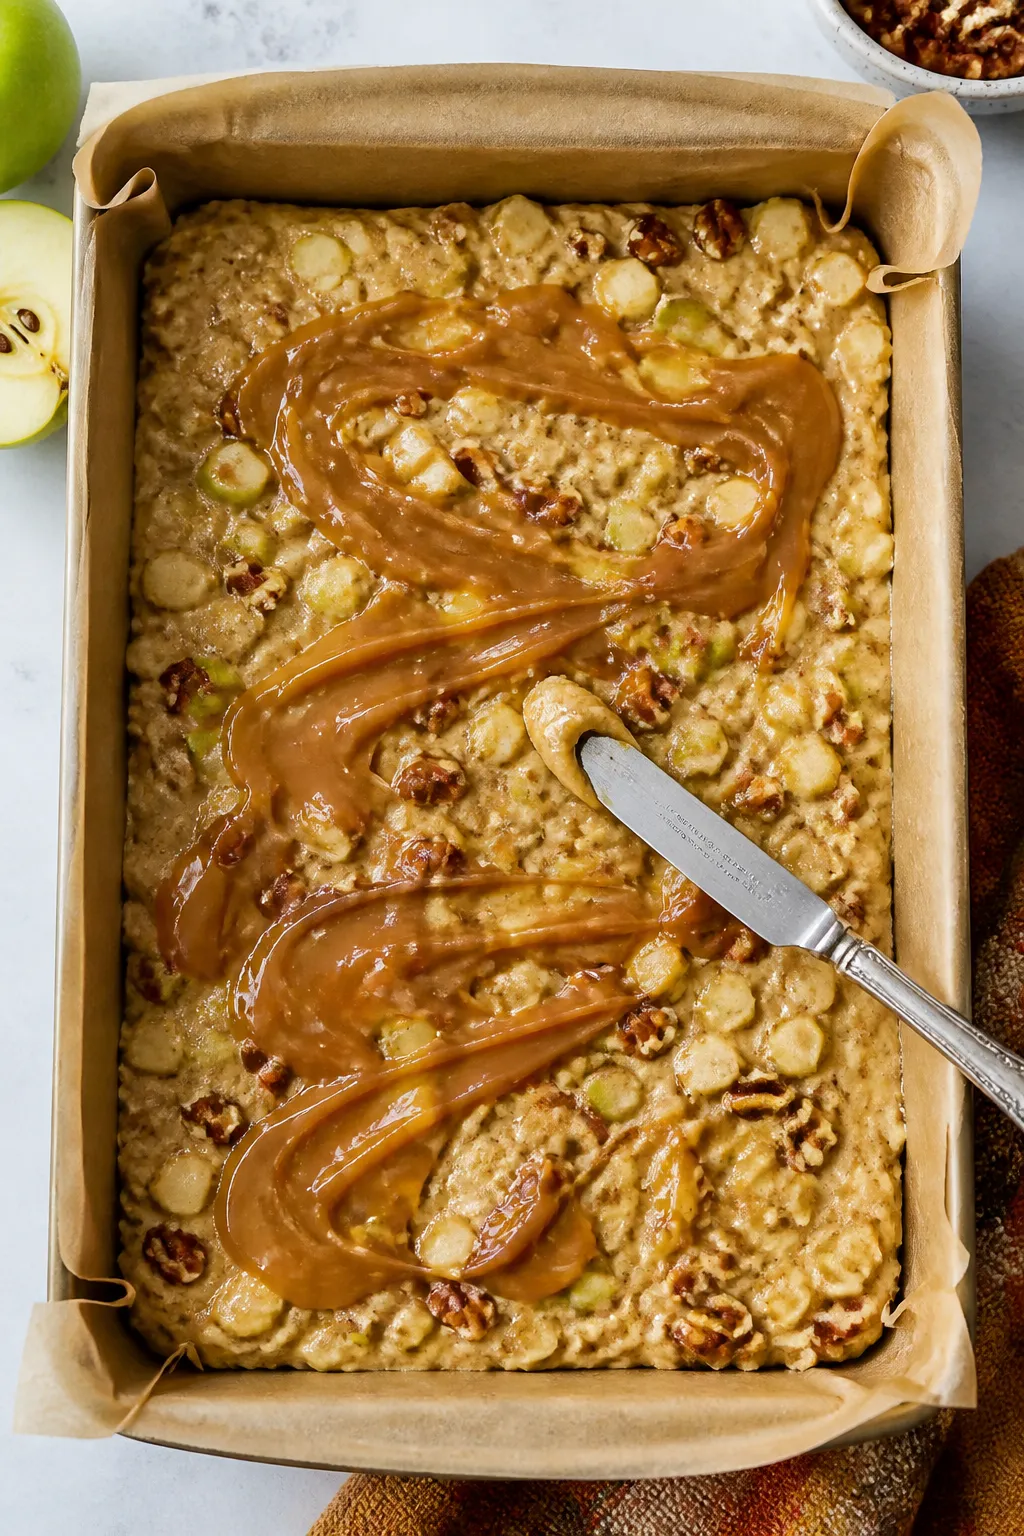
- Spread and swirl. Scrape the batter into the pan and smooth the top. Warm the caramel slightly if it’s very thick. Dollop spoonfuls over the surface and swirl lightly with a knife. Do not over-swirl—you want ribbons, not complete coverage.
- Bake. Bake for 25–30 minutes, until the edges are set and golden and the center springs back lightly. A toothpick inserted into the center should come out with a few moist crumbs, not wet batter.
- Cool and slice. Let the blondies cool in the pan for at least 30–45 minutes. Lift out using the parchment and cut into bars. For clean slices, chill for 20 minutes before cutting.
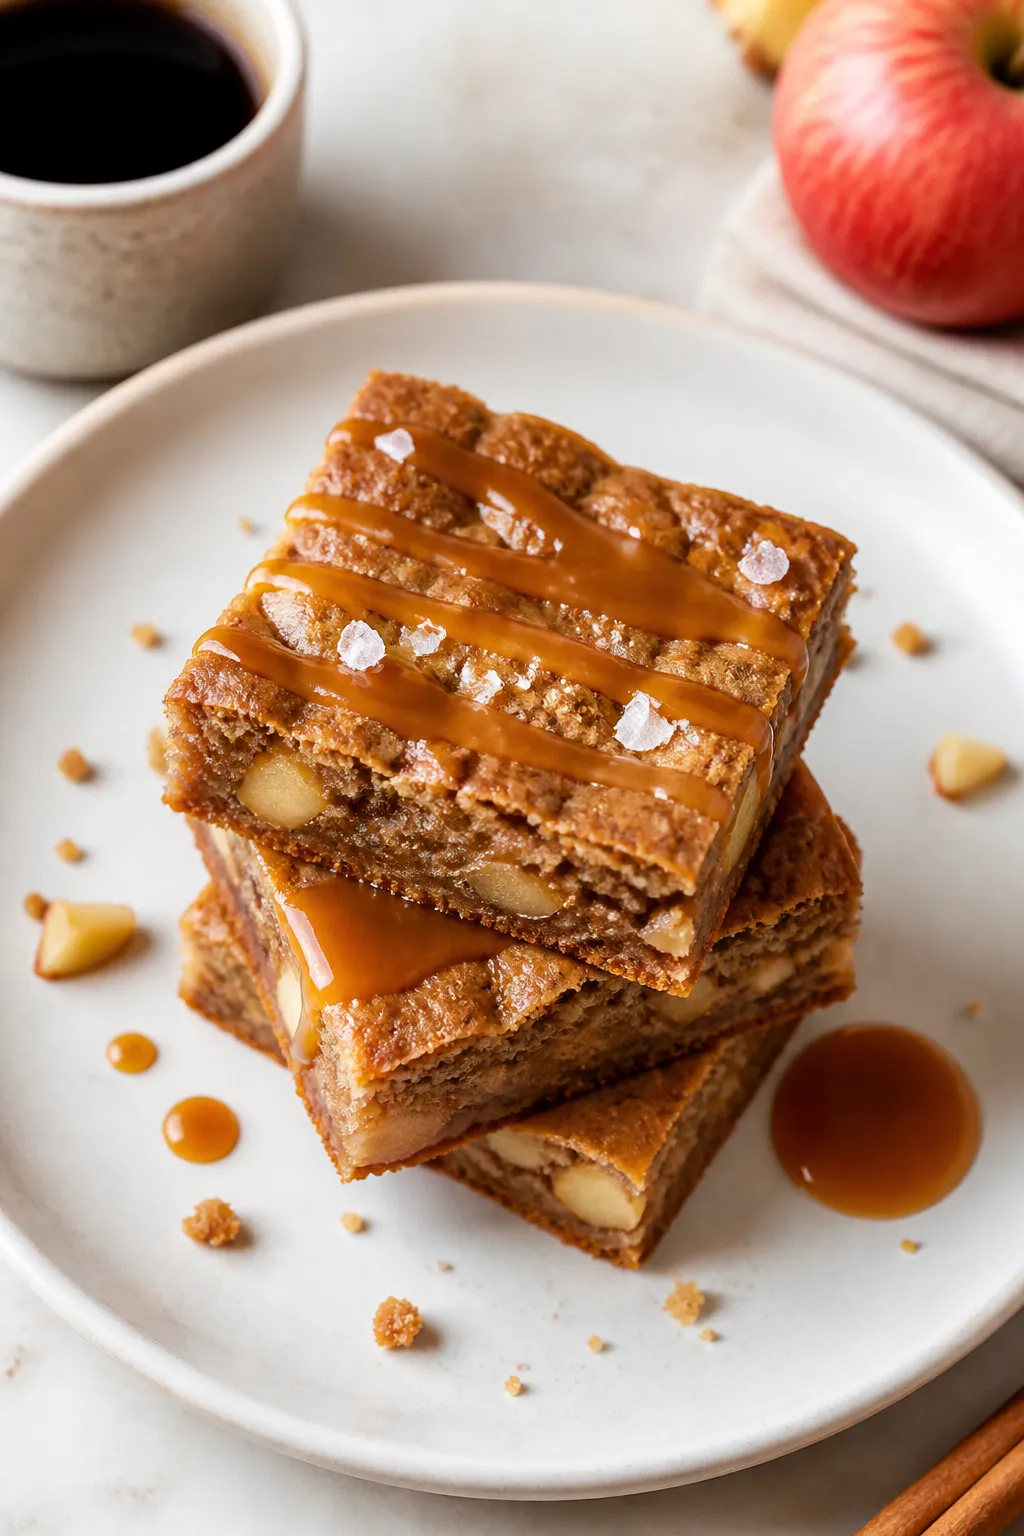
- Finish (optional). Drizzle with a little extra caramel and a pinch of flaky sea salt before serving.
Why This Recipe Works
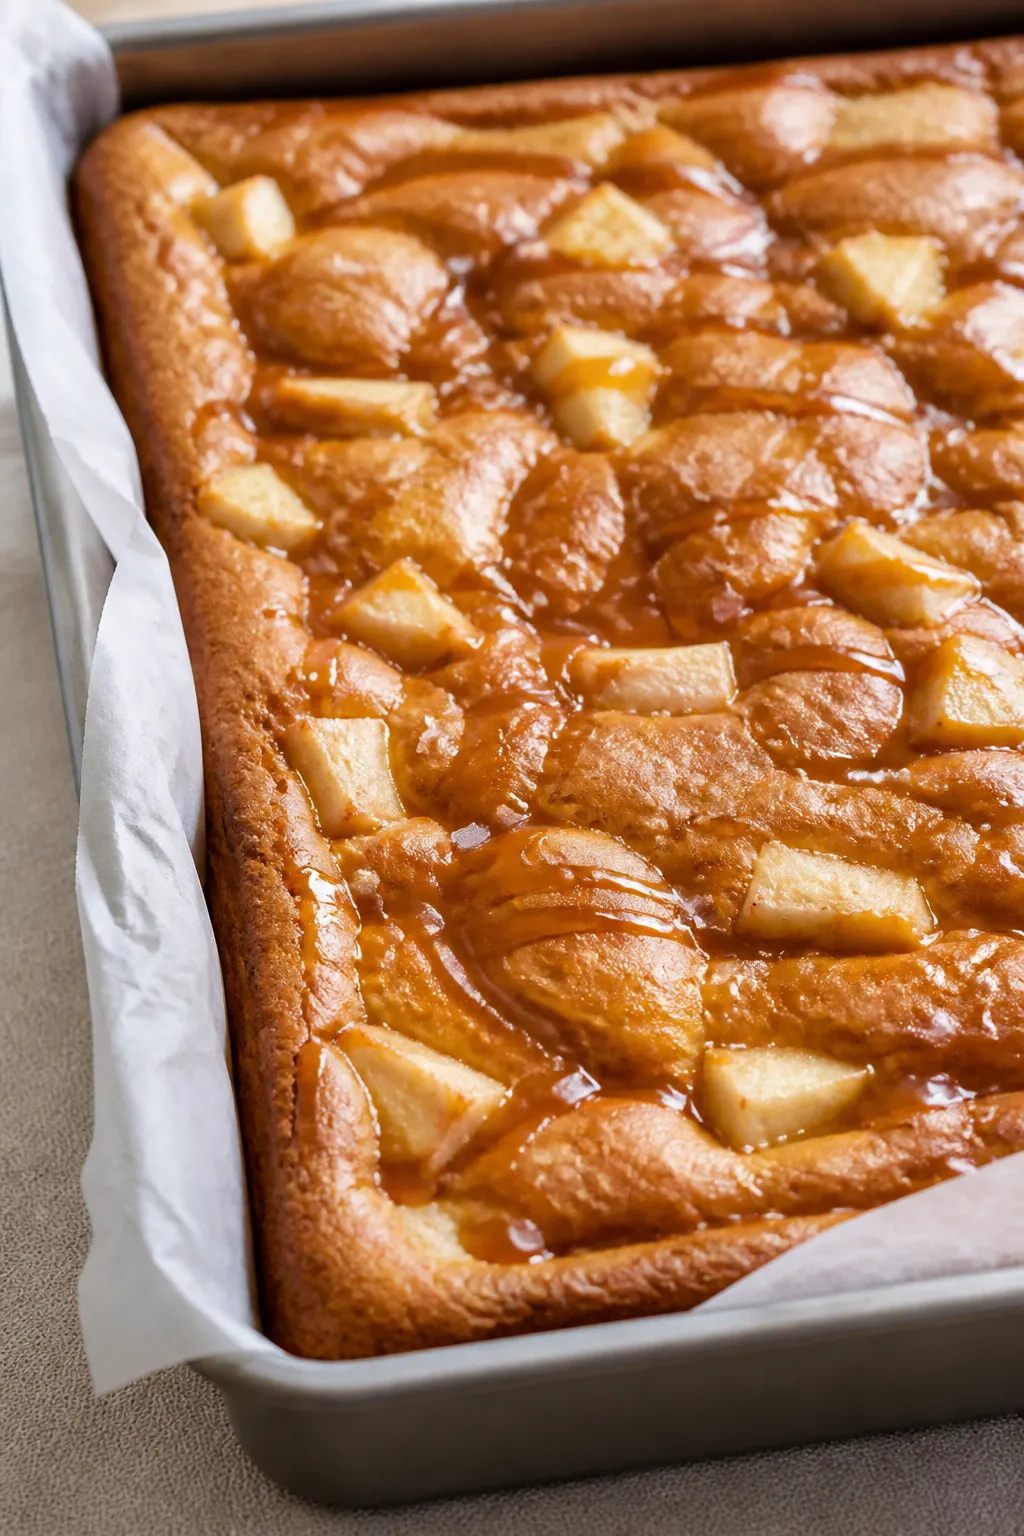
Blondies rely on butter and brown sugar for a chewy texture and rich, caramel-like flavor. Adding chopped apples brings moisture and gentle tartness, which balances the sweetness.
A touch of cinnamon and nutmeg makes the flavor warm and familiar. Swirling in caramel before baking creates pockets of gooey sweetness without turning the bars overly sticky. The result is a sturdy, sliceable blondie that stays soft for days.
What You’ll Need
- 1 cup (2 sticks) unsalted butter, melted and slightly cooled
- 1 1/2 cups light brown sugar, packed
- 2 large eggs, room temperature
- 2 teaspoons vanilla extract
- 2 cups all-purpose flour
- 1 teaspoon baking powder
- 1/2 teaspoon baking soda
- 1/2 teaspoon fine salt
- 1 1/2 teaspoons ground cinnamon
- 1/4 teaspoon ground nutmeg (optional, but recommended)
- 1 1/2 cups peeled, chopped apples (about 2 medium; Honeycrisp, Fuji, or Granny Smith)
- 1/2 cup thick caramel sauce (store-bought or homemade)
- Optional add-ins: 1/2 cup chopped toasted pecans or walnuts
- For the pan: Nonstick spray or butter, plus parchment paper
Instructions
- Prep the pan. Heat the oven to 350°F (175°C).
Line a 9×13-inch baking pan with parchment, leaving overhang for easy lifting. Grease lightly.
- Melt the butter. In a large bowl, whisk the melted, slightly cooled butter with the brown sugar until glossy and well combined.
- Add eggs and vanilla. Whisk in the eggs, one at a time, until the mixture looks smooth and thick. Stir in the vanilla.
- Mix dry ingredients. In a separate bowl, whisk the flour, baking powder, baking soda, salt, cinnamon, and nutmeg.
- Combine wet and dry. Add the dry ingredients to the wet mixture.
Stir with a spatula just until no dry streaks remain. Do not overmix.
- Fold in apples. Gently fold in the chopped apples (and nuts, if using). The batter will be thick—this is right.
- Spread and swirl. Scrape the batter into the pan and smooth the top.
Warm the caramel slightly if it’s very thick. Dollop spoonfuls over the surface and swirl lightly with a knife. Do not over-swirl—you want ribbons, not complete coverage.
- Bake. Bake for 25–30 minutes, until the edges are set and golden and the center springs back lightly. A toothpick inserted into the center should come out with a few moist crumbs, not wet batter.
- Cool and slice. Let the blondies cool in the pan for at least 30–45 minutes.
Lift out using the parchment and cut into bars. For clean slices, chill for 20 minutes before cutting.
- Finish (optional). Drizzle with a little extra caramel and a pinch of flaky sea salt before serving.
How to Store
- Room temperature: Keep in an airtight container for 2–3 days. Place parchment between layers to avoid sticking.
- Refrigerator: Store for up to 5 days.
The chill helps the caramel set and keeps the bars chewy.
- Freezer: Wrap individual bars tightly and freeze up to 2 months. Thaw at room temperature or warm in the microwave for 10–15 seconds.
Benefits of This Recipe
- Big flavor, easy method: No mixer needed and pantry-friendly ingredients.
- Moist and chewy: Apples add natural moisture while brown sugar creates that classic blondie chew.
- Flexible: Works with different apple varieties and optional nuts. You can adjust spices to taste.
- Shareable: Bakes in one pan and slices cleanly for parties, bake sales, or lunchbox treats.
- Make-ahead friendly: Stays soft for days and freezes well.
Common Mistakes to Avoid
- Overmixing the batter: This can make blondies tough.
Stir just until combined.
- Cutting apples too large: Big chunks can cause uneven baking. Aim for small, even dice (about 1/2-inch).
- Using runny caramel: Thin sauces can disappear into the batter. Use a thick sauce for visible ribbons.
- Overbaking: The bars should be set with a slight softness in the center.
Dry edges mean you went too far.
- Skipping the cool time: Warm bars are fragile and messy to slice. Let them set for clean cuts.
Alternatives
- Apple swap: Try pears for a softer, floral twist. Drain excess juice if very ripe.
- Flavor switch: Add 1/2 teaspoon almond extract or swap cinnamon for apple pie spice.
- Mix-ins: White chocolate chips, butterscotch chips, or toasted pecans add texture and sweetness.
- Gluten-free: Use a 1:1 gluten-free baking flour with xanthan gum.
Texture will be slightly more delicate.
- Dairy-free: Replace butter with a plant-based baking butter and use dairy-free caramel.
- Small batch: Halve the recipe and bake in an 8×8-inch pan for 22–27 minutes.
FAQ
What are the best apples for blondies?
Choose firm apples that hold their shape, like Honeycrisp, Fuji, or Granny Smith. Granny Smith adds a nice tart bite, while Honeycrisp and Fuji are sweeter and juicy. Avoid overly soft varieties that can turn mushy.
Can I use salted butter?
Your Next Favorite Dessert Is Inside
SEND ME THE FREE DESSERTS
Yes, but reduce the added salt to a pinch.
Salted butter can enhance the caramel flavor nicely without making the bars taste salty.
Do I need to peel the apples?
Peeling gives a smoother texture. You can keep the peel on for extra color and fiber, but dice the apples small so the peel isn’t chewy.
How do I know when the blondies are done?
Look for golden edges and a center that’s set but still soft. A toothpick should come out with a few moist crumbs.
If it’s wet, give it a few more minutes; if it’s bone dry, you’ve gone too far.
Can I add caramel after baking?
Absolutely. Drizzle warm caramel over cooled bars for a cleaner look. For deeper caramel pockets, swirl it in before baking as directed.
Why did my blondies sink in the middle?
They were likely underbaked or had too much liquid from the apples.
Make sure apples are chopped small and measured accurately, and bake until the center is set.
Can I double the spices?
Yes. If you love spice-forward desserts, increase cinnamon to 2 teaspoons and nutmeg to 1/2 teaspoon. Taste the dry mix first to ensure it suits your preference.
How can I make these less sweet?
Reduce brown sugar to 1 1/4 cups and use a tart apple like Granny Smith.
Skip the caramel drizzle on top, or use a light hand when swirling.
What’s the best way to reheat?
Warm individual slices in the microwave for 10–15 seconds. They’ll taste freshly baked, and the caramel will soften nicely.
Can I bake this in a smaller pan for thicker bars?
Yes, use a 9×9-inch pan and add 5–10 minutes to the bake time. Check often so you don’t overbake the edges.
Final Thoughts
These Caramel Apple Blondies are all about simple comfort.
They’re easy to mix, loaded with cozy flavor, and just special enough for guests. Bake a pan on a lazy weekend, share a few, and stash the rest for the week. With their chewy crumb, tender apples, and glossy caramel swirl, they’re the kind of treat that disappears fast—and gets requested even faster.
Printable Recipe Card
Want just the essential recipe details without scrolling through the article? Get our printable recipe card with just the ingredients and instructions.
Save Room for Something Sweet
Before you go, grab five irresistible dessert recipes that are simple to follow, satisfying to make and perfect for sharing.