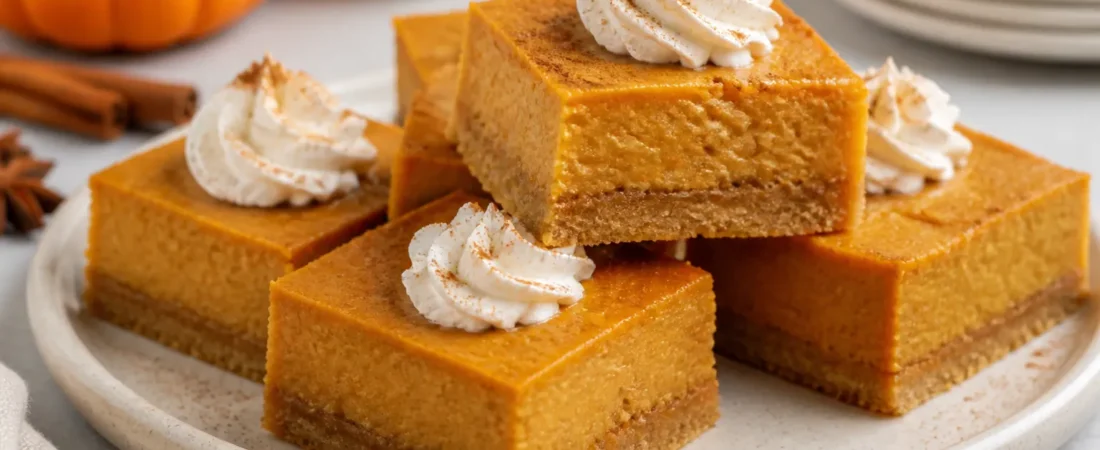
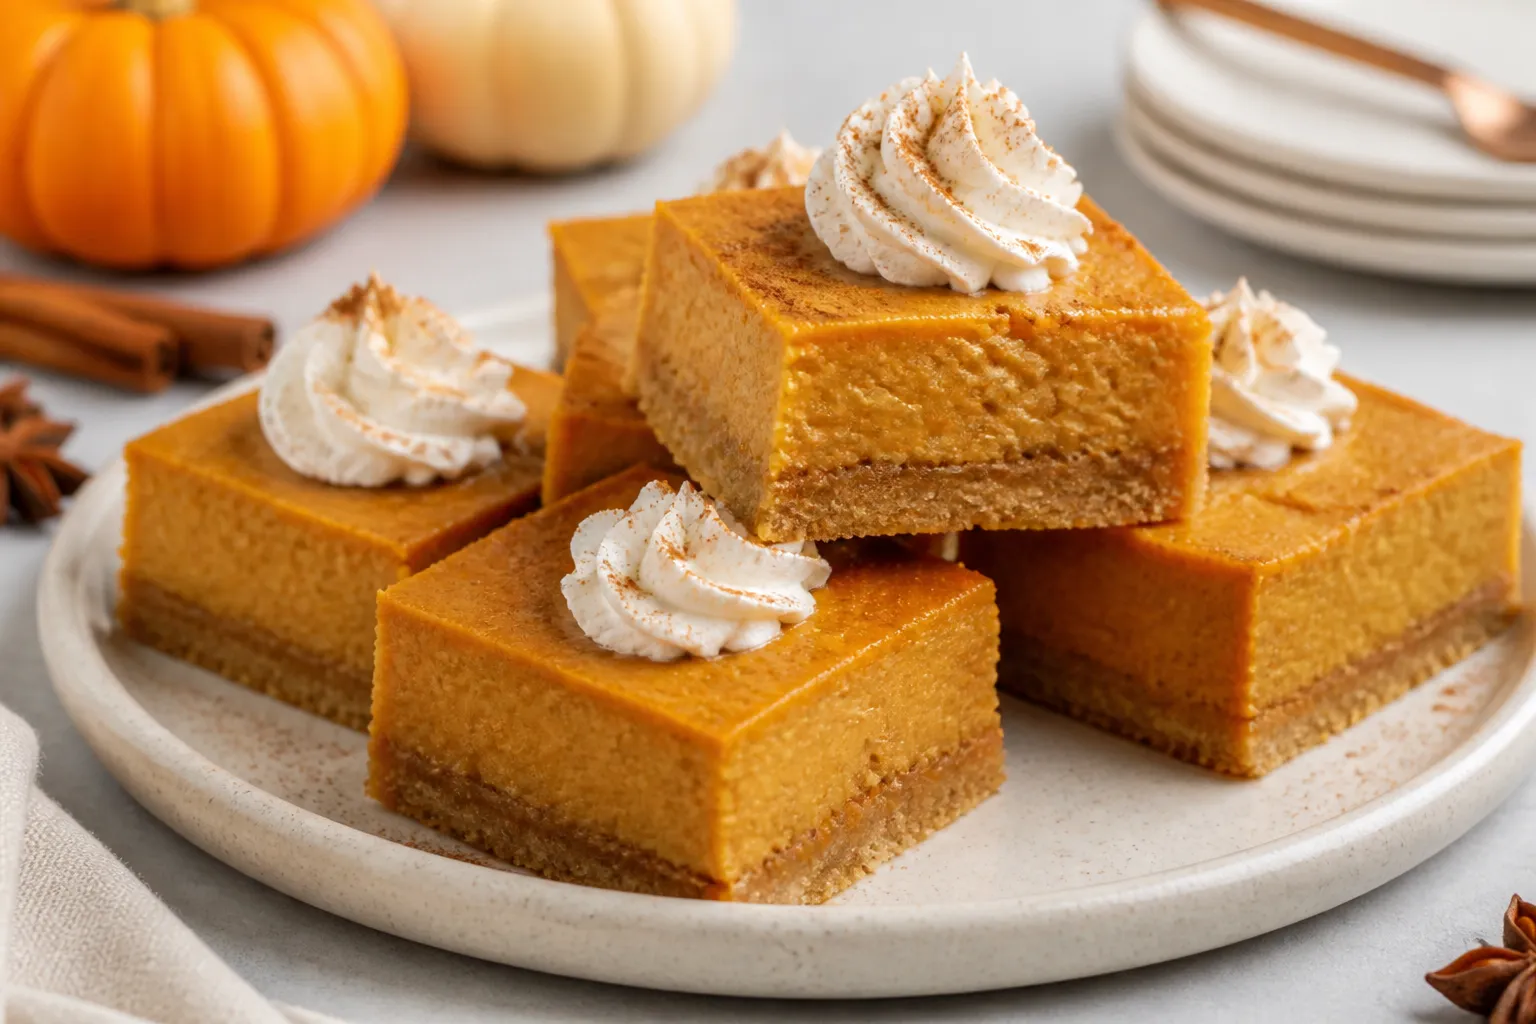
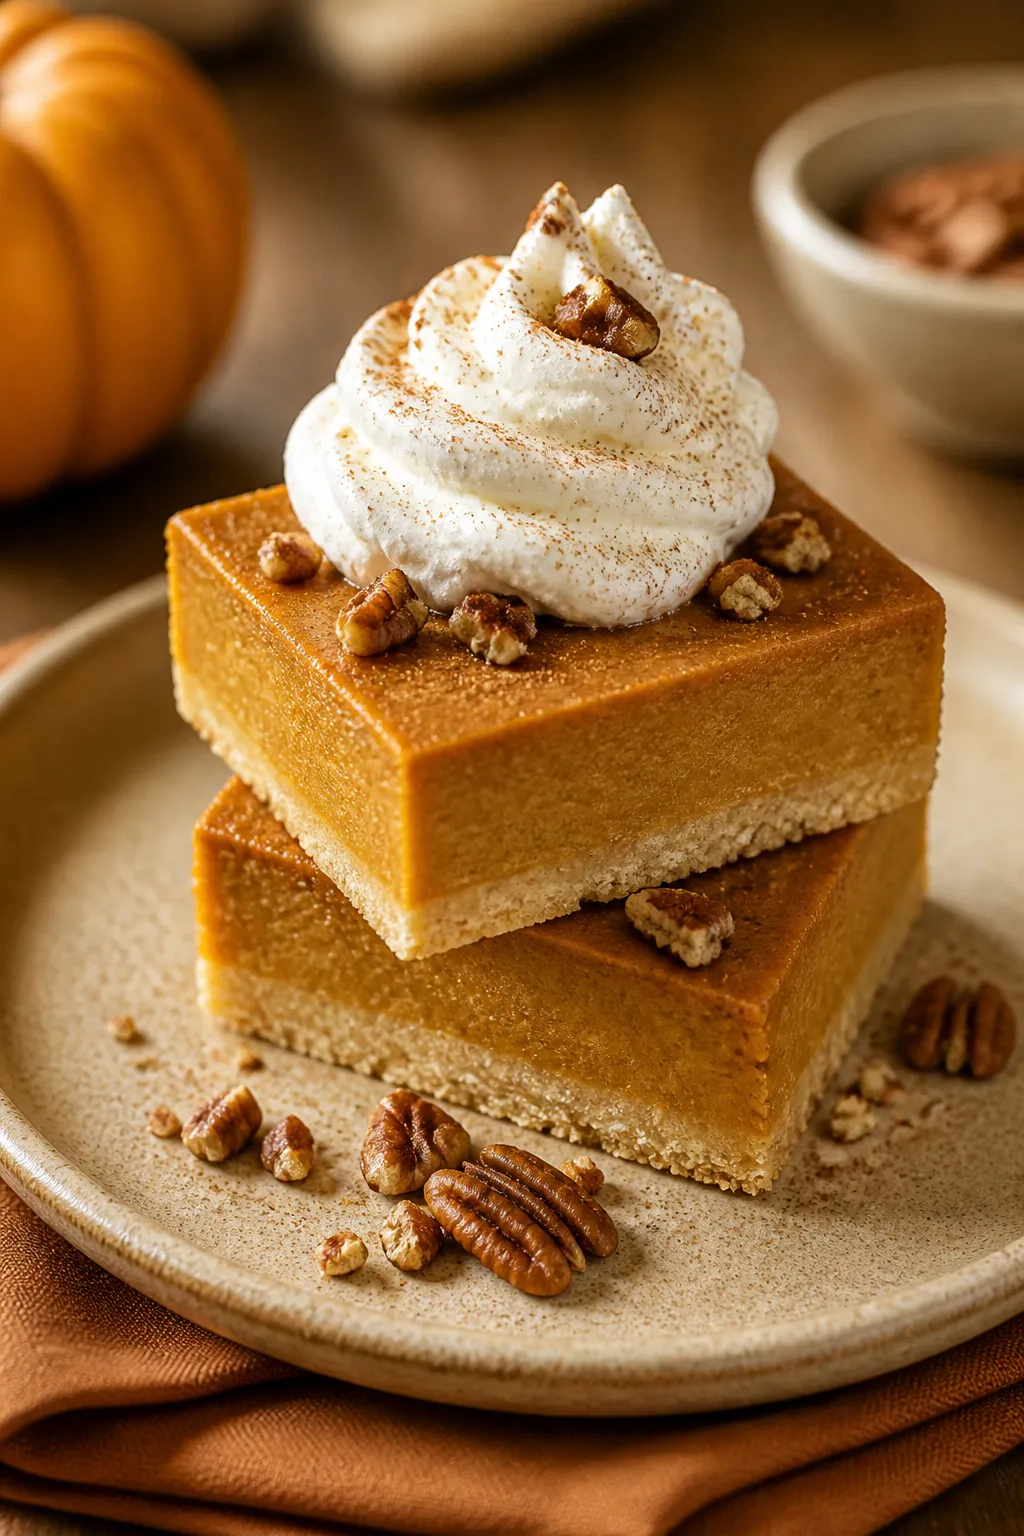
Pumpkin Pie Bars taste like your favorite holiday pie but come together with less fuss. They’re easy to slice, simple to share, and perfect for potlucks or a weeknight craving. The creamy pumpkin filling sits on a buttery crust, and the spices make the whole kitchen smell like fall.
If traditional pie feels like a project, these bars deliver that same comfort with a more relaxed vibe. They’re reliable, delicious, and surprisingly simple to make.
Ingredients
Method
- Prep the pan and oven: Heat the oven to 350°F (175°C). Line a 9×13-inch baking pan with parchment paper, leaving overhang for easy lifting. Lightly grease the sides.
- Make the crust: In a bowl, whisk flour, powdered sugar, and salt. Stir in melted butter and vanilla until the dough resembles damp sand and clumps when pressed.
- Press and par-bake: Press the crust mixture firmly and evenly into the pan. Use the bottom of a measuring cup to level it out. Bake for 15 minutes until set and just starting to color.
- Mix the filling: In a large bowl, whisk pumpkin purée, brown sugar, and granulated sugar until smooth. Whisk in eggs, then evaporated milk, spices, salt, and vanilla. The batter should be silky and pourable.
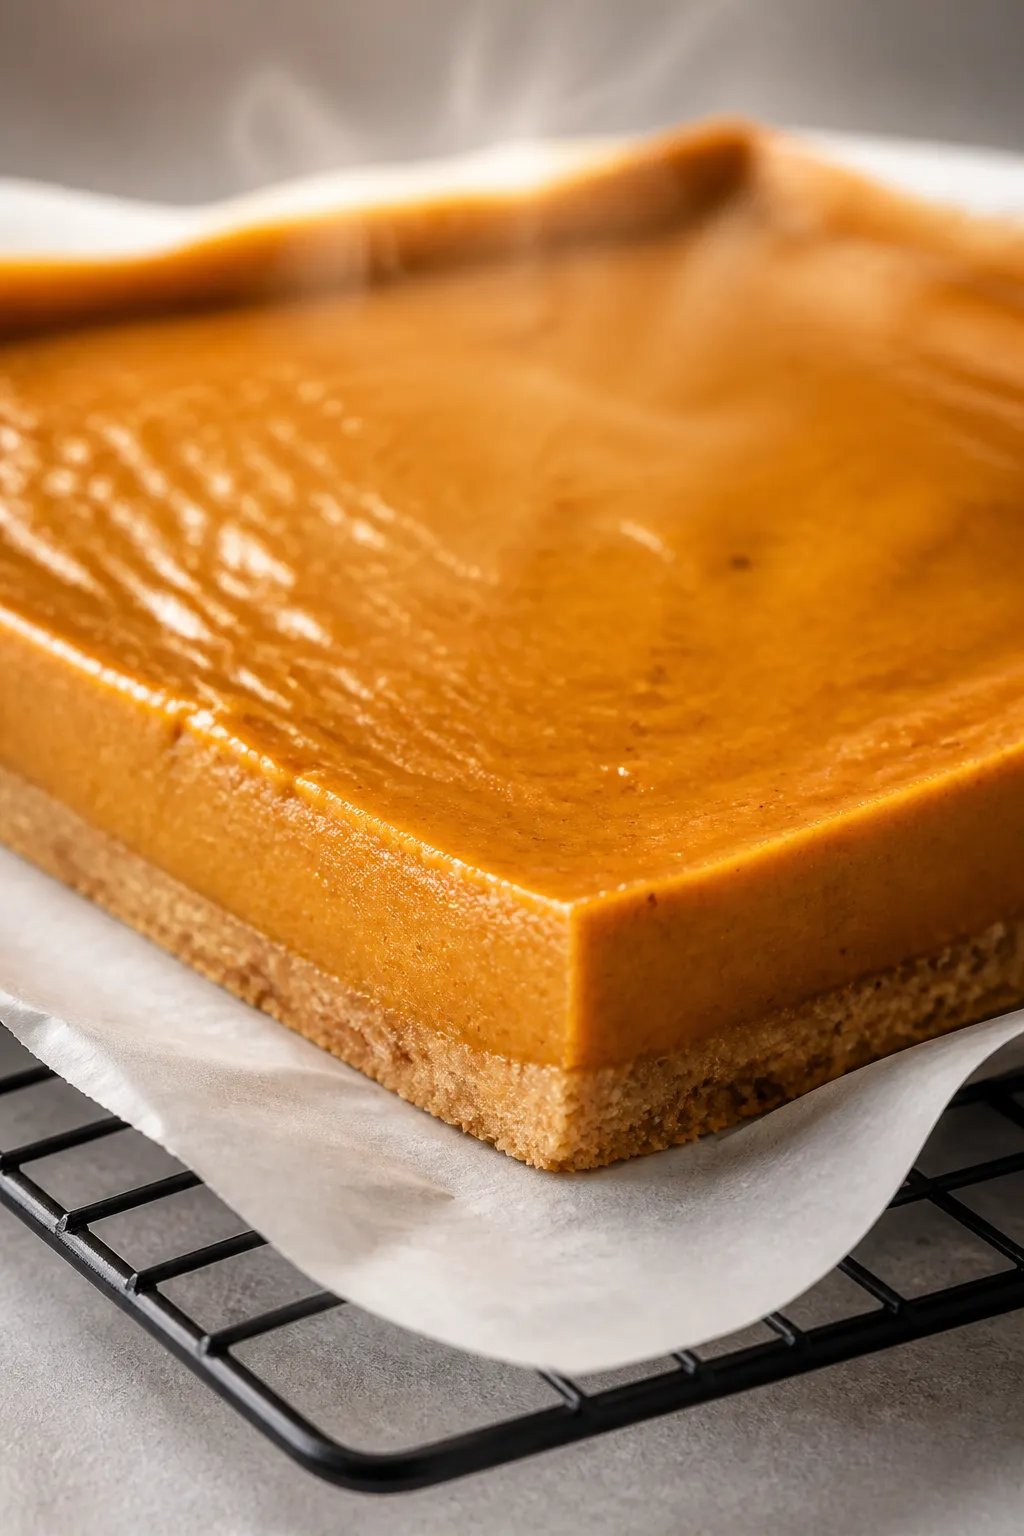
- Pour and bake: Carefully pour the filling over the warm crust. Tap the pan gently to pop any air bubbles. Bake 30–40 minutes, until the center is set but still has a slight wobble when you jiggle the pan.
- Cool completely: Place the pan on a wire rack and let the bars cool to room temperature. Then refrigerate for at least 2 hours to fully set.
- Slice and serve: Use the parchment overhang to lift the slab out. Cut into 16–24 squares. Top with whipped cream and a pinch of cinnamon if you like.
What Makes This Recipe So Good
- All the pumpkin pie flavor, less work: No rolling pin, no pie dish. Just press the crust into a baking pan and pour in the filling.
- Great for sharing: Neat squares make serving easy, whether it’s a party tray or lunchbox treat.
- Perfect texture: Buttery, slightly crisp crust under a silky, custardy pumpkin layer.
- Make-ahead friendly: They set up beautifully in the fridge and taste even better the next day.
- Customizable: Use gluten-free flour, swap sugars, or add a crumble topping without changing the spirit of the recipe.
Ingredients
- For the crust:
- 1 1/2 cups all-purpose flour
- 1/2 cup powdered sugar
- 1/2 teaspoon fine sea salt
- 3/4 cup unsalted butter, melted and slightly cooled
- 1 teaspoon vanilla extract
- For the pumpkin filling:
- 1 (15-ounce) can pumpkin purée (not pumpkin pie filling)
- 3/4 cup brown sugar, packed
- 1/4 cup granulated sugar
- 2 large eggs
- 1 cup evaporated milk (or half-and-half)
- 1 1/2 teaspoons ground cinnamon
- 1/2 teaspoon ground ginger
- 1/4 teaspoon ground nutmeg
- 1/8 teaspoon ground cloves (optional)
- 1/2 teaspoon fine sea salt
- 1 teaspoon vanilla extract
- Optional toppings:
- Whipped cream or whipped topping
- A dash of cinnamon or nutmeg
Step-by-Step Instructions
- Prep the pan and oven: Heat the oven to 350°F (175°C).
Line a 9×13-inch baking pan with parchment paper, leaving overhang for easy lifting. Lightly grease the sides.
- Make the crust: In a bowl, whisk flour, powdered sugar, and salt. Stir in melted butter and vanilla until the dough resembles damp sand and clumps when pressed.
- Press and par-bake: Press the crust mixture firmly and evenly into the pan.
Use the bottom of a measuring cup to level it out. Bake for 15 minutes until set and just starting to color.
- Mix the filling: In a large bowl, whisk pumpkin purée, brown sugar, and granulated sugar until smooth. Whisk in eggs, then evaporated milk, spices, salt, and vanilla.
The batter should be silky and pourable.
- Pour and bake: Carefully pour the filling over the warm crust. Tap the pan gently to pop any air bubbles. Bake 30–40 minutes, until the center is set but still has a slight wobble when you jiggle the pan.
- Cool completely: Place the pan on a wire rack and let the bars cool to room temperature.
Then refrigerate for at least 2 hours to fully set.
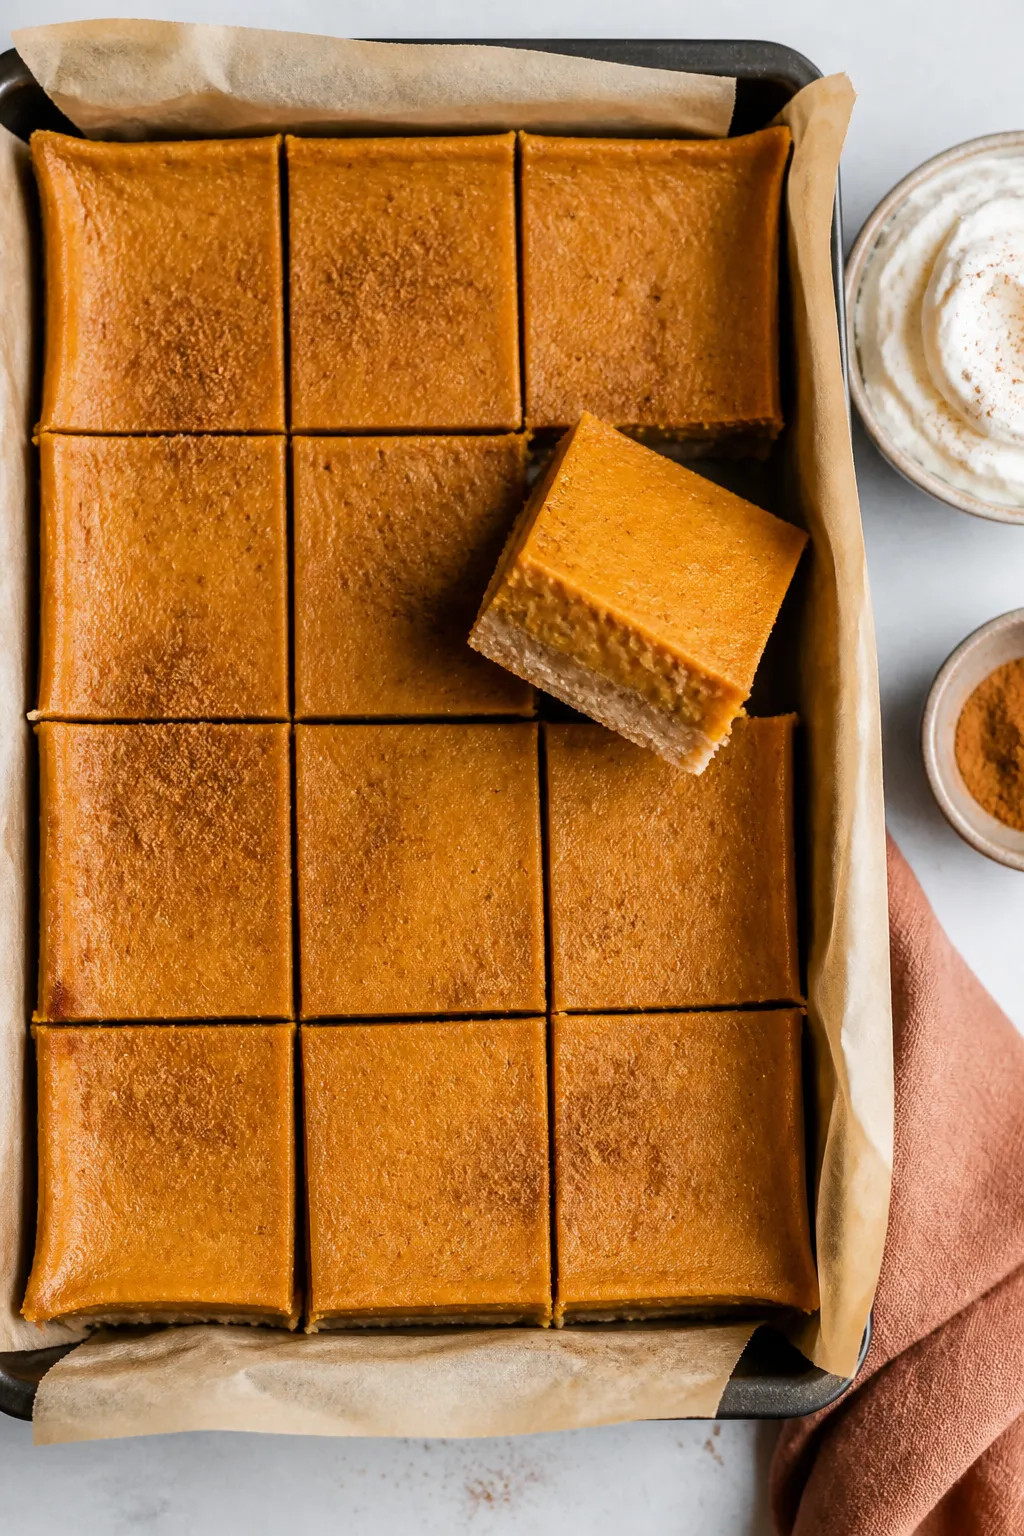
- Slice and serve: Use the parchment overhang to lift the slab out. Cut into 16–24 squares. Top with whipped cream and a pinch of cinnamon if you like.
Storage Instructions
- Refrigerator: Store bars covered in the fridge for up to 5 days.
Keep toppings separate until serving.
- Freezer: Freeze cut bars on a sheet pan until firm, then wrap individually and place in a freezer bag. Freeze up to 2 months. Thaw overnight in the fridge.
- Serving from cold: They’re delicious chilled, but for a softer texture, let them sit at room temperature for 15–20 minutes before serving.
Health Benefits
- Pumpkin is nutrient-dense: Pumpkin is rich in vitamin A (beta-carotene), which supports eye health and immunity.
- Fiber helps satisfaction: Pumpkin provides dietary fiber that can help you feel full and support digestion.
- Spices bring more than flavor: Cinnamon and ginger contain antioxidants and can add warmth without adding calories.
- Portion control is easy: Bars make it simple to serve smaller squares for a lighter treat.
What Not to Do
- Don’t use pumpkin pie filling: It’s pre-sweetened and spiced, which will throw off the flavor and texture.
- Don’t skip cooling: Cutting too soon leads to messy slices and a soft center that hasn’t set.
- Don’t overbake: A slight jiggle in the center is good.
Overbaking makes the filling dry and cracks the top.
- Don’t forget the parchment: Lining the pan ensures clean removal and neat squares.
- Don’t under-season: Pumpkin needs spice and salt to shine. Taste the filling and adjust the spices if needed before baking.
Recipe Variations
- Gingersnap crust: Swap the flour crust for a crumb crust using 2 cups crushed gingersnap cookies and 6 tablespoons melted butter. Bake 8–10 minutes before adding the filling.
- Streusel topping: Mix 1/2 cup flour, 1/3 cup brown sugar, 1/2 teaspoon cinnamon, and 4 tablespoons cold butter.
Crumble over the filling halfway through baking for a sweet crunch.
- Dairy-free: Use coconut milk or a barista-style almond milk in place of evaporated milk, and dairy-free butter for the crust.
- Gluten-free: Use a 1:1 gluten-free baking flour for the crust, or make a gluten-free cookie crumb crust.
- Maple-kissed: Replace 1/4 cup of the brown sugar with pure maple syrup. Reduce evaporated milk by 2 tablespoons to balance the liquid.
- Pecan crunch: Sprinkle 3/4 cup chopped pecans over the crust before adding the filling for a nutty layer.
- Extra spice: Add a pinch of cardamom or allspice if you like a bolder, bakery-style flavor.
FAQ
Can I use fresh pumpkin instead of canned?
Yes. Roast and purée sugar pie pumpkin or another baking variety, then strain it in a fine-mesh sieve to remove excess moisture.
Aim for the same thick consistency as canned purée for best results.
How do I know when the bars are done?
Look for set edges and a center that still has a slight wobble when you gently shake the pan. A toothpick won’t come out clean like cake; think silky custard, not dry crumb.
What size pan works best?
A standard 9×13-inch pan gives you bars with a sturdy crust and a nicely thick pumpkin layer. For thicker bars, use a 9×9-inch pan and extend the bake time by 10–15 minutes.
Can I make these ahead?
Absolutely.
Bake a day in advance and chill overnight. Slice just before serving, and add whipped cream at the last minute.
Why did my filling crack?
Cracks often come from overbaking or cooling too quickly. Pull the bars when there’s still a slight jiggle, and let them cool gradually at room temperature before refrigerating.
Is evaporated milk the same as sweetened condensed milk?
No.
Evaporated milk is unsweetened and thinner. Sweetened condensed milk is thick and very sweet, and it will make the bars overly sugary and dense.
Can I reduce the sugar?
Yes, you can reduce total sugar by about 2–3 tablespoons without affecting texture much. Keep in mind that sugar helps the custard set and balance the spices.
In Conclusion
Pumpkin Pie Bars bring all the cozy flavors you want from a classic pie, without the extra steps.
The crust is easy, the filling is smooth and fragrant, and the squares slice up clean for any occasion. Make them for a holiday spread or a quiet night in, and stash a few in the fridge for later. It’s a simple, satisfying dessert that never disappoints.
Printable Recipe Card
Want just the essential recipe details without scrolling through the article? Get our printable recipe card with just the ingredients and instructions.