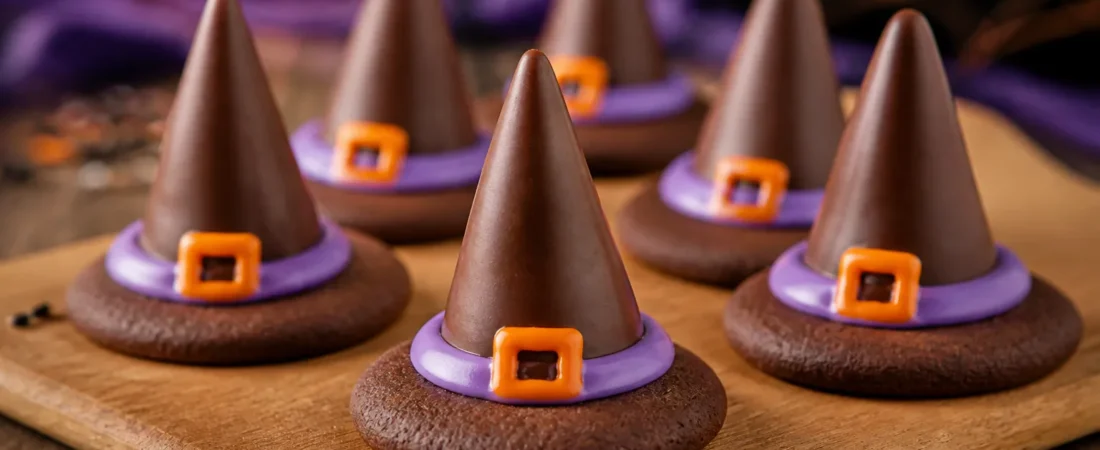
These Witch Hat Cookies look impressive but come together in minutes. They’re playful, colorful, and perfect for Halloween parties, bake sales, or a cozy night in with a movie. Kids can help assemble them, and adults will love how little effort they take.
No special baking skills required—just a few smart shortcuts and a little creativity.
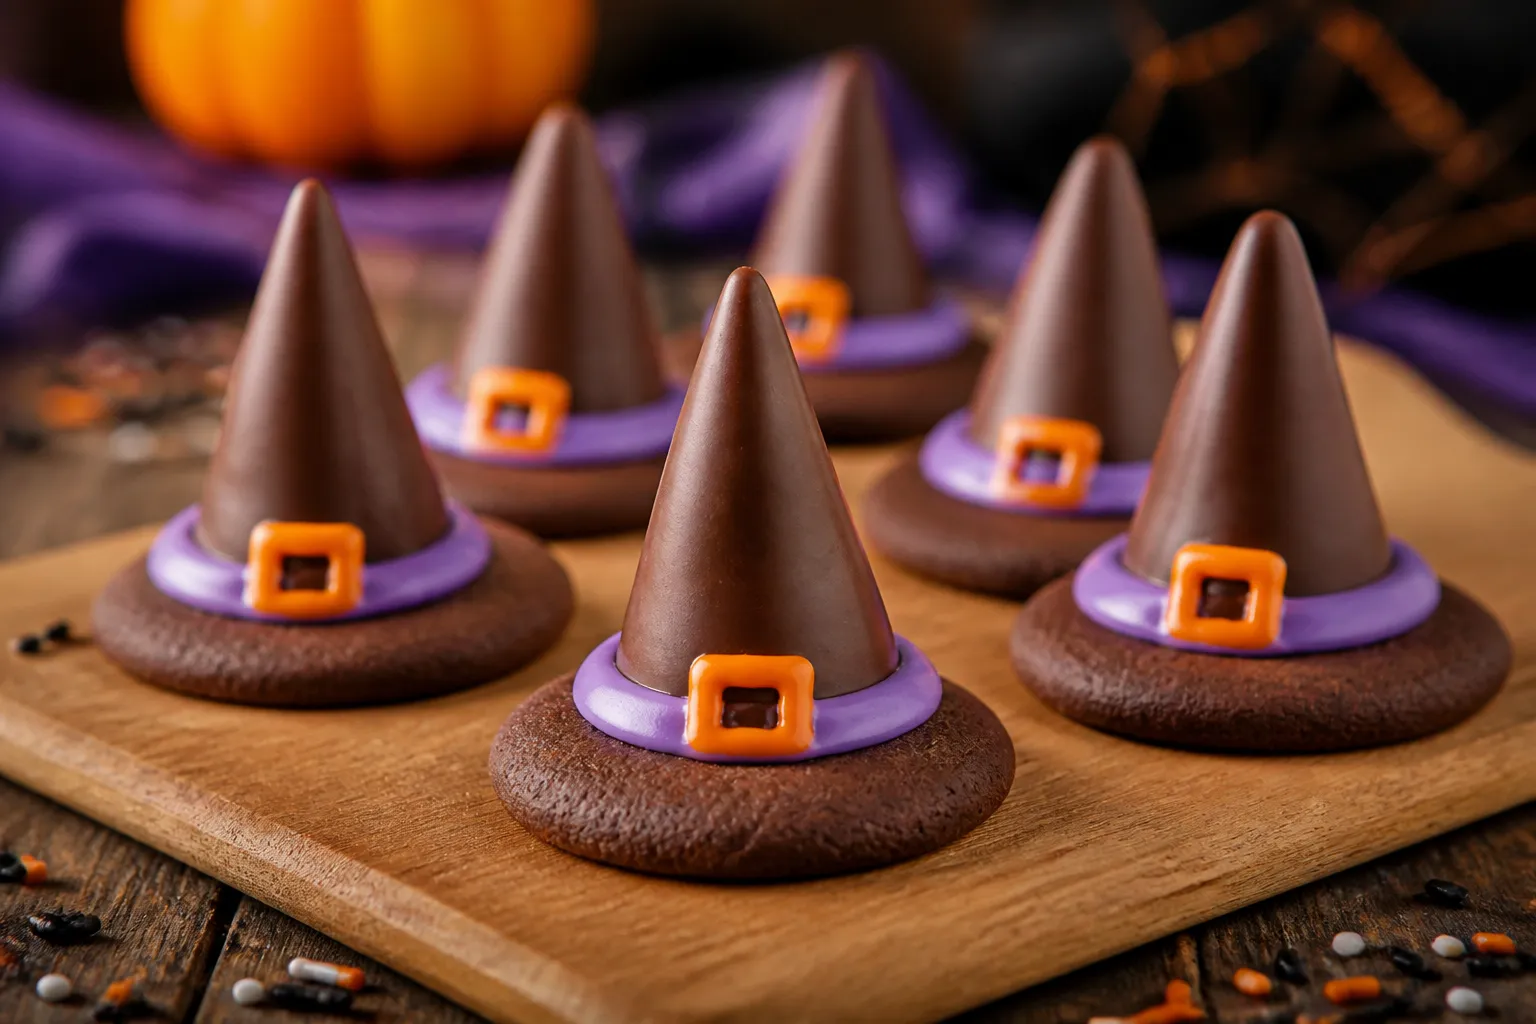
Ingredients
Method
- Prep your station. Line a baking sheet with parchment paper. Unwrap the chocolate kisses and set them in a small bowl. Place your cookies flat side up on the lined tray.
- Melt the chocolate. Add chocolate chips or melting wafers to a microwave-safe bowl. Microwave in 20–30 second bursts, stirring between each round, until smooth. If the chocolate seems thick, stir in 1 teaspoon of oil to loosen.
- Attach the hats. Use a small spoon or piping bag to dab a pea-sized amount of melted chocolate in the center of each cookie. Press a chocolate kiss onto the chocolate. Hold for a few seconds so it sets and stands upright.
- Create the hatband. Once the chocolate base has set slightly (1–2 minutes), pipe a thin ring of colored icing around the base of each chocolate kiss. This becomes the witch hat’s band.
- Add the buckle. While the icing is still soft, press a mini M&M, sprinkle, or candy pearl onto the front of the hatband. This little pop of color makes the design stand out.
- Optional drizzle. For extra flair, drizzle a bit of melted chocolate or white chocolate over the cookie base. Add Halloween sprinkles before the drizzle sets.
- Let them set. Transfer the tray to the fridge for 10–15 minutes, or leave at room temperature for 30–45 minutes, until everything is firm to the touch.
- Plate and serve. Arrange on a platter or tiered stand. If transporting, keep the cookies on parchment to avoid smudging the icing.
What Makes This Special
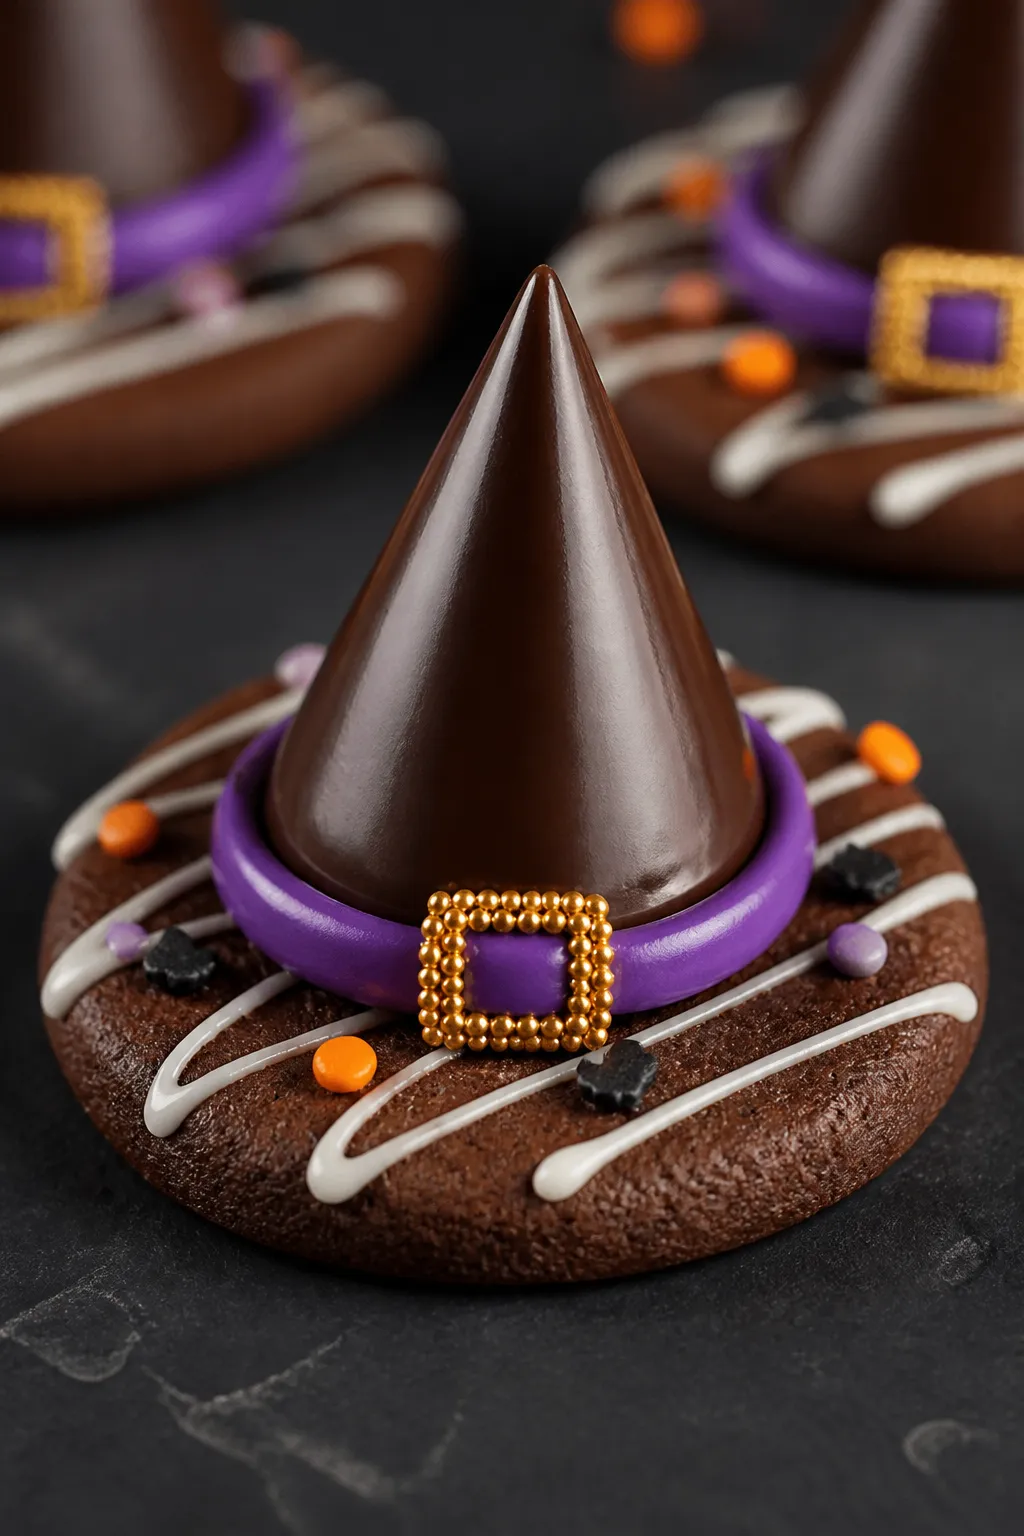
Witch Hat Cookies are all about maximum charm with minimal work. Instead of baking from scratch, you use store-bought cookies and a simple chocolate “glue.” That means no mixers, no chilling dough, and no complicated steps. You get a professional-looking treat with glossy chocolate, bright candy buckles, and a whimsical shape that screams Halloween.
They’re also fully customizable.
Swap frosting colors, use different candies, or add sprinkles and shimmer dust for extra magic. And because they’re easy to transport, they make a fantastic make-ahead party dessert.
Ingredients
- Chocolate wafer cookies or fudge-striped cookies (flat side facing up for assembly)
- Chocolate kisses (unwrapped)
- Semisweet chocolate chips or melting wafers (for “glue” and drizzle)
- Vegetable oil or coconut oil (1–2 teaspoons to thin chocolate, optional)
- Colored decorating icing in a piping tube or small piping bag (orange, purple, green, or black)
- Small candy decorations for the buckle (mini M&M’s, confetti sprinkles, or candy pearls)
- Optional extras: Halloween sprinkles, edible glitter, gold luster dust, white chocolate for contrasting drizzles
Step-by-Step Instructions
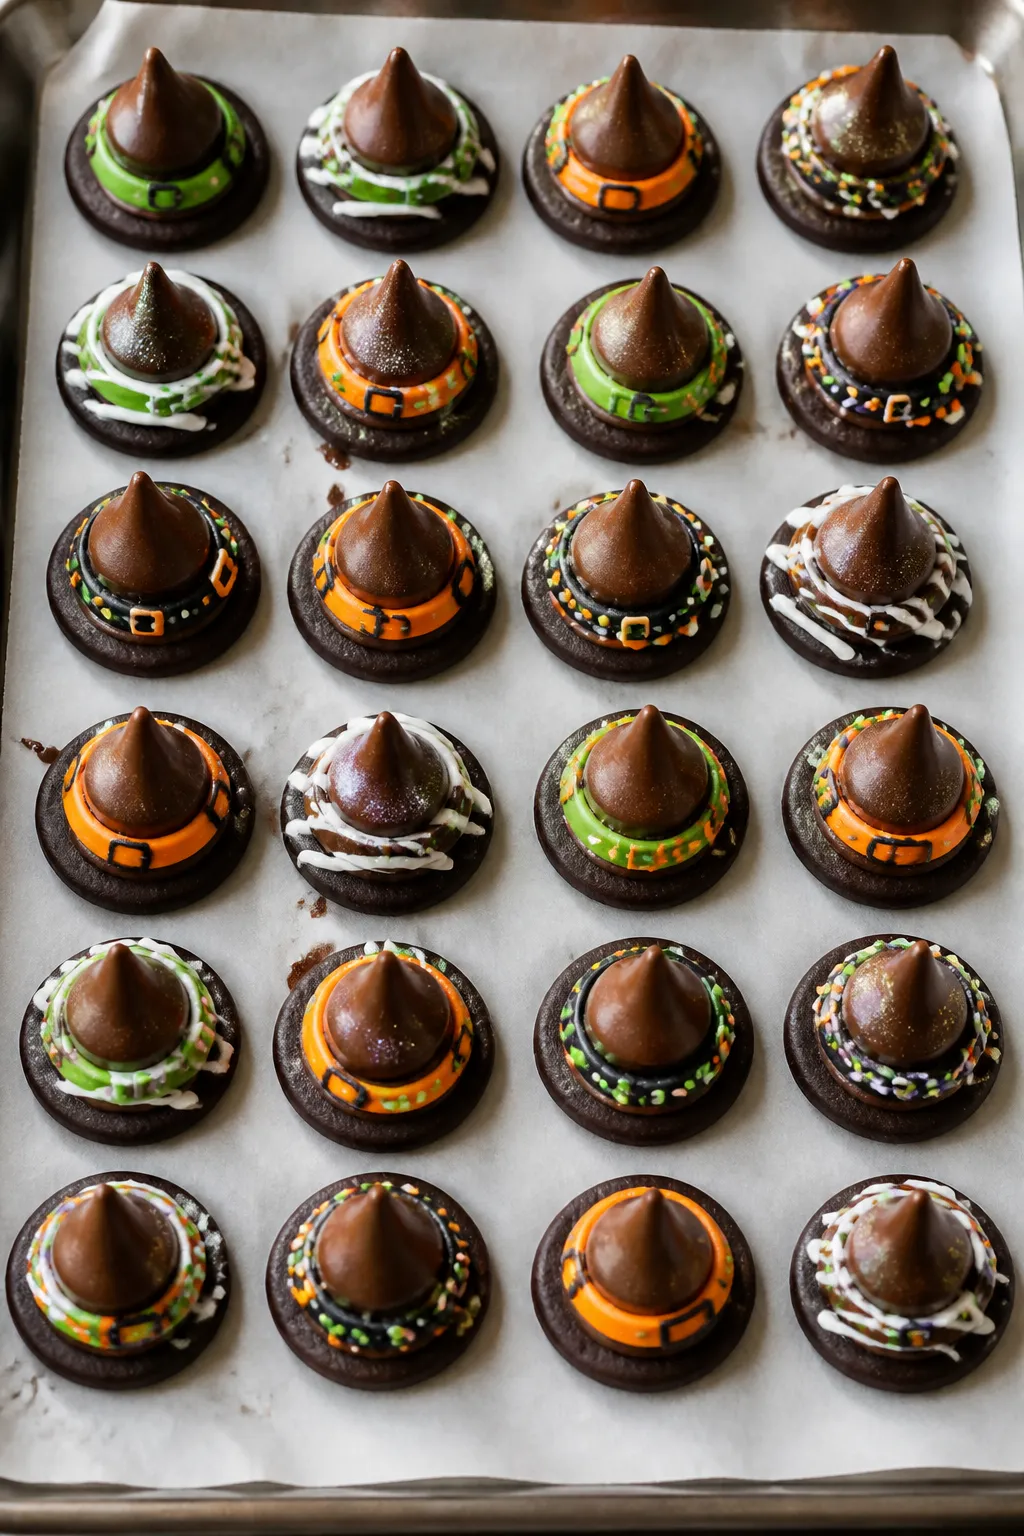
- Prep your station. Line a baking sheet with parchment paper. Unwrap the chocolate kisses and set them in a small bowl.
Place your cookies flat side up on the lined tray.
- Melt the chocolate. Add chocolate chips or melting wafers to a microwave-safe bowl. Microwave in 20–30 second bursts, stirring between each round, until smooth. If the chocolate seems thick, stir in 1 teaspoon of oil to loosen.
- Attach the hats. Use a small spoon or piping bag to dab a pea-sized amount of melted chocolate in the center of each cookie.
Press a chocolate kiss onto the chocolate. Hold for a few seconds so it sets and stands upright.
- Create the hatband. Once the chocolate base has set slightly (1–2 minutes), pipe a thin ring of colored icing around the base of each chocolate kiss. This becomes the witch hat’s band.
- Add the buckle. While the icing is still soft, press a mini M&M, sprinkle, or candy pearl onto the front of the hatband.
This little pop of color makes the design stand out.
- Optional drizzle. For extra flair, drizzle a bit of melted chocolate or white chocolate over the cookie base. Add Halloween sprinkles before the drizzle sets.
- Let them set. Transfer the tray to the fridge for 10–15 minutes, or leave at room temperature for 30–45 minutes, until everything is firm to the touch.
- Plate and serve. Arrange on a platter or tiered stand. If transporting, keep the cookies on parchment to avoid smudging the icing.
Storage Instructions
Store Witch Hat Cookies in an airtight container at room temperature for 3–4 days.
If your home is warm, refrigerate to keep the chocolate from softening. Keep layers separated with parchment to protect the decorations.
To make ahead, assemble and chill until set, then store in a cool, dry place. Avoid direct sunlight and humidity, which can dull the chocolate and cause color bleeding from the icing.

Why This is Good for You
These are treats, not health food, but there are a few upsides.
They’re portion-controlled, so you get a sweet bite without overdoing it. They’re also stress-free, which matters during busy holidays—less time baking means more time with family and friends.
You can make small swaps for a lighter touch: choose dark chocolate kisses, use thin hatbands of icing, or pick a simple wafer cookie over frosted bases. And because the recipe is approachable, it’s a great way to get kids confident and comfortable in the kitchen.
What Not to Do
- Don’t use hot chocolate “glue.” Overheated chocolate gets grainy and won’t hold.
Melt gently and stir often.
- Don’t rush the set time. If you move the cookies before the chocolate is firm, the hats can slide off.
- Don’t overload with icing. Too much icing makes the hatband droop and can loosen the kiss.
- Don’t skip parchment. Chocolate can stick to trays and crack when lifted without a liner.
- Don’t stack too soon. Decorations will smear if you stack them before they’re fully set.
Alternatives
- Cookie base swaps: Use chocolate sandwich cookies (separate and scrape off the filling), mini chocolate grahams, or thin mint-style cookies.
- Hat tip variations: Replace chocolate kisses with peanut butter cups turned upside down, Rolos, or chocolate truffles for a different shape.
- Allergy-friendly: Try dairy-free chocolate and gluten-free wafer cookies. Most big grocery stores carry both.
- Flavor twists: Add a hint of orange or peppermint extract to the melted chocolate. A little goes a long way—1/8 teaspoon is plenty.
- Color play: Make themed batches—purple bands with gold sprinkles, green bands with black sugar, or orange bands with white pearls.
- Textural crunch: Roll the chocolate base in crushed toffee or cookie crumbs before it sets for a crunchy brim.
FAQ
Can I make Witch Hat Cookies without a microwave?
Yes.
Melt the chocolate in a heatproof bowl set over a pot of gently simmering water. Stir until smooth and glossy, then remove from heat. Keep the water low to prevent steam from seizing the chocolate.
How do I keep the chocolate from getting dull or streaky?
Use melting wafers or high-quality chocolate chips and avoid overheating.
Stir frequently, and add a small amount of oil for shine. Let the cookies set in a cool, dry place away from humidity.
What if my icing won’t stick to the chocolate?
Make sure the chocolate is set and dry. If it’s too slick, rough it up gently with a toothpick before piping.
You can also use a slightly thicker decorating icing for better grip.
Can I freeze these?
It’s possible, but not ideal. Freezing can cause condensation when thawed, which may blur colors and lead to sticky surfaces. If you must freeze, wrap tightly and thaw uncovered in the fridge to reduce moisture buildup.
How far in advance can I make them?
Up to 3 days ahead works well if stored in an airtight container in a cool spot.
Add delicate sprinkles or edible glitter closer to serving time to keep them crisp and bright.
What’s the best way to transport them to a party?
Lay the cookies in a single layer in a shallow, lidded container lined with parchment. If stacking, separate layers with parchment and keep the container level. Transport in a cool car to prevent melting.
Can kids help make these?
Absolutely.
Kids can place kisses, pipe hatbands, and add buckles. An adult should handle the melted chocolate and any sharp tools, but most of the steps are simple and safe with supervision.
My chocolate seized. Can I fix it?
If the chocolate turns grainy, try stirring in 1–2 teaspoons of warm vegetable oil.
It won’t be perfect, but it can become smooth enough to use as “glue.” For best results, start fresh and heat gently.
In Conclusion
Witch Hat Cookies are the kind of festive treat that looks fancy but takes almost no time. With a few pantry shortcuts and a bit of color, you’ll have playful, party-ready cookies that everyone will remember. Keep the steps simple, let the decorations shine, and enjoy an easy win this Halloween season.
Printable Recipe Card
Want just the essential recipe details without scrolling through the article? Get our printable recipe card with just the ingredients and instructions.